|
Beadalon Beading Mats - Prevent Bead Rolling 12 x 9 Inch (Set of 3) SKU: XTL-9930 $3.99 |

|
Artistic Wire, Copper Craft Wire 24 Gauge Thick, Bare Copper (10 Yard Spool) SKU: WCR-2434 $4.25 |

|
Eurotool Nylon Jaw Pliers Chain Nose- For Scratch-Free Wire Work SKU: XTL-0074 $14.49 |

|
Sharp Flush Cutter Pliers - For Cutting Beading Wire (1 Piece) SKU: XTL-5600 $23.99 |

|
Xuron Jeweler's Super Fine Pliers Chain Nose Flat Nose SKU: XTL-5450 $25.99 |

|
The Beadsmith Jewelry Fine Round Nose Micro Pliers SKU: XTL-5514 $8.49 |
Hi. I'm Andrea and I'm the senior designer at Beadaholique.com. In this video I'm going to show you how to make your own headpins simply by using some wire and some tools that you probably have at home. Today I'll going teach you how to make two different kinds of decorative headpins with swirls on the end out of some wire and just your regular tools that you probably have at home already. This project is not require any soldering or fusing so it's kind it's that way. I'm going to start out with some twenty four gauge wire. I have it in the copper color here. I'm going to straighten the wire with my nylon jawed pliers. Now I have a piece that's about three inches long here. I'm going to trim that off. I'm going to take my chain nose pliers and about a third of the way down I'm going to make a ninety-degree bend. Then I'm going to take my round nose pliers and simply curl the shorter end up until it meets the longer end. I'm going to start with round nose plier but I usually like to continue with either my chain nose plier or my nylon jawed chain nose plier so that it doesn't mar the wire. And continue to swirl until it meets the long end of the wire. Now that's the first kind of swirl headpin. Where the swirl is actually at the bottom, coming out of the bottom like that. The second kind starting the same way, I'm going to trim three inches of wire. And once again I'm going to make a ninety-degree bend about a third of the way down. But this time I'm going to start the swirl using my round nose plier. Holding onto the long side and simply moving the short side around the outside. But once again when I get enough to hold onto I like to switch pliers. And just continue that swirl that is now perpendicular to the long side of the wire. When it gets to the size that you it, you can trim off that excess wire. And see the swirl on the bottom of the headpin this time. There you go. There's two different ways to make swirl Headpins. Go to Beadaholique.com for all of your beading supply needs!
Related Videos


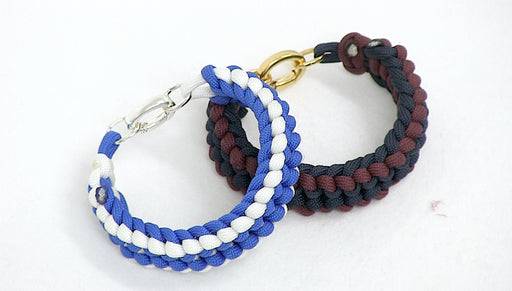
How to Make a Ladder Paracord Bracelet
n this video, see how to create a Paracord Bracelet using a Ladder knotting technique. This technique looks best when two colors are combined to br...
View full details

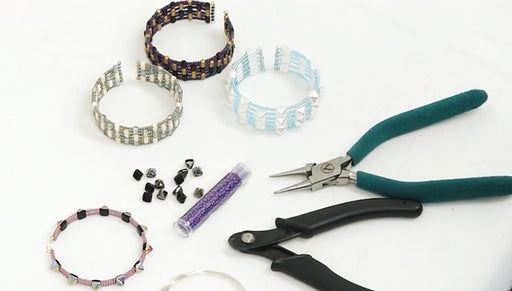
How to Create a Memory Wire Cuff
In this video see how to use create a cuff using two holed beads and memory wire. This is a different application for memory wire that is tradition...
View full details

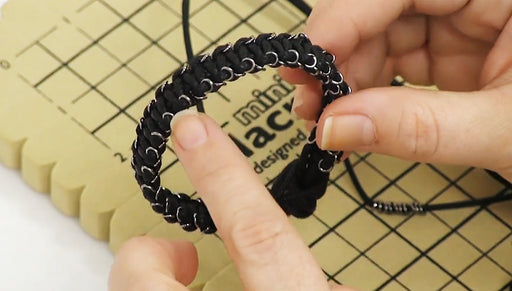
How to Use Closed Jump Rings in Macrame Square Knots
In this video see how to use closed jump rings to embellish a macrame square knotted bracelet. The closed jump rings adorn the sides of this bracel...
View full details