|
Toho Round Seed Beads 11/0 #252 'Aqua/Purple Lined' 8g SKU: JSK-0307 $2.55 |

|
Memory Wire, Bracelet Round Size Medium 2.25 Inch Diameter, 12 Loops, Silver Plated SKU: WXM-020 $2.99 |

|
Baby Wubbers Quality Fine Round Nose Jeweller's Pliers SKU: XTL-0021 $29.99 |

|
Beadalon Memory Wire Shears Cutting Pliers -Strong & Easy SKU: XTL-5612 $13.99 |
you Hi, this is Kat with beadaholique.com and this is the Kavala coven night I just did a color variation now this is one of our more popular projects and I really wanted to give a full tutorial on how to do this and it's basically using seed beads memory wire and two whole beads and it sort of creates a nice stiff sort of cuff effect with the memory wire I'm going to create this look using the arianna cuff which uses just two rings of memory wire but it features the small two whole pyramid beads so I'm going to show you how to do it with this one and this is the same process I did at the frozen cuff and these are two whole pyramid beads as well and basically what they do is they kind of nicely separate the strands at the ends I have some eye pins just holding it together so today I'm going to show you how to achieve this look and this is just a version with two and this is a version with multiple but it is the same technique so to complete this project I'm going to be using size 11 o Toho beads the czech glass six millimeter two whole pyramids I have several coils of memory wire here I have special memory wire cutters and I have a round nose plier so let's get started so I have here my 11:02 hose and before I start to string anything onto my memory wire you're going to want to cut loops now again like I said I'm using specialized memory wire cutters if you try to use regular flush cutters they won't be strong enough to cut the memory wire and you could risk ruining your pliers so you'll notice that on this cuff there's a little bit of a gap here and that's just from the natural memory wire but you also have to leave a little bit of a gap because you're going to be making little loops when you cut your memory wire find where one loop is and you're actually going to cut just over where that is so you're going to have a little bit of an overlap so there's one piece and you can always trim it a little bit later and just want to find that overlap okay so now I have my two loops of memory wire so first what I'm going to do is I'm going to take my round nose pliers and I'm going to make two little loops one on each side so just go ahead and just bend that and just make it's just a simple loop but because the memory wire is nice and stiff you just want to make sure that you get it nice and snug there so one two one end and then I'm going to repeat that process on the other loop and again you're going to want a really good pair of round nose pliers because like I said this memory wire is very thick so now that I have my two loops what I'm going to do is I'm going to be adding on the seed beads first so take one loop and I'm going to add six seed beads and you can just pick them up with the wire four five and six come on and I'm just going to slide that down and I'm going to set this set this loop down pick up your second loop add on six seed beads and scootch that down now to add the pyramid beads I'm going to add one to this loop and now what I'm going to do is I'm going to pick up the second loop and make sure you're going through the right way and I'm going to add it to this loop so now my loops are connected so I'm just going to continue the pattern of picking up six seed beads so you just take one loop and pick up your six three four five and six and you just kind of hold it together with your fingers and taking the second loop I'm going to pick up another six four five and six make sure it doesn't get twisted okay so now I'm going to slide on my second pyramid bead and it's only finicky for this first one and once you get the second one on you'll see how stiff it can be so now that I've had it on I make sure my wire is straight and you'll start to see that it'll develop a little bit of strength oops okay I'm actually glad that happened because I can show you a mistake which is actually always helpful so what happened is I didn't close my loop so the seed beads slid around so now I can fix this sometimes we make mistakes too so I'm just going to slide my seed beads back I'm going to take my round nose pliers and I'm just going to try to close that loop up a little bit more and just sort of pinch it together all right now that should be better okay there we go see all fixed so I'm just going to continue on in this pattern of picking up six seed beads and adding one pyramid bead now if you're doing this with multiple loops sometimes it is helpful to use a bead stopper so that you don't have to kind of hold it with your fingers the whole time but with two I find that it's not necessary helpful but not necessary so adding six more sliding that down adding another pyramid bead and making sure that you're adding the right memory wire to the right hole so it doesn't get flipped around and just scooch that down and you can see how it is developing so I'm going to continue beating in that same pattern and I will be back in just a moment to show you how to finish it off so now that I've come to the end of the beading I'm just going to show you quickly how to finish it off so go ahead and use your pliers and just make sure that you've pulled your memory wire all the way through and that your beading is nice and tight so what I'm going to do now is I noticed they're a little uneven so I'm just going to take my memory wire Clippers and try to even them up a little bit okay so now taking your round nose pliers go ahead and bend in just as we did on the other side and bend in your loop and just give it a nice little pinch and then go ahead and repeat that on the other side and this is the same technique as what we did on the on the first part of the bracelet it's just to sort of hold them in there so as you can see you have a little bit of a gap there but that is just kind of how this bracelet goes on these ones because otherwise it would be a little bit flimsy I've gone ahead and like I said I've just thread an eye pin up there and I've just added a little bit of beads just to kind of continue the pattern a little bit but when you do this technique you'll just be adding on the beads sort of in that strong manner and when you do this these complete patterns will be at beadaholique.com so you know exactly how how many beads to include in each pattern so there you have it and this is the same technique as seen in the ariana the Cavallo cuffs and the frozen cuff and be sure to use this technique with all of our to hold beads it's a great way to sort of add a new dimension to what you can do with memory wire you
Related Videos


How to Use Closed Jump Rings in Macrame Square Knots
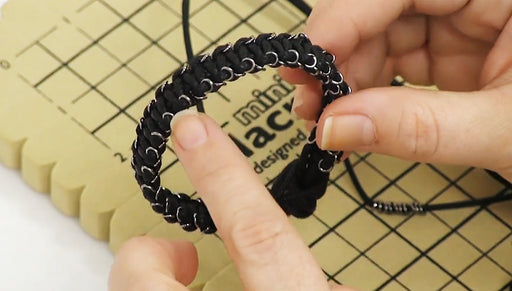
In this video see how to use closed jump rings to embellish a macrame square knotted bracelet. The closed jump rings adorn the sides of this bracel...
View full details

How to Use Closed Jump Rings in Macrame Half Hitch Spiral Knots
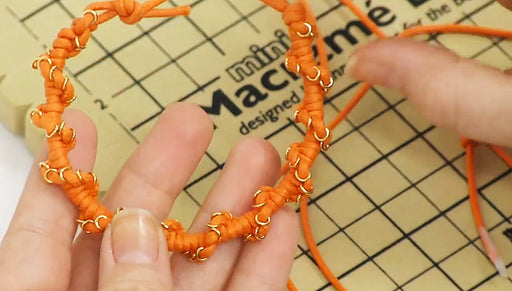
In this video see how to use closed jump rings to embellish a macrame spiral of half hitch knots. This is a great way to embellish a simple bracele...
View full detailsCustomer Reviews
You recently viewed
Clear recently viewedI am a long time customer i just love your videos they are great i have learn so much with kat thank you your are a very special teacher.
