Note: Components and tools listed within this INSTRUCTIONS box and the printer-friendly PDF, if available,
may have been discontinued since this project was published. Refer to the PURCHASE COMPONENTS and TOOLS AND
OTHER SUPPLIES sections for current availability.
You will also need a paintbrush for this project. Remember to rinse out the brush with water between coats.
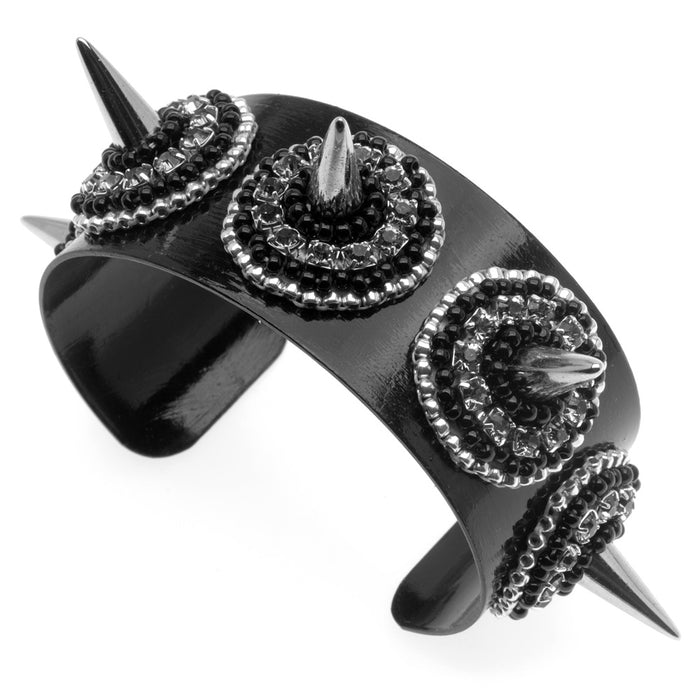
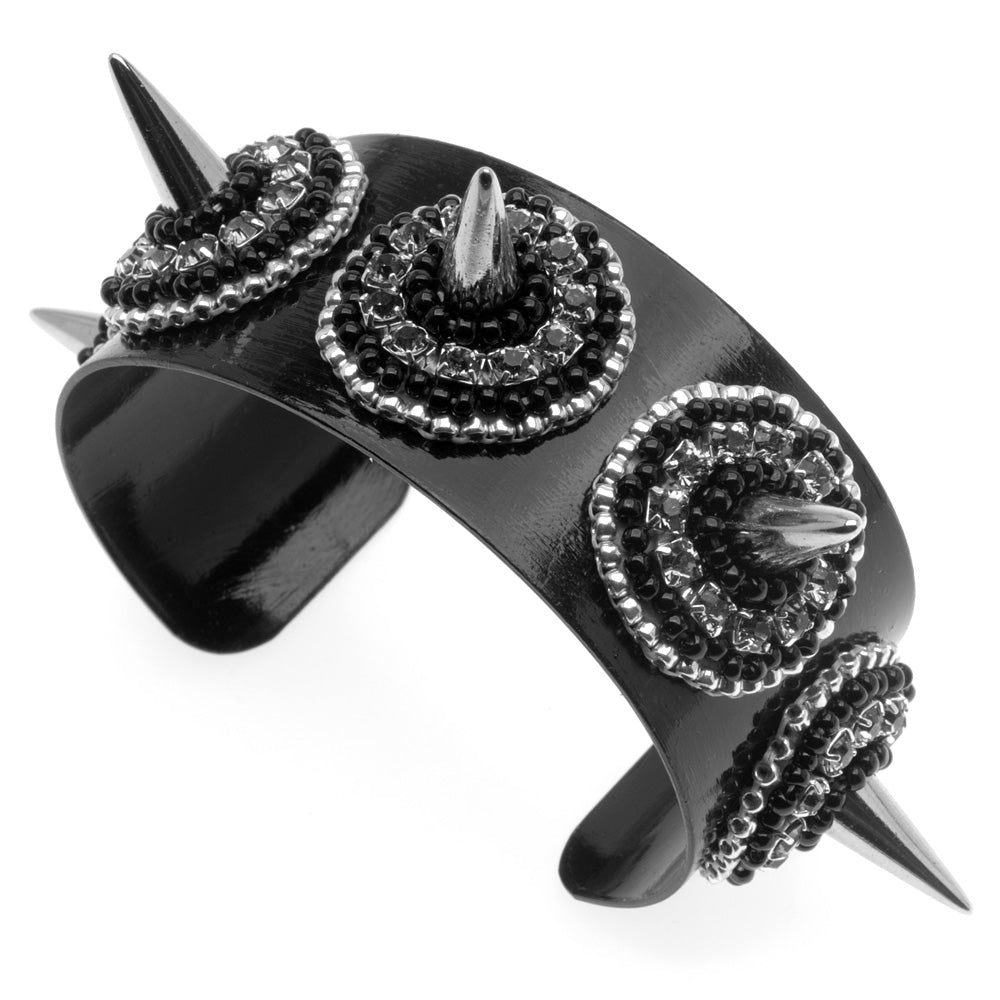
- Place a dab of E6000 glue on the flat base of a silver coated glass spike bead and press it onto a piece of Lacy's Stiff Stuff. Leave about an inch all the way around the bead. Repeat with four more spike beads, making sure that they have about 2" between them and are an 1" from the edge of the foundation. Allow to dry thoroughly.
- Cut around each spike bead, leaving an inch all the way around, and being careful not to disturb the glued down bead.
- Thread a size 10 beading needle with a length of grey NYMO thread and tie a knot in one of the ends. Bring your needle up through the foundation right next to the spike bead on one end of the bead's hole. Pass through the hole and back down into the foundation. Repeat several times and tie off your thread on the back of the foundation. Repeat this process to secure the other four spike beads to their foundations.
- With a new length of thread on your needle, use black size 11/0 round seed beads to create a row of 2 bead backstitch bead embroidery around the base of the spike bead. Then create a bezel row right on top of the first row. Bring your needle through the beads in the bezel row until you exit the first bead that you went through, and pull snug to secure the row. Go back down through the foundation between your seed bead rows and your spike bead.
- Cut a piece of silver plated 24pp black diamond rhinestone chain that is 11 rhinestone links long. Place it in a circle around your first two rows of embroidery, right up against the seed beads, with the first and last links touching. Stitch the rhinestone chain down by catching each bridge between links with a stitch.
- Come up right next to an outer corner of one of the rhinestone links. String one black seed bead and go back down right next to the corner of the next link. This should stitch the seed bead right between the outer edges of the two rhinestone links, filling the gap between. Continue to work around the circle, stitching one seed between between each link and the next.
- When you complete the circle, come up where the first seed bead in the last row meets the edge of the rhinestone link next to it (either one). Place two black seed beads right along the edge of the rhinestone link and go back down through the foundation right where the link meets the next seed bead. Continue to work around the circle, stitching two seed beads along the side of each link. Tie off your thread on the backside of your foundation.
- Repeat this process to embroider around the four remaining spike beads.
- Carefully cut around the embroidered pieces close to the beads, but not through the stitching.
- With a new length of thread on your needle, use size 11/0 galvanized aluminum seed beads to add a basic brick stitch edging to your embroidery. Tie off and weave in your ends.
- Paint Vintaj black patina all over the outside of a 25.5mm brass flat cuff, holding it by the inside. When it dries, hold it by the outside and paint the inside. Then do the edges, one at a time. When you have the entire cuff painted and dried, apply another coat. Apply a third coat if the color is not uniform and opaque. Allow the patina to dry completely between and after coats.
- Apply a thin layer of E6000 to the entire underside of one of your embroidery pieces and place it carefully in the center of the cuff. Press firmly into place. Hold the piece in place until the glue sets. You don't want it to come up or move around.
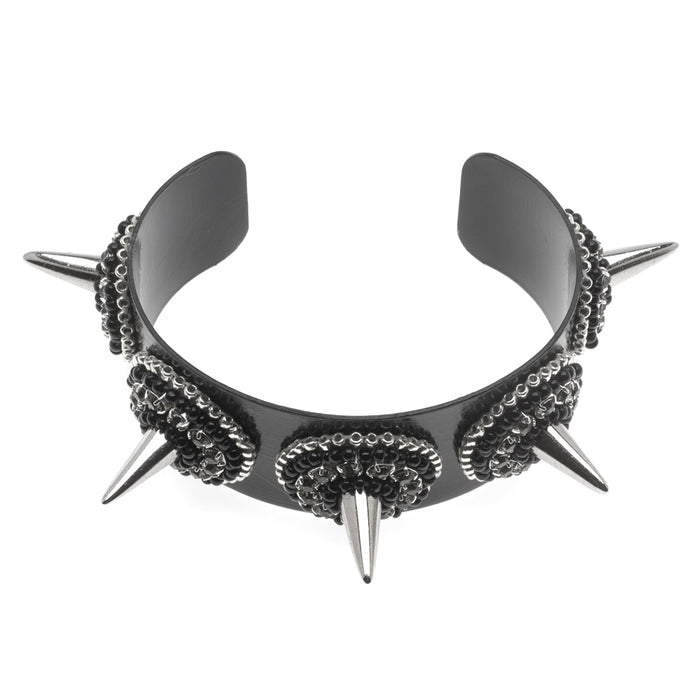
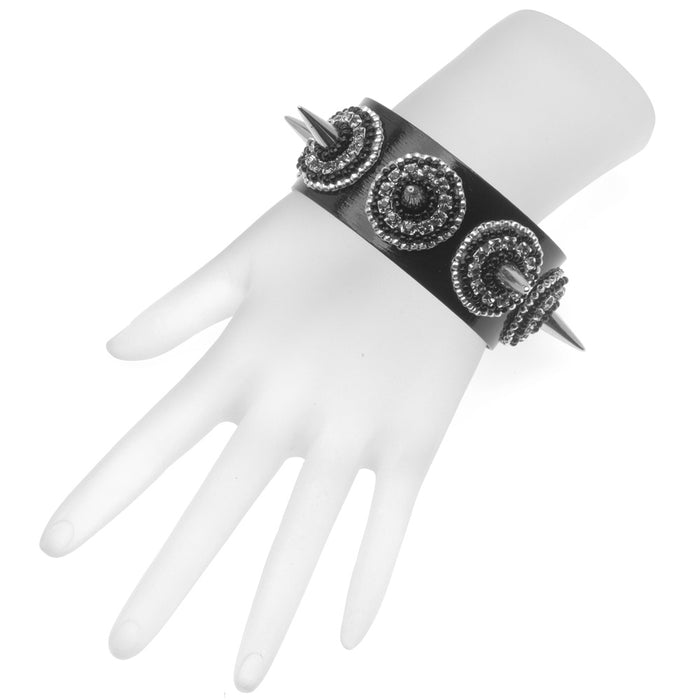
- One at a time, glue the remaining embroidered pieces to the cuff, two to each side, with about 1/8" between each and the next. Allow the glue to set between each piece, and make sure to press the piece into the cuff, forming it to the curve.
- Allow the patina and glue to dry overnight before wearing. (And be careful not to poke yourself with the spikes!)
WHAT YOU'LL NEED: (scroll down for purchase options)
- JB-2572 - Solid Brass Flat Cuff Bracelet Base 28.5mm (1 1/8 Inch) Wide (1 Piece)
Project uses 1 piece. You will need 1 package.
- BCP-10522 - Czech Pressed Glass - Cone Spike Beads Silver Plated 6.5x15mm (6)
Project uses 5 pieces. You will need 1 package.
- CHA-2020 - Austrian crystal Rhodium Plated Rhinestone Cup Chain 24PP Black Diamond - FT.
Project uses 1 foot. You will need 1 package.
- JSK-0278 - Toho Round Seed Beads 11/0 PF558 'Galvanized Aluminum' 8g
Project uses 1 tube. You will need 1 package.
- JSK-0032 - Toho Round Seed Beads 11/0 49 'Opaque Jet' 8 Gram Tube
Project uses 1 tube. You will need 1 package.
- XCR-8903 - NYMO Nylon Beading Thread Size D for Delica Beads Grey 64YD (58 Meters)
Project uses 1 spool. You will need 1 package.
- XCR-4210 - Lacy's Stiff Stuff Beading Foundation for Cabochons 4.25 X 5.5 Inches
Project uses 1 piece. You will need 1 package.
- XTL-9078 - Vintaj Patina Opaque Permanent Ink - Black Onyx - 0.5 Ounce Bottle
Project uses 1 bottle. You will need 1 package.
- XTL-1054 - E6000 Industrial Strength Glue Adhesive (0.18 fl oz)
Project uses 1 tube. You will need 1 package.
RECOMMENDED TOOLS:- XTL-5700 - Fiskars 5 Precision Tip Scissors - Super Sharp
- XTL-3005 - Beadsmith English Beading Needles Size 10 - 4 Needles
- XTL-5600 - Xuron Sharp Flush Cutter Pliers - Wire/Soft Flex


 Earn Reward Points with your purchase of project components or tools.
