
|
Beadalon Beading Mats - Prevent Bead Rolling 12 x 9 Inch (Set of 3) SKU: XTL-9930 $3.99 |

|
Lacy's Stiff Stuff Beading Foundation for Cabochons 4.25 X 5.5 Inches SKU: XCR-4210 $3.39 |

|
The Beadsmith English Beading Needles Size 12 (4 pcs) SKU: XTL-3006 $3.99 |

|
The Beadsmith Cordless Thread Zap II Thread Burner Tool SKU: XTL-0106 $16.49 |

|
Toho Round Seed Beads 15/0 49 'Opaque Jet' 8 Gram Tube SKU: JSO-0032 $2.99 |
Related Videos

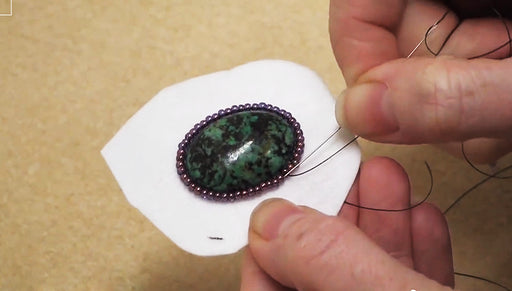
How to Backstitch in Bead Embroidery
In this video, learn one of the most common and widely used stitches in bead embroidery - the backstitch. In this video we cover 2-bead backstitch ...
View full details
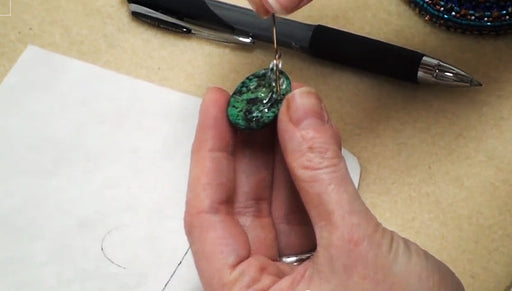
How to Glue a Cabochon onto Lacy's Stiff Stuff for Bead Embroidery
In this video learn how to glue a cabochon onto Lacy's Stiff Stuff Beading Foundation using E6000 glue. Tips are provided on how to place it to ach...
View full details
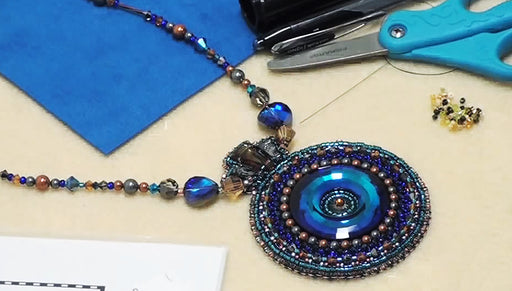
Introduction to Lacy's Stiff Stuff for Bead Embroidery
In this video learn exactly what Lacy's Stiff Stuff Beading Foundation is and how to use it. You can cut, dye, draw on it and more. A must have for...
View full detailsCustomer Reviews
Based on 2 reviews
Write a review