
|
Artistic Wire, Chain Maille Jump Rings, 20 Ga / ID 3.57mm / 140pc, Tarnish Resistant Gold Tone Brass SKU: FMC-2353 $4.65 |

|
Beadalon Beading Mats - Prevent Bead Rolling 12 x 9 Inch (Set of 3) SKU: XTL-9930 $3.99 |

|
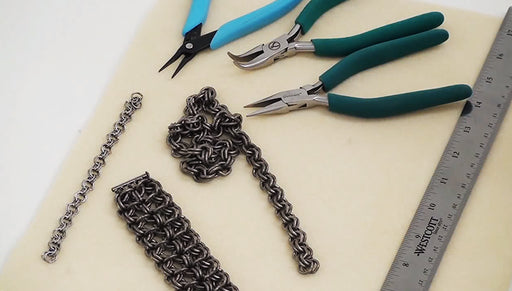
Xuron Jeweler's Super Fine Pliers Chain Nose Flat Nose SKU: XTL-5450 $25.99 |

|
Wubbers Classic Series Bent Chain Nose Quality Jeweller's Pliers SKU: XTL-0036 $29.99 |

|
The Beadsmith Jeweller's Micro Pliers Chain Nose Flat Nose SKU: XTL-5511 $8.45 |

|
The Beadsmith Bent Fine Point Tweezers For Bead And Pearl Knotting SKU: XTL-4001 $4.99 |

|
Slide Tube Clasps, Two Rings Strands 16.5mm, Silver Plated (4 Pieces) SKU: FCL-5500 $5.99 |
Related Videos


How to Make a Japanese 12-in-2 Chain Maille Bracelet and Ring
Beadaholique's Andrea shows us how to make a flower ring and bracelet using Japanese 12-in-2 chain maille. Definitely one of the prettier chain mai...
View full details

How to Make a Chain Bracelet Using the Roundmaille Weave
In this Beadaholique video, Andrea shows us how to make a chain maille round maille bracelet. You can make this beautiful piece in a variety of fin...
View full details
How to Create Faux Chain Maille
In this video learn how to create the look of chain maille without the time-intensive labor or having to learn about aspect ratios. Simply use a ro...
View full details