
|
Nunn Design 2-Part Epoxy Resin Kit, Jewelers Grade Clear, 8 Oz Kit SKU: TRC-14 $44.09 |

|
CASTIN CRAFT Casting Epoxy Resin Opaque Green Pigment Dye 1 Oz SKU: TRC-83 $10.99 |

|
CASTIN CRAFT Casting Epoxy Resin Opaque White Pigment Dye 1 Oz SKU: TRC-87 $10.99 |

|
Open Back Bezel Pendant, Split Circle Crescent 16.5x13mm, Antiqued Silver, by Nunn Design (1 Piece) SKU: PNT-317 $3.95 |

|
Open Back Bezel Pendant, Split Long Oval 38x13mm, Antiqued Gold, by Nunn Design (1 Piece) SKU: PNT-313 $4.69 |

|
Open Back Bezel Pendant, Split Oval 23.5x9mm, Antiqued Gold, by Nunn Design (1 Piece) SKU: PNT-319 $3.95 |
Related Videos

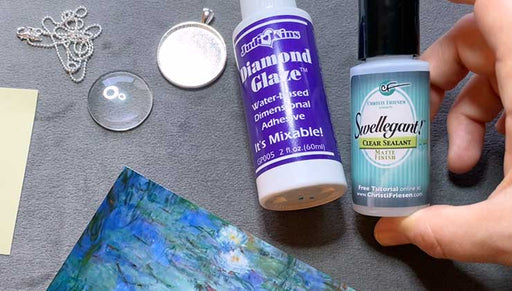
How to Create a Photo Keepsake Necklace Using a Glass Cabochon Bezel Pendant
In this video you will learn how to use Swellegant sealant and Diamond Glaze adhesive to seal and protect a photograph behind a glass domed cabochon.
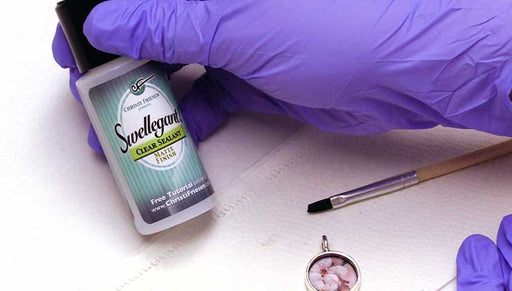
How to Use the Swellegant Sealant to Prepare an Image for Resin
In this video you will learn how to seal an image so that when resin is added it will not ruin the paper or photograph underneath. We recommend us...
View full details