|
Clear Sealant, 1 Ounce Bottle, Matte Finish by Swellegant SKU: XTL-1036 $10.99 |

|
Nunn Design Glue Adhesive 2 oz. - For Patera Findings (1 pcs) SKU: XTL-1031 $17.49 |

|
ICE Resin, Angled Paint Brushes for ICED Enamels & Paper Sealant (6 Pack) SKU: XTL-880 $3.49 |

|
Nunn Design Antiqued Silver Plated Large Bezel Circle Pendant 19mm SKU: PND-6570 $5.29 |
hi this is kat with beadaholique.com and image for resin so we're going to use the swelligant and you can see that I have my little bezel right down here and I've cut out a little circle that fits perfectly in there and I cut this from the Nunn design collage sheet so it's a nice paper with a beautiful color on it and then I used the Nunn design glue to adhere it to the back so the reason I'm not going to do this in the video here is because I wanted my glue to fully dry so this has been drying for at least 24 hours so now it's ready for the sealant so I have my little paintbrush here so let me go ahead and get this onto a little work surface I want to protect my work surface and you can also see that I'm wearing gloves here today we just want to make sure that everything is going to be nice and protected and that way also you're not going to get any on your hands so go ahead and give this guy a little shake just kind of mix it up a little bit and then you hit there is a push tab here so you can actually pour it onto a surface if you like but I'm gonna show you a little trick you can just unscrew the top there and what we're gonna do is we're just gonna dip our brush down into the sealant now the sealant is a little bit milky and you don't need a lot on your brush so we're gonna do a couple of thin coats here so now you can just kind of hold it up as well to make sure that you get it into all the areas you want to just lightly sort of brush it over your piece it will darken it a little bit but don't worry that will sort of dry out just a little bit at a time now like I said this is a little bit of a milky finish but you do not want it to clump anywhere so you can see that I'm using fine brush strokes and really getting it in the corners there because what we're trying to do is we're trying to seal it so that the resin doesn't seep in and create bubbles and all kinds of nasty stuff and now this is the same technique you can use to do with a photograph if you'd like you want to make sure that you deal a photograph or anything like this for a for a resin piece I'm gonna do one more little coat here I'm gonna kind of get this edge around this side you can see that I'm kind of dipping it a little bit I'm just making sure it really gets into all those little edges all right so this is considered one coat here so now what I'm gonna do is I'm gonna let this dry for a couple of hours maybe two hours I'd say at least go ahead and wash your brush and then you can come back and do two two maybe three coats in it total and then once you let that dry for 24 hours it is ready for your resin and if it does appear like it's gotten a little milky you can just just push that sort of sealant around and it will kind of even itself out so it's really simple to use but it is a definite must if you want to put resin on top of your image there that you have either a photograph or a paper image and then of course make sure you tighten that back up so it doesn't dry out so that was using the swelligant clear sealant in the matte finish and we used the Nunn design glue to keep that down there and make sure that gets all under underneath there all right it's easy as that thanks so much for watching you can find all of these products by heading over to beadaholique.com and if you're new here to our youtube channel be sure to hit that subscribe button below
Related Videos


How to Achieve a Marbled Effect in Resin
In this video you will learn how you can get a marbled effect in your resin directly in your bezel findings. Be patient with this technique, it ta...
View full details

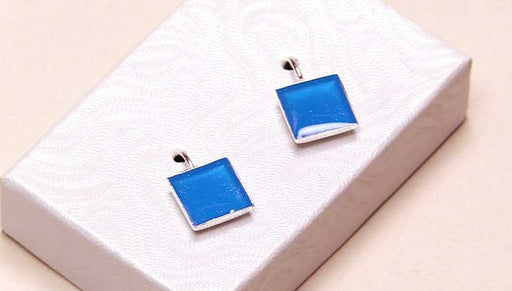
How to Make a Pair of Resin Earrings featuring Nunn Design Earring Bezels
In this video you will learn how to mix, colorize, and add mica powder to your resin and make a pair of earrings. You will also see some helpful t...
View full details
