Click or scroll to zoom
Tap or pinch to zoom

Click or scroll to zoom
Tap or pinch to zoom

Related Video [VIEW ALL VIDEOS]
![]() For closed captions/subtitles, click the CC icon on the video player after starting the video.
For closed captions/subtitles, click the CC icon on the video player after starting the video.
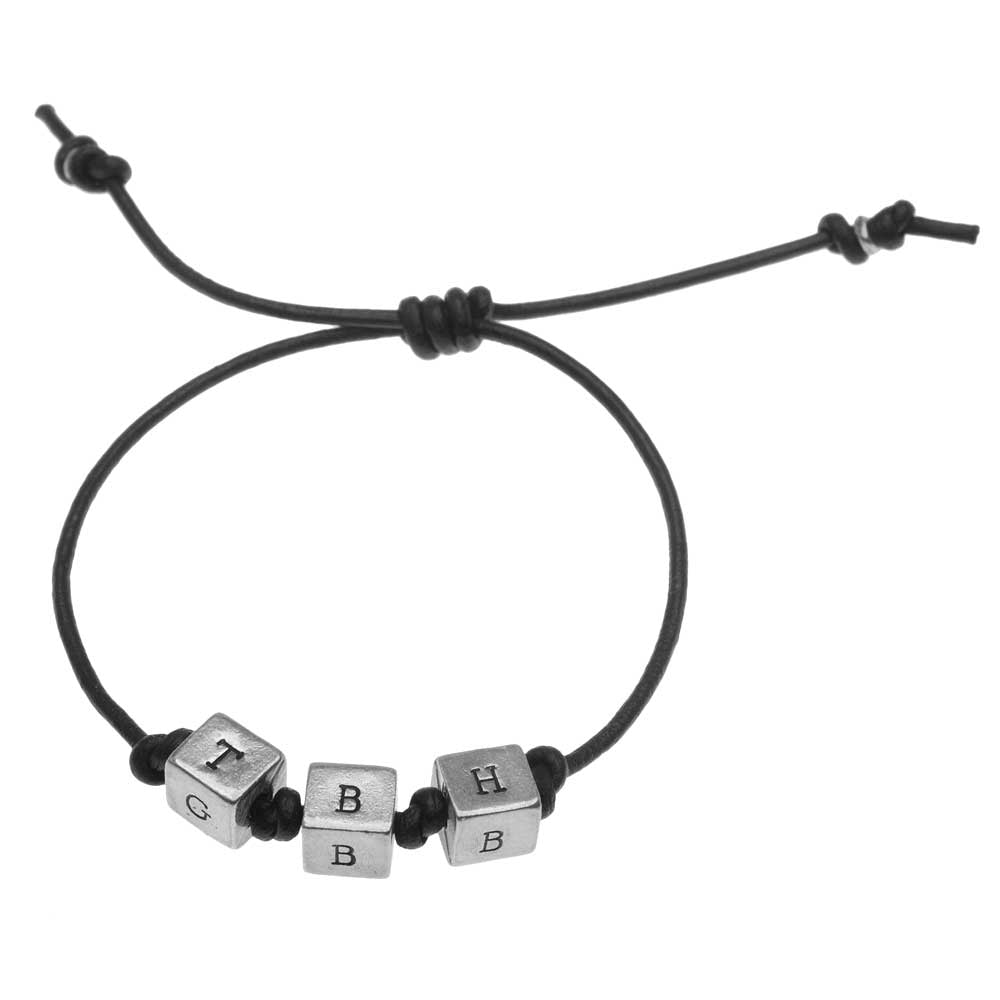
Retired - Initial Cubes Knotted Leather Bracelet
PROJECT B830
Designer:
Julie Bean
Skill Level:
Intermediate
This unisex adjustable bracelet can be easily personalized any way you wish. For the design shown, 3 initials were stamped on 3 sides of each cube and then a star stamping was placed on the fourth side. The entire rest of the design consists solely of strategically placed knots and a slide clasp.

")
 Earn Reward Points with your purchase of project components or tools.