|
ImpressArt Stamp Guides Booklet, Transparent Grids for Spacing Metal Punch Designs SKU: XTL-8257 $9.49 |

|
Jump Rings, Open 4.5mm Diameter 21 Gauge, Gun Metal Plated (100 Pieces) SKU: FJR-5294 $1.99 |

|
ImpressArt Antique Stamp Enamel Marker, Darken Stamped Impressions, 1.1 OZ, Black SKU: XTL-7200 $12.99 |

|
ImpressArt Steel Stamping Block, Small Size with Rubber Feet 2x2", Steel (1 Piece) SKU: XTL-6236 $18.99 |

|
ImpressArt 33-Piece Deluxe Uppercase Alphabet Stamps "Jeanie" 4mm - 1 Set SKU: XTL-0726 $61.09 |

|
ImpressArt Brass Hammer For Metal Stamping - 1 Pound - 1 Piece SKU: XTL-0277 $20.00 |

|
Xuron Jeweler's Super Fine Pliers Chain Nose Flat Nose SKU: XTL-5450 $25.99 |
Hi, this is Julie with beadaholique.com a premade chain of jump rings so a really quick and easy way of finishing a piece of jewelry so what we're gonna be using as our blank is this lovely impress art link right here here's the blank one and you see there's quite a variety these are some recent additions to the impress art collection at beadaholique.com you see some have borders this is a soft strike pewter and then we have these wonderful artisan pieces which are designed by green girl for impress art you see how nice they look so a lot of different shapes and styles and this is just a very small amount and then I've gone ahead and I've stamped a couple with their mandala stamp sets one in the center and one off to the side so you can see a lot of variety you can do and they even have some aluminum pieces now so lots of choices but I want to use this really pretty one as my necklace feature and then I'm going to be using an impressed art stamping set this is the genie set right here it's a four millimeter lowercase letter set and I've done what I've done is I've taken out the letters I want to use so l.o.v.e I find it a lot easier if you pre select your letters cuz it takes the guesswork out of it and also if you're in a hurry you don't want to grab the wrong letter then to make that lettering pop we're going to be using this stamp enamel marker which we'll fill it in and then to get our lettering straight I'm gonna use my stamp guide which is this little book and it has all these little stamp guides in it for a month Allah's and some of them you can see of are used and rulers and if you want to do curved surfaces where you do a an arc for some wording or a name or something that you can do that too so then for the tools I'm going to be using this little steel block and I'm gonna be using a brass hammer and then for my jump ring a couple of pairs of chain nose pliers I'm gonna cut my sticker down to help extend the life of my stickers and then I'm going to show you another little trick with a pen so let's go ahead and begin our stamping alright let's clear a little surface and then I'm gonna take this guidebook and I am going to pull out one of the straight edge stickers and I'm gonna cut it down cuz my blank is not that big okay I'm gonna take this other sticker and put it back so I can use it for another time alright so we're done with that you're gonna position this sticker where you want your lettering to be so your lettering is gonna be right above the sticker line and what's nice here is this has this little point of the part so I can line it up but because I have a four letter word I don't have a middle letter so I don't want my orange line to be the middle I want it to be right between two of the marker lines cuz I have a four letter word so I'm just gonna kind of eyeball that and bring it down about that looks pretty good to me trying to make sure it's straight and then what my little trick is is I write my letters on the sticker guide just another little mental cue of what I should be doing because I have made plenty of boo-boos oh speaking of boo-boos a quick little note before we begin this is not gonna be the case on this particular stamp stamping blank but it might happen on something like this don't get too close to the edge of this soft strike pewter it is very soft which is nice because get a good deep impression but you can push out the metal if you go too close to the edge either quick note if you make a boo-boo which we all do keep your keep it don't discard it you can do a lot of practice on these little guys okay so hopefully we won't make a boo-boo here okay I'm gonna take that gonna put it on my block grab my hammer and I'm gonna find the El first and I want the impress art logo facing me so I'm just gonna line it up with the line above the El and then I'm gonna slide it down I'm just gonna drag it down until you feel it catch on that sticker that's key is you want it to catch on that sticker and you want the stamps centered on the sticker above the sticker I should say one okay one nice punch now we're gonna do the O again make sure it's facing you and I know I I say this a lot in the videos I do for stamping just double check I have made so many mistakes even right at the end okay so now we got it oh I probably should not talk as I do this so I don't make a mistake so now we have the word love I also have thought it would been cute right I love you know that would've been sweet too so another variation on this guy okay so now that we've got that you can see the before and after with the stamp enamel marker total personal preference you can leave it blank or not blank but not filled in or you can fill it in if you're gonna fill it in cover your work surface grab a paper towel shake it up and put it over the lettering so you want to fill in the recesses these are little four millimeter stamps and they're lowercase so they are pretty petite okay so we're gonna let that dry for about a minute before we wipe it away all right let's go ahead and wipe it off so you can dab it off first if you want to and then wipe maybe was gonna wipe over the surface and there we go it was really quick and easy so now we have our little love we've got matching love and to turn it into a wearable piece of jewelry we're gonna take the really easy route right here and that uses pre-made 18 inch stainless steel necklace and a little gunmetal jump ring so when you're looking at the finish of this pewter it is a little bit darker than a standard bright silver so I do like using stainless steel and gunmetal when I can or an antique silver often looks good just it depends really on on what you're doing and what look you want okay so we're just gonna open up our jump ring slide it on there I'm just slide this on to a necklace yeah close it on it make sure your jump rings good and closed and we are done and you have a gift or wearable piece of jewelry for yourself and you are ready to go so I'm calling this a sweet love necklace and you can find all the supplies for it at beadaholique.com as well as more instructional videos on how to do metal stamping so if this was of interest to you please do check those out we have a lot more to showcase you including how to do things like the mandala how to do borders just different projects how to do bracelets so thank you for watching and please do subscribe to our YouTube channel and check out our website beadaholique.com
Related Videos


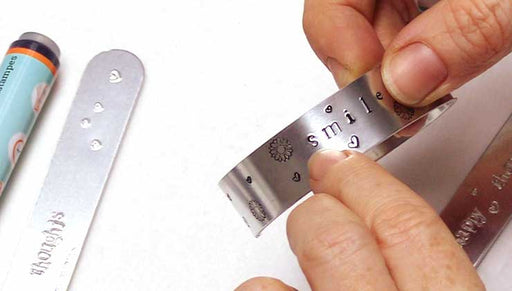
How to Make a Metal Stamped Cuff Bracelet with ImpressArt Tools
In this video learn how to make an oval cuff bracelet that has been metal stamped with a saying. You will learn how to use an alphabet punch set, I...
View full details

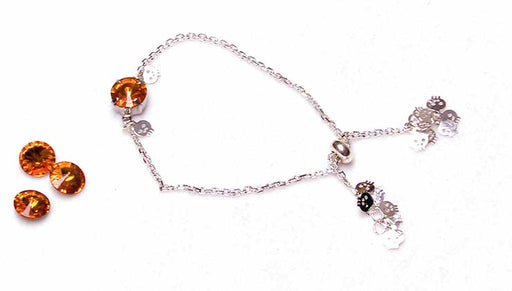
How to Make an Adjustable Slider Bracelet with an Austrian Crystal Fancy Stone Focal
In this video, you will learn how to set a Austrian crystal Rivoli into a connector setting from Gita Jewelry to make a sparkling focal for an adju...
View full details

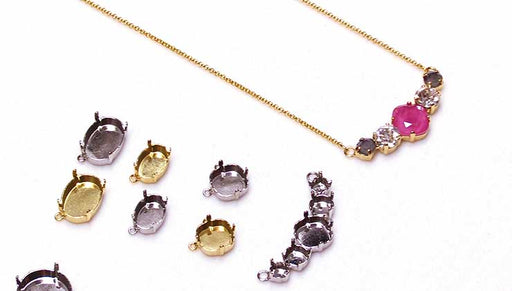
How to Make a Connector Focal Necklace with Gita Settings for Austrian Crystals
In this video you will learn how to set Austrian crystal Fancy Stones into a Gita Jewelry setting to make a focal necklace.The brand name for the c...
View full details