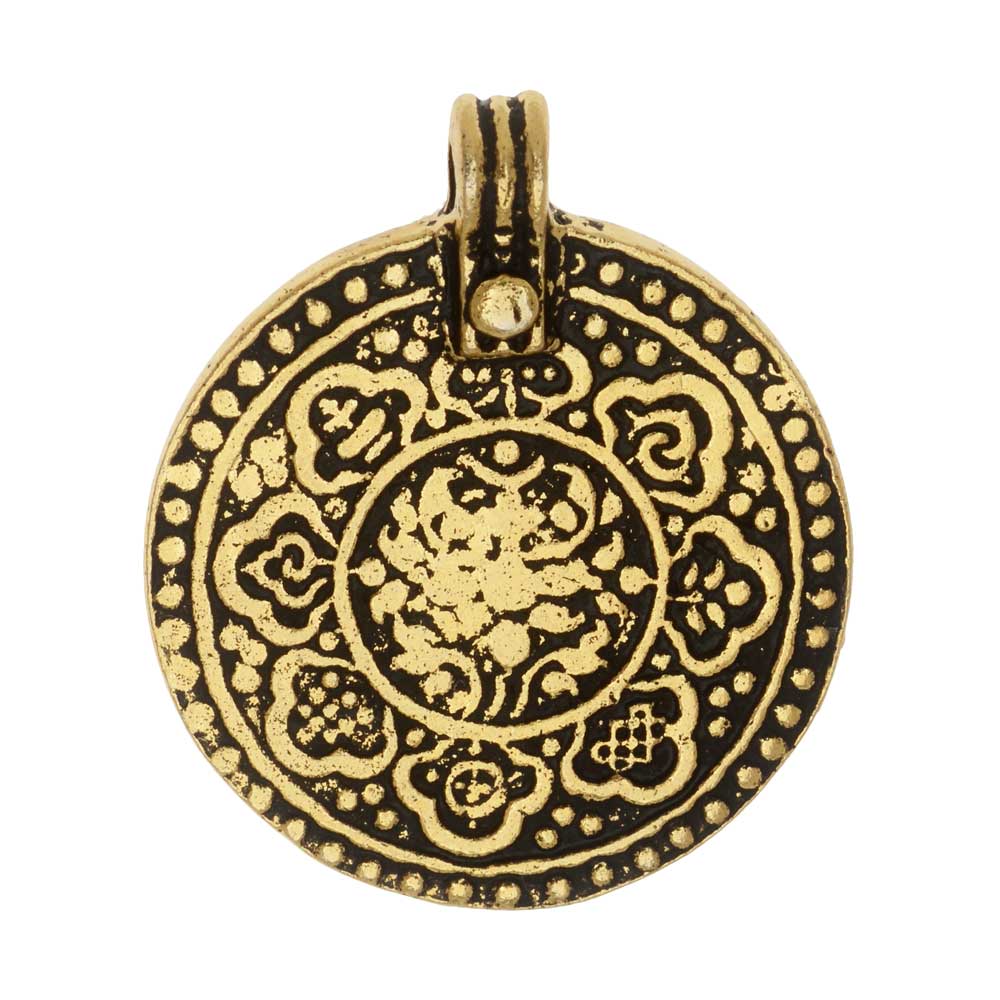
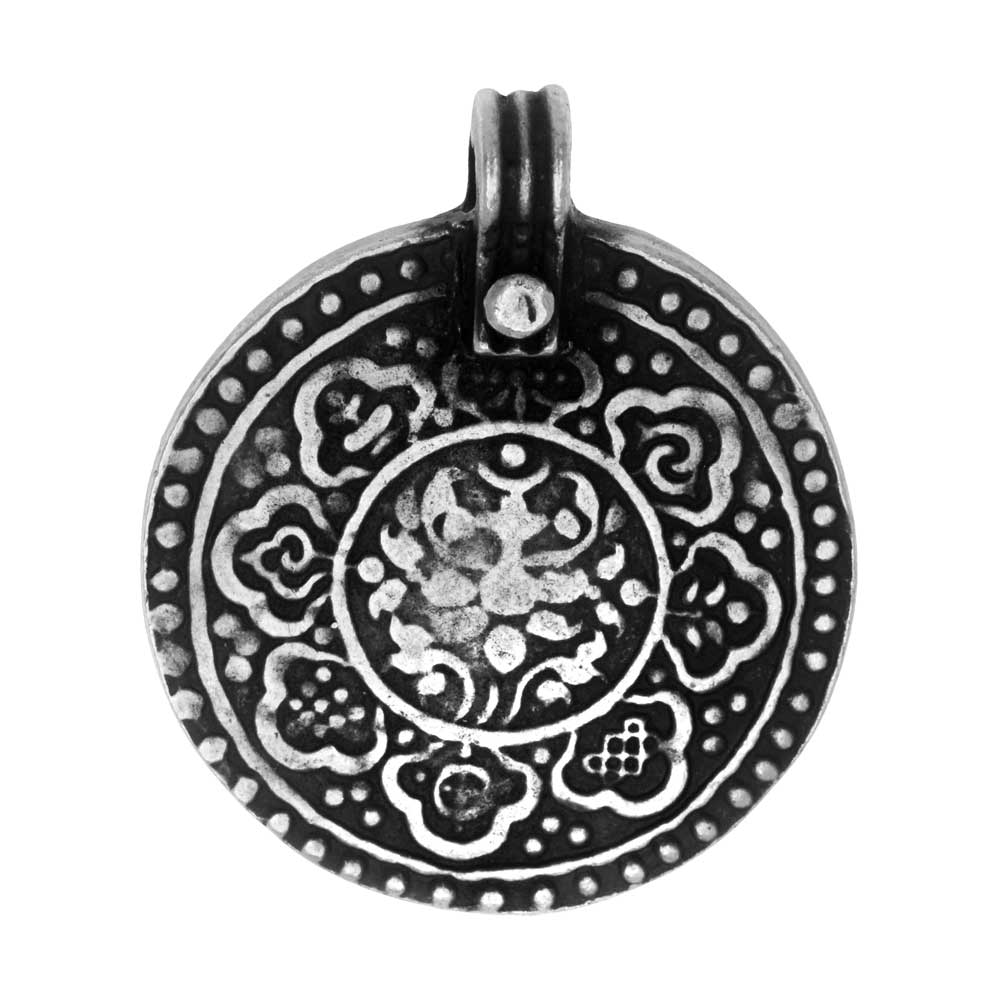
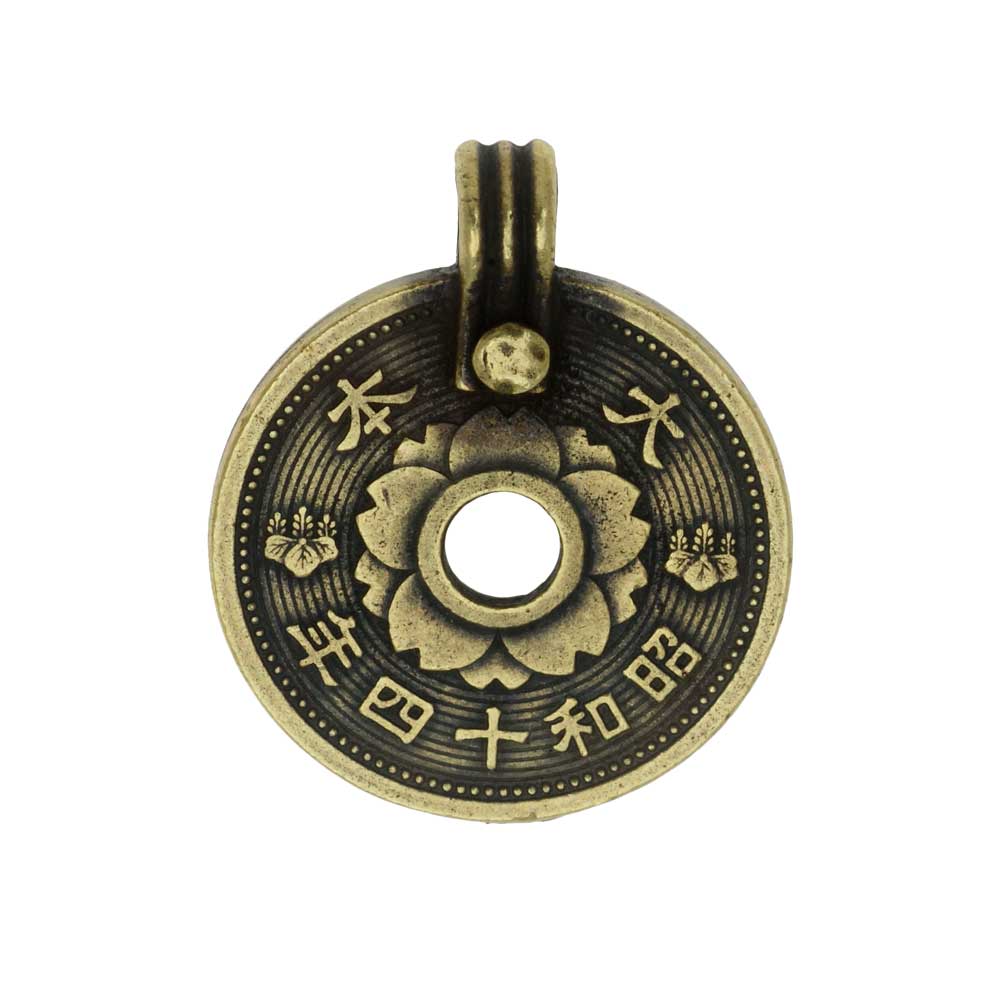
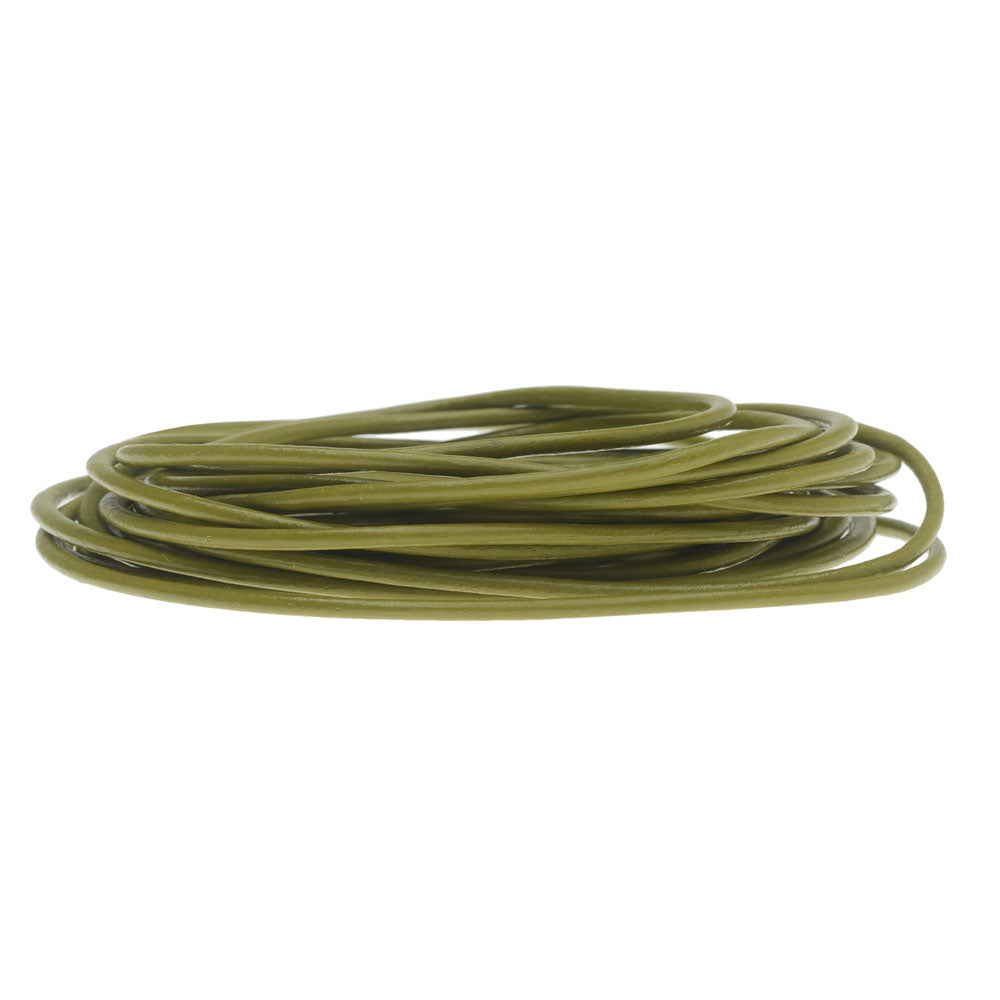
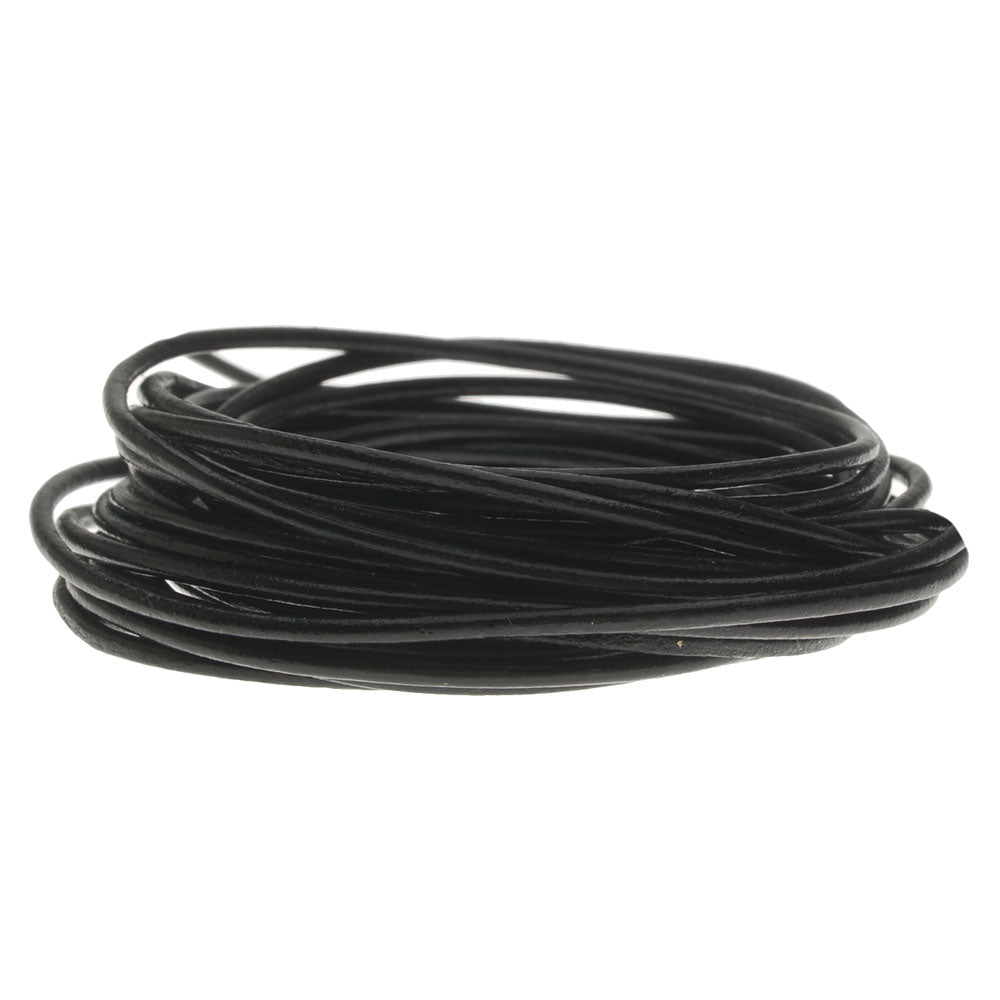
Hi, this is Julie with beadaholique.com a can necklace without a physical clasp because you can adjust it wide so you can slip it over your head and then you just pull on the knots to make it the desired length when you wear it so very easy to do a very cool technique to know how to do as well so for this particular project we're going to be using these pendants from tierracast are part of the eastern path collection I made up a couple ones of course you can choose whatever pendant or focal you want these ones are just nice because I think they have a really like found object quality to them so they come in four different finishes if you're interested and are available at beadaholique.com we have brass oxide antique gold antique silver and antique pewter and the pewter is darker than the silver also the silver is shinier there's two different styles there is the Asian coin which looks great on both sides have this really cool bail and there's also the Eightfold Path one again looks really interesting with a different design of those sides and that cool veil so for the cord we're going to be using a 1.5 millimeter leather cord and that's what I have here I think the green is going to be easiest to see in the video to be able to show you how to do these knots and for us for our purposes this slides really easily through that top bail you can also use a 2 millimeter leather cord it slides through as well it's just gonna be a little bit of a heavier thicker look to it so when you're choosing the leather to use this particular leather like I says 1.5 millimeter and if you look at it has just a little bit of a shine to it is more of like a sheen than a shine it's not really glossy also on the beadaholique website is something which is labeled natural leather and it's more of a buff or a matte finish to it this is much harder to do the sliding knots with they do work but if they're harder to slide because they kind of stick on this kind of rougher surface when it has this little bit of a sheen to it they're very easy to slide so that's just a quick note about selecting your materials okay let's show you how to do this so you're going to need for a 24 inch necklace you're going to need thirty six inches or one yard of your leather you're going to start by putting your focal onto it and sliding it down to the middle line up your two ends and grab a ruler and you want to measure six inches so you want to put those two ends on the six inch mark and find that other spot fall further down on your length all right so with six inches extra and I'm going to move this all out of the way so you can see this clearly we are gonna cross our cords okay so crisscross okay step away from that crisscross by just maybe half an inch or so and fold so this is a six inch end right here fold it over so you've made like a little loop and then the rest of the length is just going along the edge here pinch that little loop so you just want these kind of on top of each other okay pinch that little loop grab your six inch tail and go up and over so you're going over both of these cords here so one time two times three times and we're doing it purposely loose because we're gonna need to feed our tail end through it and then four times so we made four little loops now take your tail and feed it up through all of your loops all four of them till it comes out the other side okay grab that tail and pull squish your little loops together and start pulling this as well so pull your tail here and pull these two together to secure it and you've got one slide not don't trim your tail just see that okay so we've got one now we need to make the second one so it's gonna be the same exact technique but we want to jump over about an inch find the six inch tail make a loop I've got that little loop pinch it okay go over there's one two they can get a little sliding you got to kind of work with them sorry before and feed your tail up through all of them grab that tail and pull and then pull these two and your tail at the same time you might need to just push them together a little bit and pull and then really pull your tail okay so now let's see if this works it does yay all right pull them out pull them together now give a little tug on your tail and hold this little knot you want to be really nice and secure okay do the same thing on this side hold your knot pull on your tail give it a nice little tug and do a few slides okay so slide it a couple times because you're gonna be wearing this a lot I know my husband wears a necklace like this every single day so work with it you want to almost stress test those knots a little bit before you trim the tails pull pull make sure you get any extra length that you can out of there okay when you've done that a sufficient number of times you feel comfortable with it go ahead and trim your tails you can trim them a little bit longer or you can trim them closer up to it I'm gonna do about like that tails are trimmed you are good to go and you have a very comfortable to wear easy to adjust leather cord necklace so if you enjoyed this tutorial or you're interested in these pendants please do check out beadaholique.com we have all the supplies you see here including the tools the leather the pendants and many more supplies we also have a lot of other knotting projects as well as leather projects so if you're interested please head over to beadaholique.com and check them out
Related Videos


How to Make a Lark's Head Knot Tassel
In this video learn how to make a lark's head knot tassel using a TierraCast round link connector and faux leather micro-suede. This project is ver...
View full details

How to Make a Quick and Easy Tassel with Silk Thread
In this video learn how to make a quick and easy chain tassel with silk thread. The thread is very soft 100% silk, size F. You will learn how to wi...
View full details

How to Make a Single Square Knot For Beaded Kumihimo
In this video, you will see how easy it is to create a square knot to make a lovely focal for beaded Kumihimo.
You recently viewed
Clear recently viewedThey show someone increasing and decreasing the size of an already created necklace. They do not show how to tie the two slipknots.
At the beginning of this video our designer shows a finished piece and demonstrates its functionality. To see how she made the necklace, including how to tie the two slipknots, please keep watching the video beyond the first few seconds. We hope this helps.


