
|
Artistic Wire, Silver Plated Craft Wire 26 Gauge Thick, Gunmetal/Hematite (15 Yard Spool) SKU: WCR-2641 $6.29 |

|
Earring Findings, Ear Wire 21mm Long 20 Gauge Thick Sterling Silver (2 Pairs) SKU: FEA-1220 $4.10 |

|
The Beadsmith Wire Looping Pliers - Concave And Round Nose SKU: XTL-5032 $14.99 |

|
Sharp Flush Cutter Pliers - For Cutting Beading Wire (1 Piece) SKU: XTL-5600 $23.99 |

|
The Beadsmith Jeweller's Micro Pliers Chain Nose Flat Nose SKU: XTL-5511 $8.45 |
Related Videos


How to Use Patina and Paint Pens on Wood Beads
Store Closing, Limited Stock
This video shows how to use Vintaj patina and Krylon paint pens to alter the look of a wood bead and turn it into an earring.

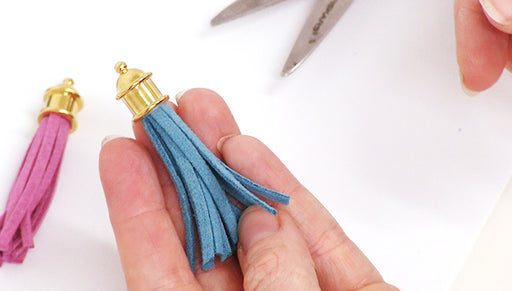
How to Make an Ultra Suede Tassel
Store Closing, Limited Stock
In this video learn how to quickly and easily create ultra suede tassels to add to your jewelry designs.