
|
Xuron Jeweler's Super Fine Pliers Chain Nose Flat Nose SKU: XTL-5450 $25.99 |

|
Eurotool Nylon Jaw Pliers - Round Nose SKU: XTL-0072 $14.49 |

|
Sharp Flush Cutter Pliers - For Cutting Beading Wire (1 Piece) SKU: XTL-5600 $23.99 |

|
Beadalon Large Beading Mats - Prevent Bead Rolling 13 X 18 Inch (Set of 2) SKU: XTL-9935 $6.75 |
Related Videos

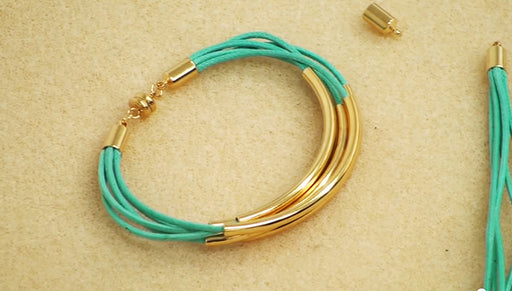
How to Use Round Cord Ends to Finish a Faux Wrap Bracelet
Special Value
In this video, learn how to use round cord ends to finish a multi-strand faux wrap bracelet.

How to Tie a Lark's Head Knot
Special Value
In this video see how to tie a lark's head knot to secure a pendant in place. This versatile knot is a very easy way to finish a necklace and is gr...
View full details

How to Choose the Right Glue
Special Value
There are so many different types of glue that we use in jewelry and it can be a bit confusing as to which one you should choose for a specific pro...
View full details