|
Nunn Design 2-Part Epoxy Resin Kit, Jewelers Grade Clear, 8 Oz Kit SKU: TRC-14 $44.09 |

|
Nunn Design Open Frame, Hoop 49.5mm, Bright Silver (1 Piece) SKU: PND-08371 $5.69 |

|
Nunn Design Open Frame, Hoop 49.5mm, Antiqued Silver (1 Piece) SKU: PND-08370 $3.95 |

|
Open Back Bezel Pendant, Square 12.5x18mm, Silver, by Nunn Design (1 Piece) SKU: PND-08269 $3.99 |

|
Fiskars 5 Precision Tip Scissors - Super Sharp SKU: XTL-5700 $7.45 |

|
Nunn Design Bright Silver Plated Pewter Large Bezel Round Adjustable Ring (1 Piece) SKU: FRG-0710 $7.15 |
hi this is becky nunn I'm at beadaholique in the studio shooting videos today and this episode I'm going to show you how you can use excess little bits of you're almost ready to harden resin how you can pour it out onto a flat surface and then once this is cured you can cut the resin and create fun little jewelry pieces like we're seeing here I have a little bit of excess resin from a project that I just finished up and so before this gets too hard I'm going to take the resin and just place it on a piece of plastic I'm just using a ziplock bag here but I've also used like nonstick cooking sheets and it has provided a really fun additional texture to the piece this resin is super super thick and the ideal if it wasn't quite as thick you can see that what you're wanting to do is just utilize every little bit of resin that you have and finding a usage for it so I'm putting it on pretty thin and I just have it on my plastic and then I let that cure 12 hours is like the ideal time that the resin is still somewhat malleable and it's easy to cut we're going to set that aside and then you'll be ready to peel that off of the plastic and it'll be like little pieces like you're seeing here these have been cured a lot longer than 12 hours and they have stopped - they're not as malleable as they were at 12 hours they're a lot harder because it continues to cure over time so it'll be a lot more brittle but ideally is around 12 hours it's very very soft and you can use a punch I like a leather hole punch to punch holes into it or scissors to cut it with the next thing that we're going to want to do create a piece that you have a backing on so I have already cut up a couple of pieces just with a pair of scissors just cutting just some abstract pieces and then just fitting them into the bezel until I got it like a pattern that I liked or a look that I liked so the next step is going to be putting a piece of plastic on to the back piece of packing tape will allow us to put resin in that piece and give it a solid back for the resin to cure so you just go ahead and take off a piece of packing tape and depending you know in this particular design I'm not going to have a lot of surface area show through but if you did have a piece like this one where there was a lot of surface area that was showing through you want to be mindful of the packing tape this packing tape has a really translucent back but sometimes there can be glue marks in the tape and that will show up on the back of your piece so lay your piece down press your bezel I'm using an open frame pendant here and then just trim away your excess this makes it so it's a little bit you have less of a risk of this attaching on to your shirt sleeve or your hand and it makes it much more manageable manageable on your work surface so now I have my piece that I went ahead and attached onto the paper back and I like to use a card underneath my piece that just makes it easy for me to transport this around without having to touch it and also I can turn it around to see the different angles of how that looks then you have all of your pieces lined up and you'll want to Matt you want to mix up a batch of two-part resin that you're gonna pour into the base of it first and then you're going to place your pieces into the bezel the next step is going to use your two-part resin that you've already mixed up we just mixed up a nice fresh batch you'll only need a tiny bit so you want to make sure that you have plenty of projects to do and you're gonna pour it into the base just a tiny amount but it you know just depends on what project style you're doing like here are some examples this is similar to what I'm creating right now so I'm just gonna pour a little bit into the base on a project like this I poured a little bit into the base these were all poles that I punched using a leather punching tool I use the largest size on the setting and you just punch the the resin and the little round circles came up through this part and then I just laid it down into a design onto the piece and and poured a little bit of resin underneath it and then just went in and agitated it to make sure that all of those little circles were fully adhered down into the base of there wasn't any air pockets in there but let me show you how you I'm gonna do this one so for this I have a tiny little stir stick and I'm just gonna drizzle a tiny bit of resin into the base of this piece just to kind of give it a nice solid place for the cut-up resin pieces to adhere to so just put a little bit right into the center and then you can use a toothpick to go in there and move that resin to the edges so I'm just giving it an overall solid back let me see how I have it at all on the base now these are pieces a little she's like little they almost look like little shards of glass that I've already adhered that I've already cut up and I already double-check that they fit well inside of my my little piece and now I'm just laying them down into the base turning this one over on its side it's okay if that resin gets in between there's you see how I did that and I think I have my knife this one has an extra little bit of green color in there and then my last piece pretty fun huh so then you're gonna let that sit and if you didn't like that design you were welcome to you know take these out maybe you didn't like this right here or maybe you wanted but you know I did a lot of that design work in those design design selections before I poured that resin in here's an example this is the exact same piece that the little pieces of resin were cut even higher in height than these pieces so it's protruding outside but it really does look like like cut up our sea glass here's the back part so once this piece is cured here's an example of almost the exact same technique with a more of a purple color of resin once this piece is cured you'll just peel off the back the tape off the back like this and then you can either use the packing tape from that back to remove that excess stickies which not a lot on this but if you have any excess like stickiness to the tape from the actual piece you can just use your packing tape to remove that extra you can see it right here it's the extra little bits of stickies from the tape if that doesn't remove it you can also use a product called goo gone and just put a couple drops on the back of that and use a stir stick to kind of scrape at that and it'll remove the pieces and then you'll have these great little pieces like this that you're seeing you can also use them inside of rings and put resin over the top of them if you'd like to like for example here's some pieces where the rings these are pieces that Cheryl made for she did this exact technique where she cut little pieces of resin put them down into the base and then poured clear resin over the top them to create a fun look like this so it doesn't have to be done just inside of an open back you can use them for any kind of project kind of creating a mosaic like book using excess bits of resin this is becky nunn for beadaholique.com you
Related Videos


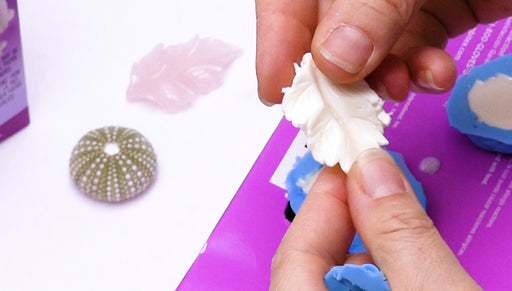
How to Use EasyMold and FastCast to Replicate Found Objects.
In this video, you will learn from start to finish how to create a blanket-type mold using EasyMold silicone paste. Additionally, you will see how ...
View full details

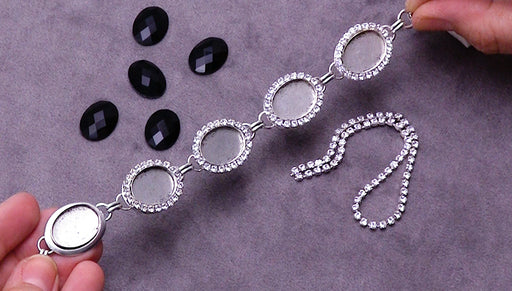
How to Add Cup Chain to a Nunn Design Bezel Bracelet
In this video you will learn how add cup chain around the bezel of a Nunn Design bezel bracelet. This is a quick and easy way to add some sparkle ...
View full details

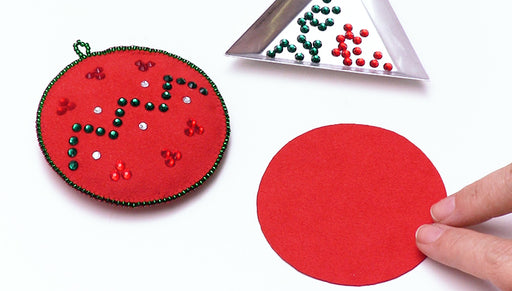
How to Use Hotfix Austrian Crystal Rhinestones with Ultra Suede
In this video you will learn how to decorate Ultra Suede to use in applications such as the Holiday ornament shown in the video. This simple techn...
View full details