|
Preciosa Czech Crystal Rhinestone Cup Chain, 18PP, Crystal/Silver Plated, by the Foot SKU: CHA-10106 $3.99 |

|
E6000 Industrial Strength Glue Adhesive (0.18 fl oz) SKU: XTL-1054 $2.99 |
Hi, this is Kat with beadaholique.com and i just want to show you sort of the difference in the look just so you can kind of see so if you're going for a little bit more of an understated look that looks very nice but I wanted to sort of embellish mine with a little bit of that extra chain so I have a length of chain here and to go around each of the bezels requires about three inches of the cup chain yet now you'll notice that I sort of squished mine together you could do yours in a little bit more of an open style or you can smush them together like I'm going to do here so that they sort of line up nice and tight but if you're counting you need three inches of it stretched out for each bezel which is about twenty-two crystals so to complete the entire bracelet you'll need fifteen inches now I'm going to be using e6000 and I have just a little scrap of wire just to help me get that glue onto there and then you're going to need a pair of flush cutters as well just to help cut that chain so very simply let me sort of set myself up here I'm just going to take that you six-thousand and I'm going to place a nice big dollop onto my work surface okay make sure to close that up you don't want it to dry and now just kind of holding it in my hand I'm going to take a little bit of glue onto that wire and sort of lay it across and get it right into that little space where the two meet where that sort of uh perk up and lower Cup sort of neat you can kind of be generous with the glue you'll see that it sort of dries very clear and now just take that cup chain and start by laying it down and you're going to want to start squinching it together pretty silly and just sort of press it down and work your way right around that bezel now you'll have a little bit of time to kind of mold it with this particular glue if you're using a different glue that may change but you'll see it does start to hold it pretty quickly you can kind of still smoosh it around a little bit and I recommend doing this step before you put your cabochons in just so you can kind of get your finger in there so that you can help yourself with the cup chain and now you just keep going all the way around the circle just adding a little bit of glue and just sort of work in sections and just keep smashing that chain together you might need to help it out a little bit there we go and it fell off my first half there so I'm just going to press that back into place like I said you'll have a little bit of time to work with it again and just keep working it around making sure it's nice and flush up against that bezel and I'm going to do my last little part here make sure I get that glue all the way around we can you just kind of got to work with your cup chain here and just make sure it stays nice and in place and as you come to the end you'll see where it needs to be cut off so you just take your flush cutters and just snip that chain off and then you can kind of go back and make sure those two ends meet up nice and neat and let me just kind of work my fingers around there just sort of pressing it in place there we go so it takes a little bit of work just to kind of get it going and once that glue dries you see I have a little bit of a dollop there once it dries I'll be able to pick that off without messing up the bezel so if that happens don't worry you are right on track but you do want to let that dry before you start kind of picking at the glue because you might take your cup chain off so that is how to very simply add that Cup chain and then the next step I'm going to do is I'm just going to add a little 6 thousand and put my little cabochon in there but I'm going to wait for my last one to dry before I go ahead and do that so I've gone ahead and just added that little dollop of glue and place my cabochon Zin there I just wanted to sort of skip that step see get see the completed bracelet really quick so this is a very fun and easy project to do I hope you enjoyed this video you can find this and more videos at beadaholique.com you
Related Videos


How to Use Hotfix Austrian Crystal Rhinestones with Ultra Suede
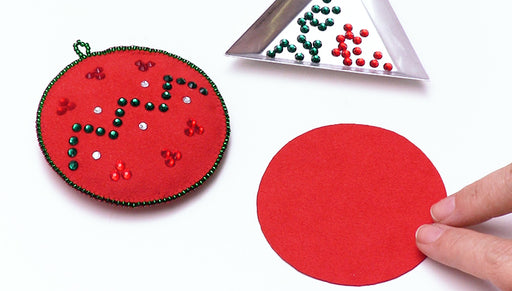
In this video you will learn how to decorate Ultra Suede to use in applications such as the Holiday ornament shown in the video. This simple techn...
View full details

How to Use the StazOn Opaque Ink Pad for Stamps
In this video you will see how to prep and use the StazOn Opaque Ink Pad. You can stamp on jewelry as well as various craft items.


How to Personalize Gift Bags Using Rubber Stamps
In this video, you will see how to use rubber stamps and StazOn ink to create custom gift bags for selling and gifting.
