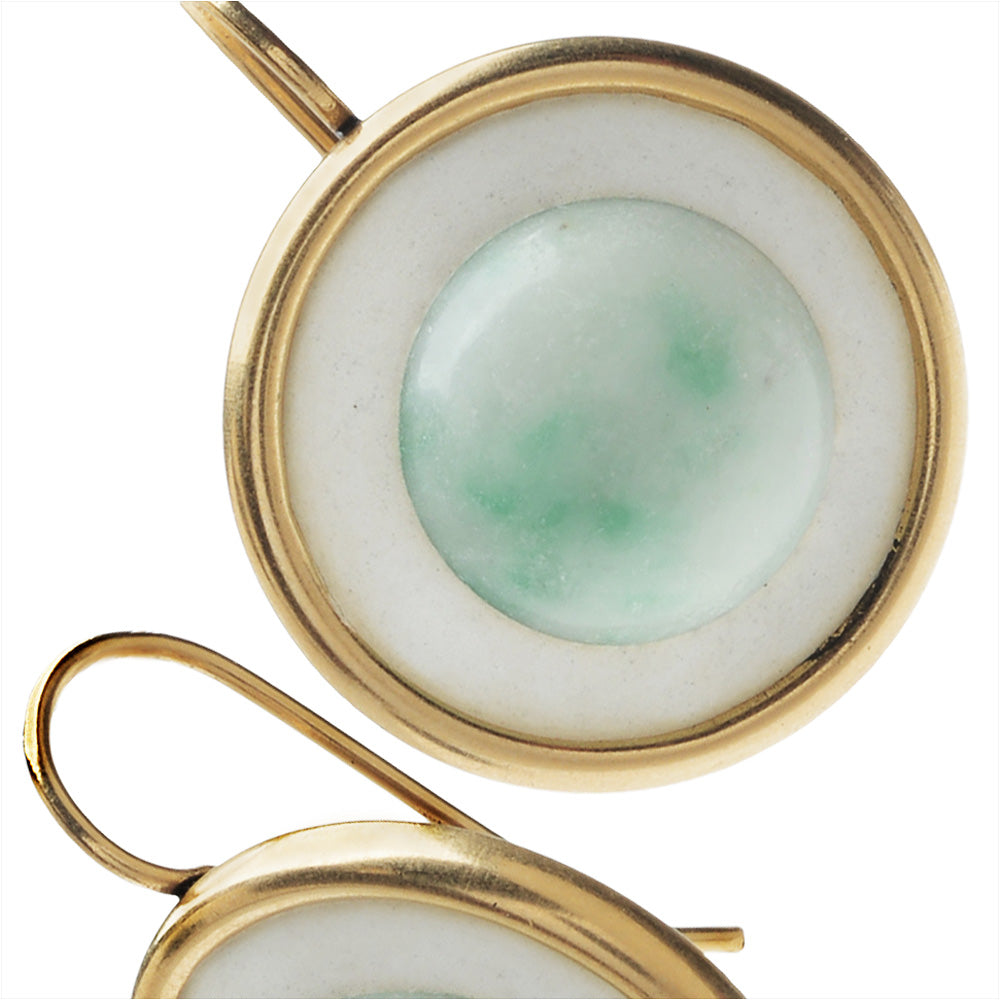
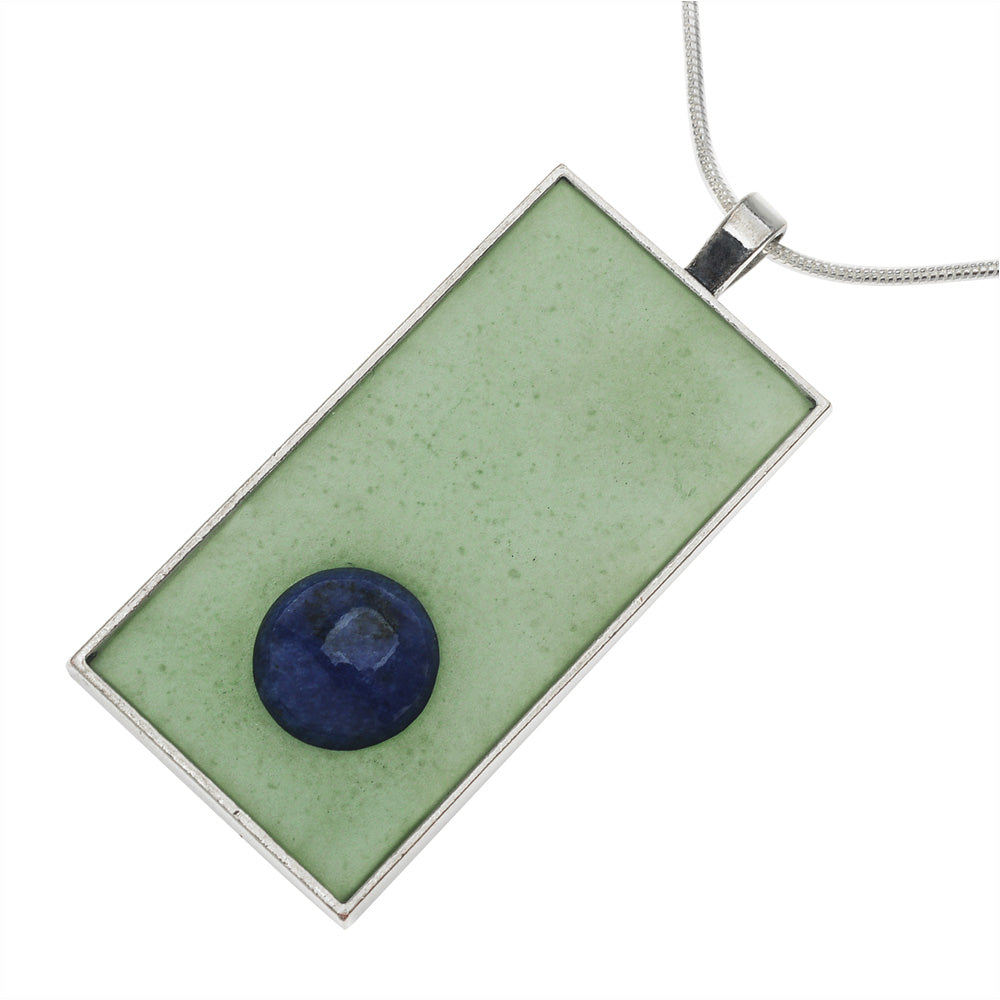
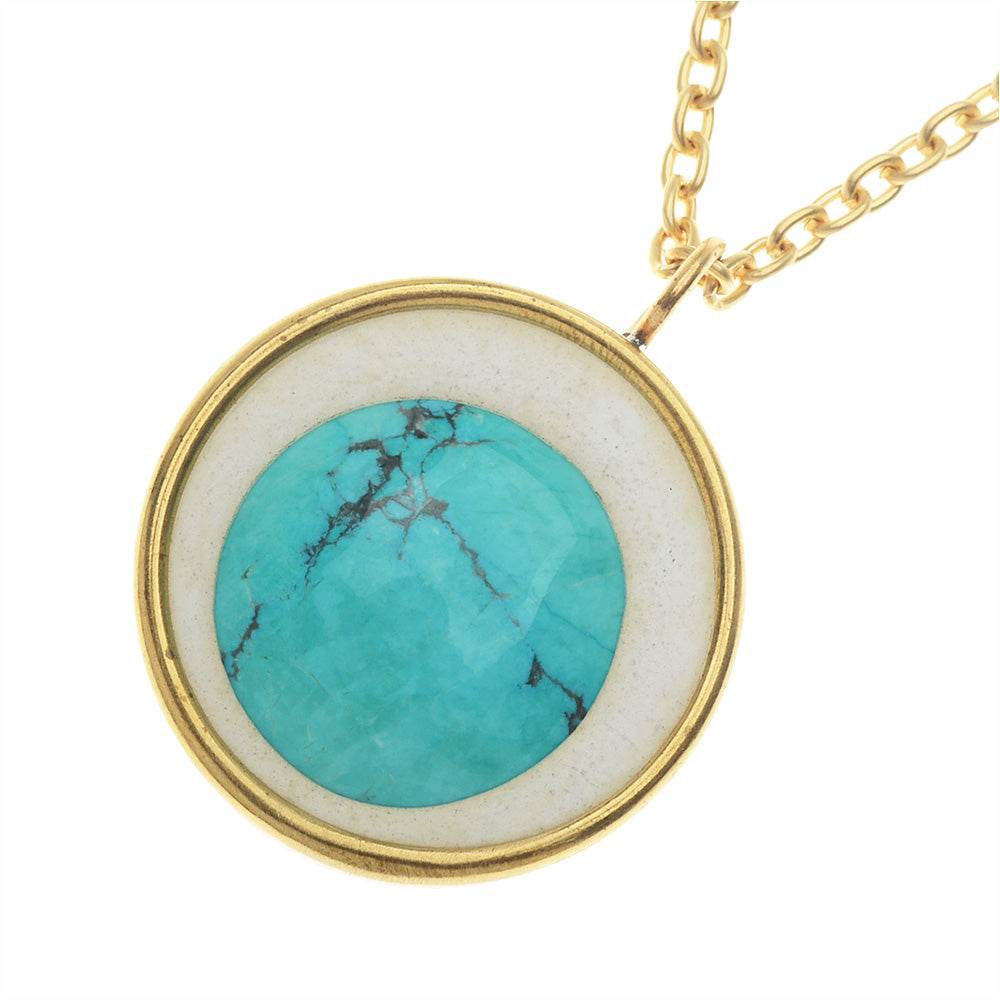
How to Make Concrete Jewelry
SKU VID-1006
Designer:
Julie Bean
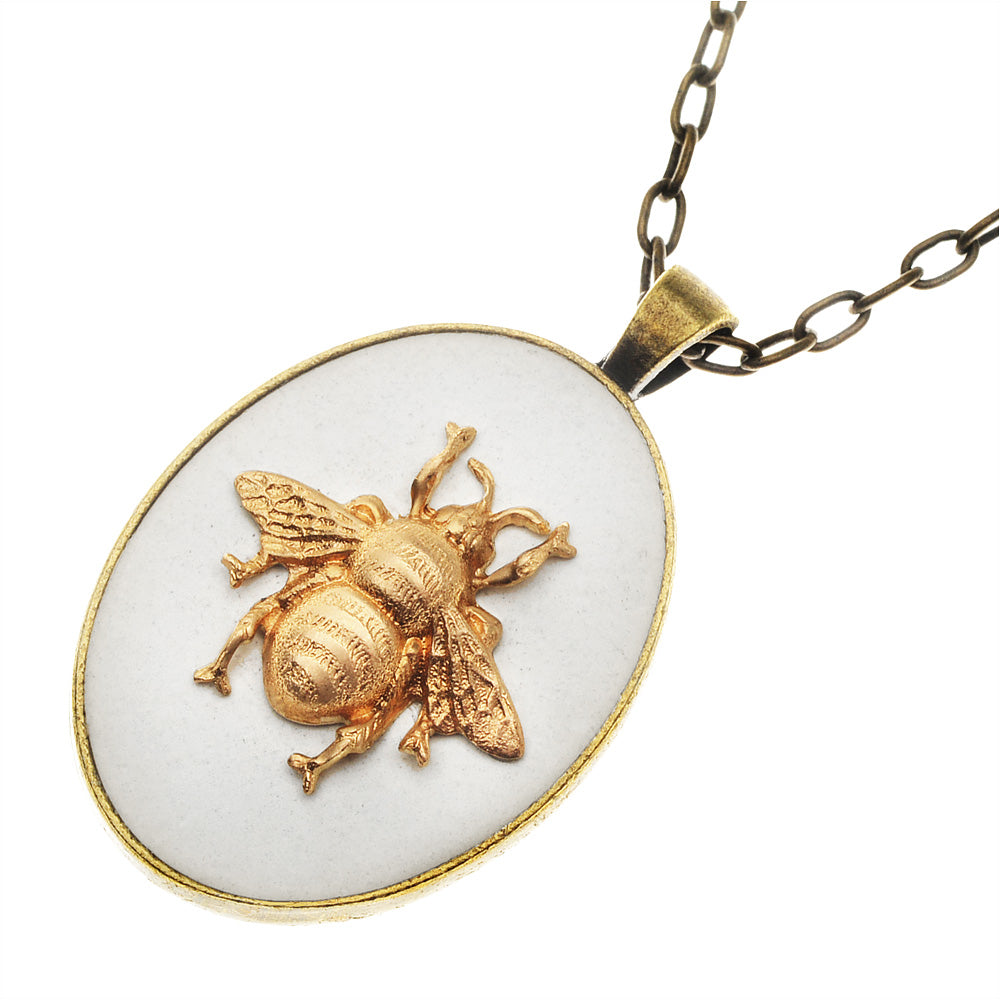
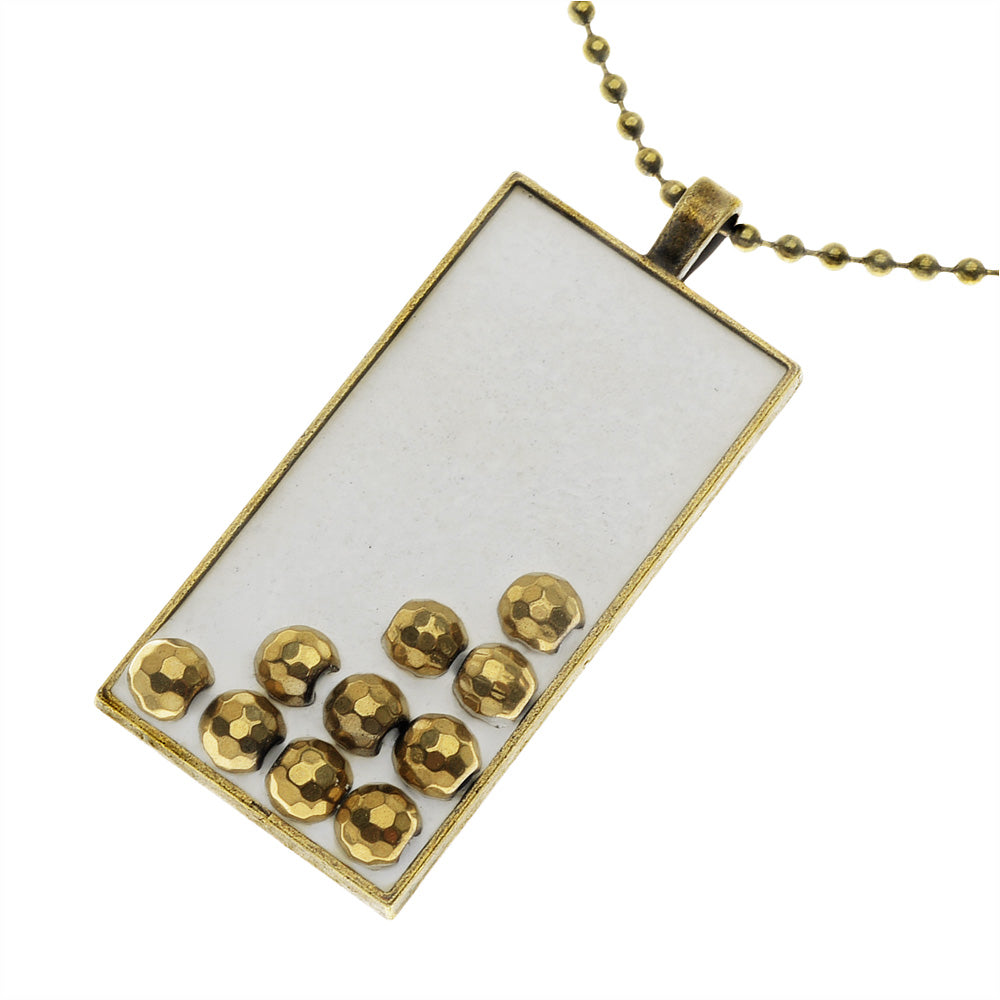
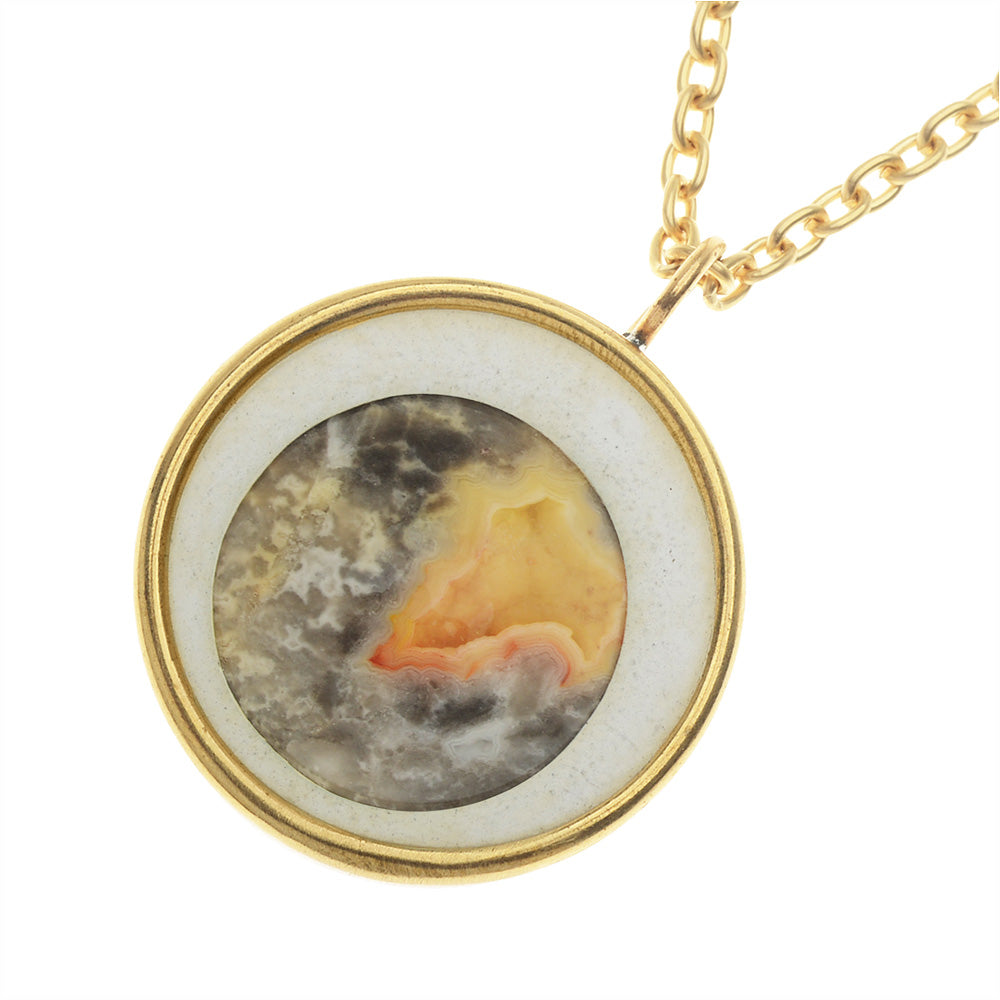
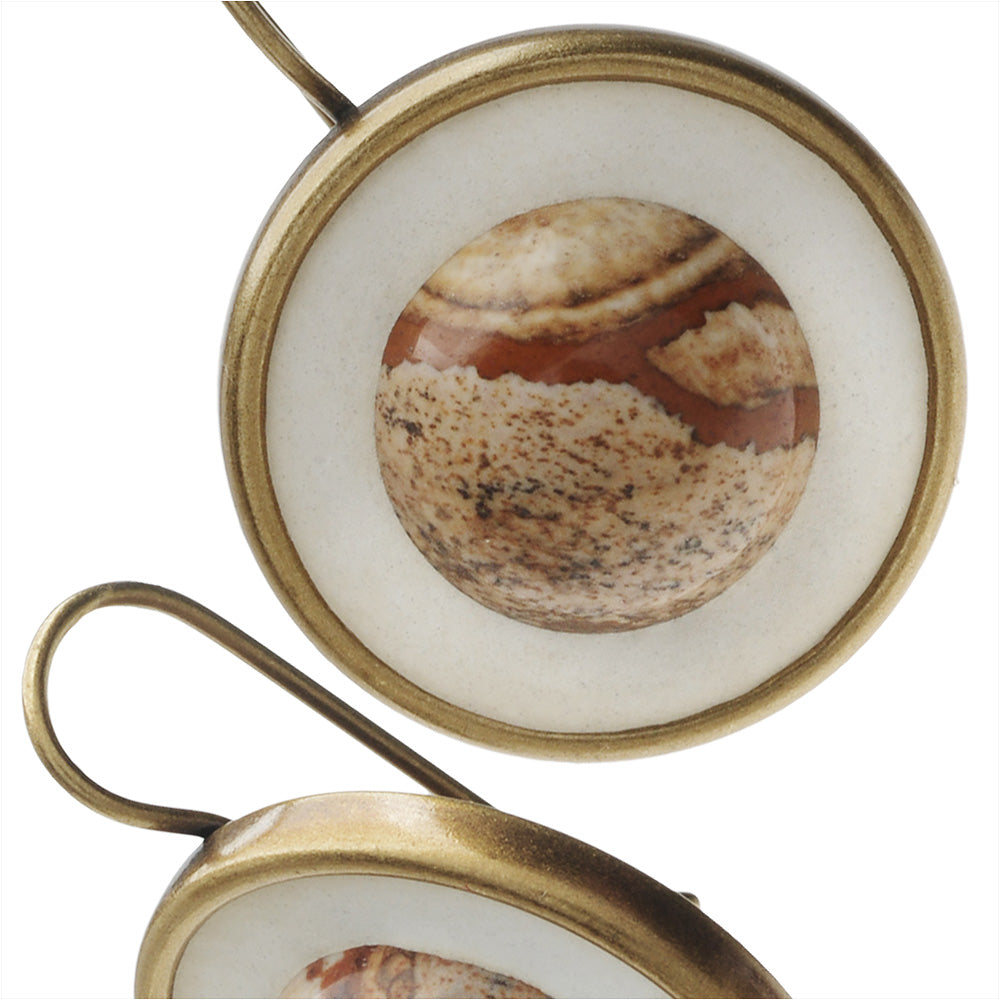
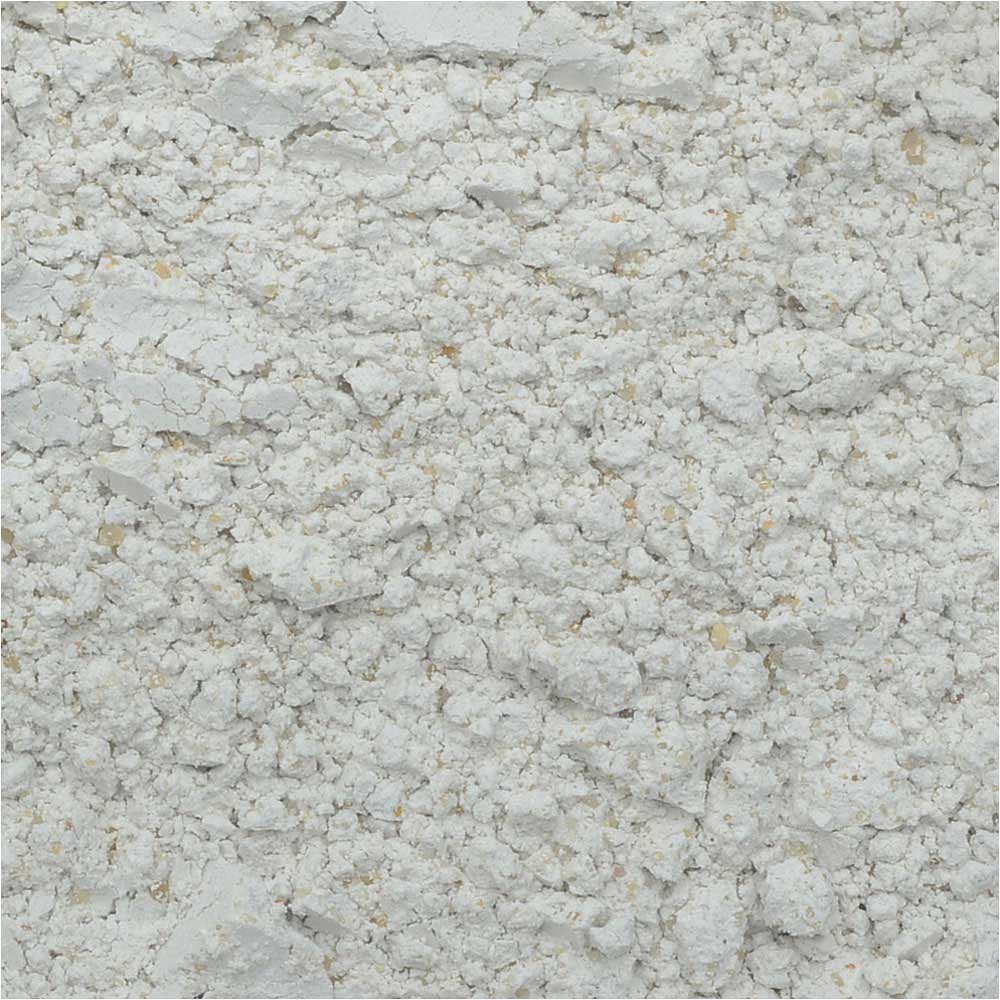
Concrete jewelry is fun and easy to make. This video teaches you how to mix the Artist's Concrete and pour it into both a bezel and a mold to make jewelry. Lots of finished examples to view and be inspired by.