
|
Griffin Silk Beading Cord & Needle Size 2 Coral Orange SKU: XCR-9218 $2.69 |

|
Griffin Silk Beading Cord & Needle Size 2 Black SKU: XCR-9202 $2.69 |

|
The Beadsmith 5 Inch Big Eye Beading Needles (Set of 4) - Easy Needle To Thread SKU: XTL-3164 $3.99 |

|
Gemstone Beads, Turquoise, Square Carved Skull 18x14mm, White (10 Pieces) SKU: SPTU-171 $4.75 |

|
Fiskars 5 Precision Tip Scissors - Super Sharp SKU: XTL-5700 $7.45 |

|
Sharp Flush Cutter Pliers - For Cutting Beading Wire (1 Piece) SKU: XTL-5600 $23.99 |
Related Videos


How to Make a Simple 8-Warp Kumihimo Braid Bracelet
Learn how to make an 8-warp kumihimo braid bracelet. This updated version of an ancient Japanese craft is created on standard round foam disk, usin...
View full details
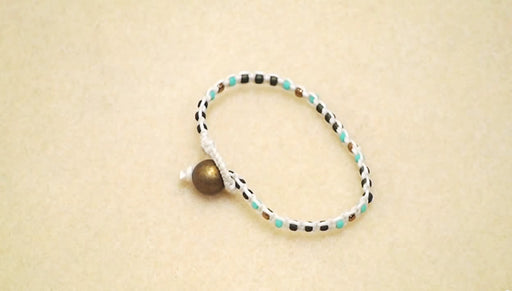
How to Make a Knotted Waxed Linen Wrap Bracelet (beads on the inside)
In this Beadaholique video, Andrea show us how to make a knotted waxed linen wrap bracelet with beads on the inside. Looking like an interesting tr...
View full details

How to Make a Knotted Waxed Linen Wrap Bracelet (beads on the outside)
Learn how to make a knotted waxed linen wrap bracelet with beads on the outside. The warm brown of the waxed linen blends beautifully with the colo...
View full details