
|
Lisa Pavelka Magic-Glos UV Resin Dimensional Gloss for Crafts & Jewelry (1 Ounce) SKU: XTL-1025 $18.99 |

|
Miyuki Delica Seed Beads, 10/0 Size, Mix Lavender Garden Pink Green (8 Grams) SKU: DBM-MIX21 $6.95 |
Related Videos

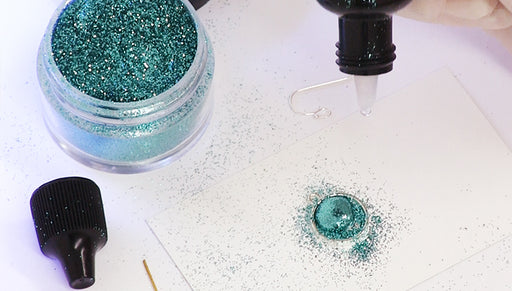
How to Add Glitter to UV Resin and Make a Pair of Earrings
In this video learn how to add glitter to UV resin and make a pair of sparkly earrings. UV resin cures in just 15 minutes in a UV light (or sunshin...
View full details

How to Make Scrabble Tile Magnets using Magnetic Tape
Scrabble tile magnets are great because you can spell out all sorts of words and phrases with them. This video shows you how to quickly and easily ...
View full details

How to Paint Metal Flower Beads
In this video you will see how you can use patina and krylon leafing pens to add color to metal flower beads. This is a great way to create one of...
View full details