
|
Lisa Pavelka Magic-Glos UV Resin Dimensional Gloss for Crafts & Jewelry (1 Ounce) SKU: XTL-1025 $18.99 |

|
Vintaj Metal Relief Block For Filing, Buffing & Sanding SKU: XTL-2222 $5.45 |
Related Videos

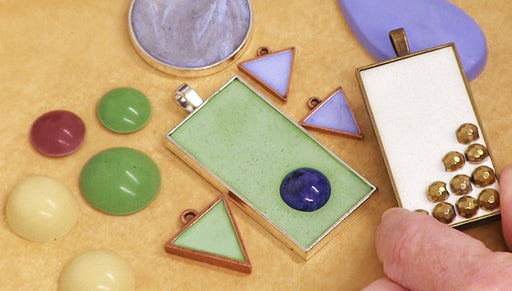
How to Add Color Pigments to Concrete for Jewelry
Learn how to add color pigments to your concrete to make a wide array of jewelry designs. This is a very easy and forgiving technique.
How to Make Concrete Jewelry
Concrete jewelry is fun and easy to make. This video teaches you how to mix the Artist's Concrete and pour it into both a bezel and a mold to make ...
View full details
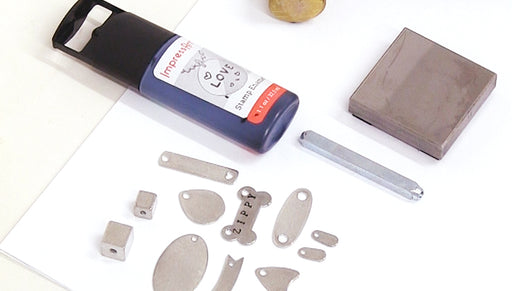
How to use ImpressArt Stamp Enamel
Use ImpressArt stamp enamel to make your metal stamp designs 'pop' and stand out more clearly against metal blanks. The ink fills the recess left b...
View full detailsCustomer Reviews
Based on 1 review
Write a review