Note: Components and tools listed within this INSTRUCTIONS box and the printer-friendly PDF, if available,
may have been discontinued since this project was published. Refer to the PURCHASE COMPONENTS and TOOLS AND
OTHER SUPPLIES sections for current availability.
In addition to the materials listed, you will also need a few toothpicks, a face mask, some disposable gloves, and a heat source such as a lighter or small torch to complete this project.
- Begin to assemble your pendant by using flush cutters to cut off the loops at the top of each of your star charms. File away any rough edges with the Vintaj metal file.
- Next, use a pen or pencil to trace around the edge of your bezel or use a bezel template on a piece of valor paper and use scissors to cut the proper size circle for the bezel.
- Using a toothpick, line the inside base of the bezel with Crafter's Pick glue. Set your velour paper circle into the bezel, press it down, and use your toothpick to remove any excess glue from along the sides of the bezel.
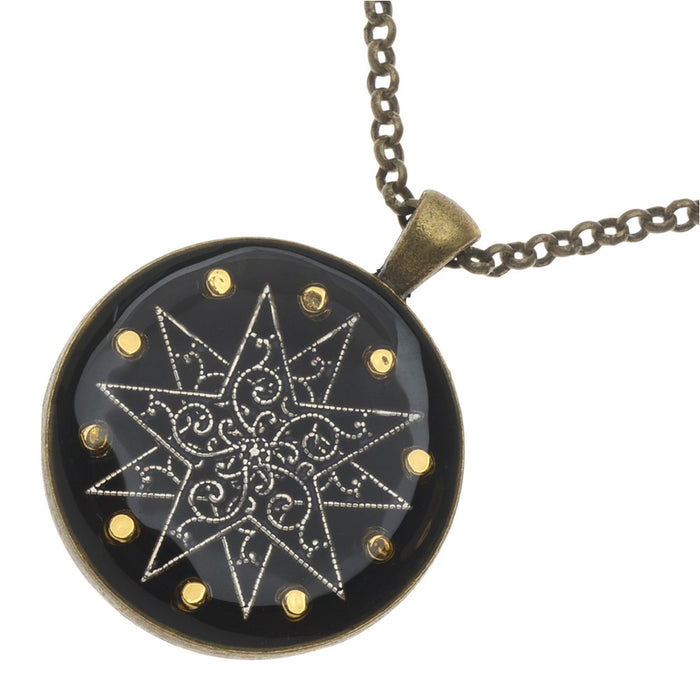
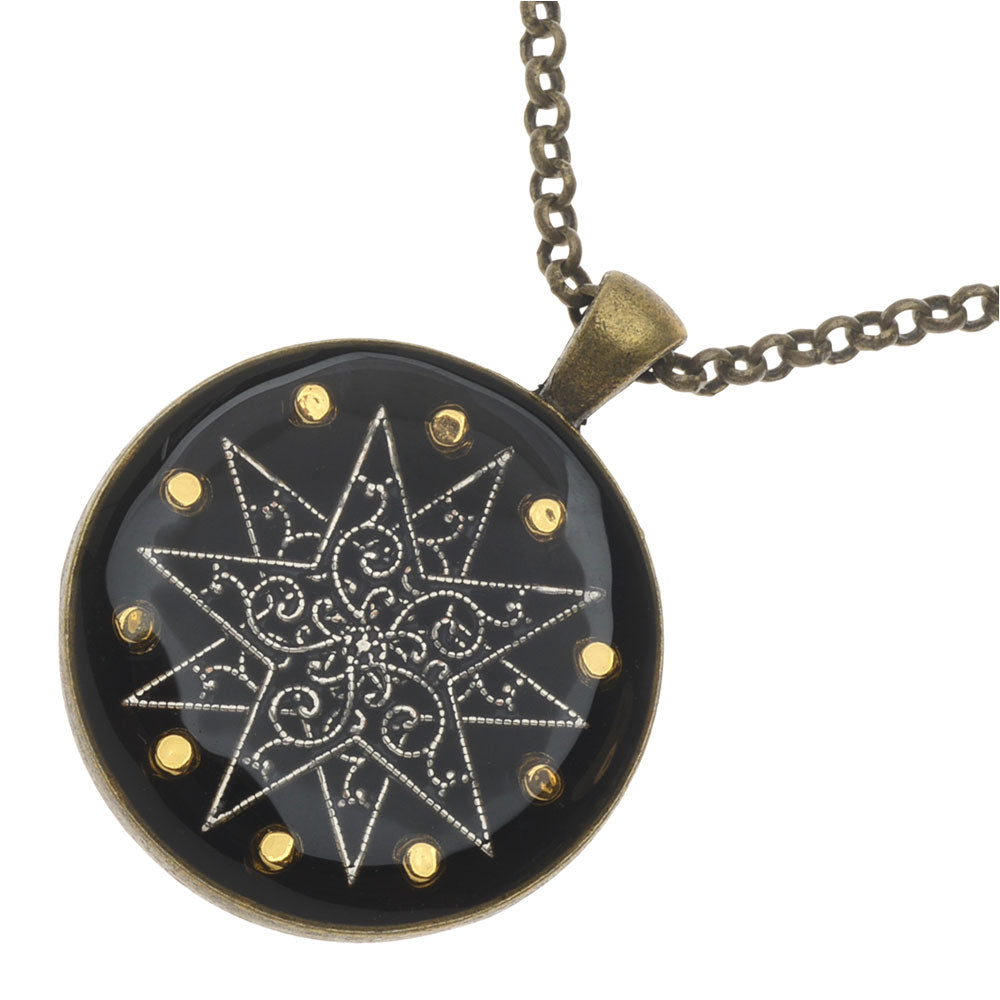
- Apply a thin layer of glue to one star charm and set it into the center of the pendant on top of the velour paper. Then spread a thin layer of glue onto one side of your other star charm and set it into the bezel on top of the other one, so that the arms of the two stars are evenly alternating (see photo for reference).
- Now use your toothpick to apply a very small amount of glue to each of your 10 gold spacer beads, and place them carefully into the bezel between the arms of each of the stars. Let the glue dry for several hours until it dries clear.
- Please watch the video: How to Use Ice Resin. Put on your disposable gloves and face mask. Based on the instructions in the video, measure your resin and stir with a popsicle stick until all striations are gone. When it is fully mixed, use the stick to drip the resin into the bezel a few drops at a time, until the resin forms a low dome over the top of the bezel. Remove any air bubbles with a heat source such as a small torch. Allow the resin to cure in a dust-free area for three days.
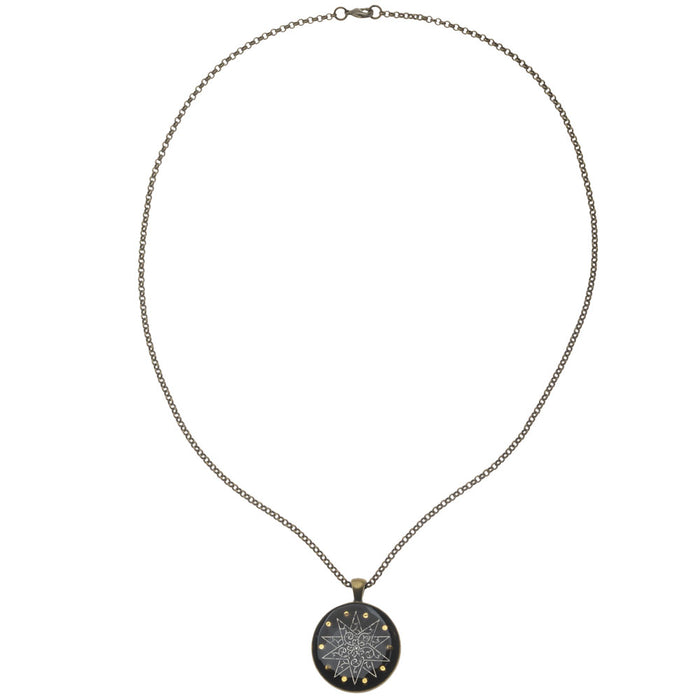
- To make your pendant into a necklace, string your 24 inch length of chain through the bail of your pendant.
- To attach the clasp, open a jump ring. Slide it through the last link on one side of the chain, and also slide on the loop of your clasp. Close the jump ring.
- Open another jump ring. Slide on the last link of chain on the other side of the necklace. Close the jump ring.
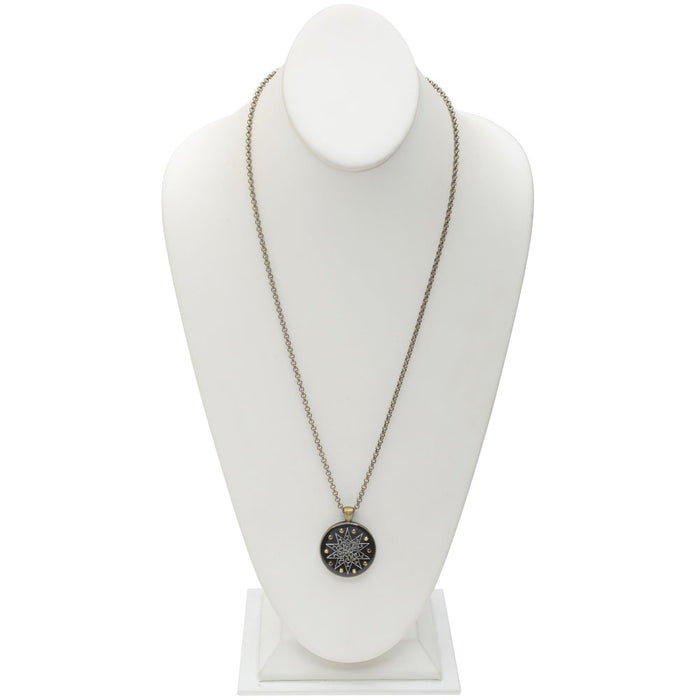
- Enjoy your necklace!
WHAT YOU'LL NEED: (scroll down for purchase options)
- BMB-5013 - 22K Gold Plated Square Rounded Beads 3mm (100)
Project uses 10 pieces. You will need 1 package.
- PND-5913 - Antiqued Brass Color Round Bezel Pendant 30mm - 1 1/6 Inch (1)
Project uses 1 piece. You will need 1 package.
- PND-5402 - Antiqued Silver Plated Stamping Filigree Star Pendants 26mm (2)
Project uses 2 pieces. You will need 1 package.
- XTL-7980 - BeadSmith Velour Paper - Create Backings On Glass Tiles & Cabochon Pieces
Project uses 1 piece. You will need 1 package.
- TRC-10 - ICE Resin Jewelers Grade Clear Casting Epoxy Resin 8 oz Kit
Project uses 1 piece. You will need 1 package.
- XTL-1026 - Crafter's Pick The Ultimate Permanent Glue Cement Adhesive 4 OZ
Project uses 1 piece. You will need 1 package.
- CHA-9965 - Antiqued Brass Round Rolo Chain 3mm Bulk By The Foot
Project uses 2 feet. You will need 2 packages.
- FJR-5301 - Antiqued Brass Open Jump Rings 6mm 18 Gauge (x100)
Project uses 2 pieces. You will need 1 package.
- FCL-2400 - Antiqued Brass Curved Lobster Clasps 8mm (6)
Project uses 1 piece. You will need 1 package.
RECOMMENDED TOOLS:- XTL-5700 - Fiskars 5 Precision Tip Scissors - Super Sharp
- XTL-5511 - Beadsmith Jeweller's Micro Pliers Chain Nose Flat Nose
- XTL-2221 - Vintaj Special Edition - Metal File 2 Cut - 3 Long 0.40 Wide
- XTL-5600 - Xuron Sharp Flush Cutter Pliers - Wire/Soft Flex


 Earn Reward Points with your purchase of project components or tools.
