Bead Weaving Variation on Loops using Briolettes

SKU VID-0063
Designer: Julie Bean
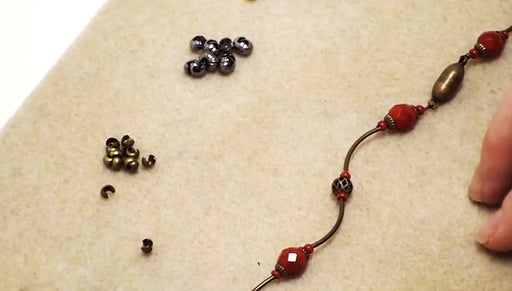
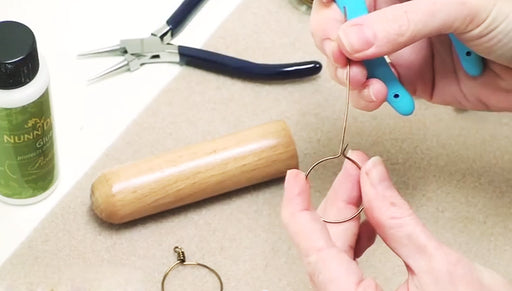
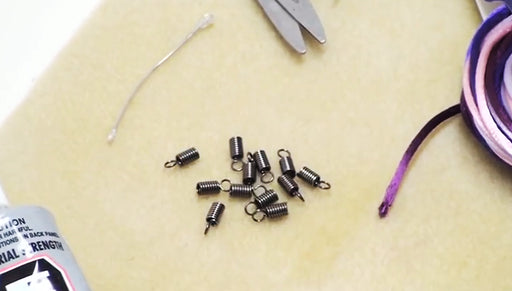
Learn how to add loops to your bead weaving using a variety of beads including briolettes. This is a simple step to learn and can add lots of variety to your work. If you do not want to use briolettes, simple leave them out and make a more traditional loop.
Audio Transcript
Note: This audio transcript is auto-generated and may not be completely accurate.
Hello. This is Julie for Beadaholique.com. Today I want to show you how to create a various of loop fringe in bead weaving using briolettes. Here's what the finished piece is going to look at like. In a moment here I'm going to take this apart so that we can put it together together. You can see I haven't secured my ends yet and we actually have another great instructional video that shows you how to start add and finish and ends in bead weaving. The basic structure of this necklace is a traditional right angle weave and you can see that here is probably how you're familiar how a right angle weave looks. Then as we progress down the length of the necklace I actually continued with the basic right angle weave I added more beads to my stitches. Really simple thing to do and I just continued along and kept adding a few more beads but keeping up with the same right angle weave stitch. When you get down here I wanted a little bit more interest so I created these draping loops and I added briolettes at the base of it. So let me show you how to do that by first taking apart the work I've already done. Just going to pull that thread out. I know this is painful to watch for those of you who do a lot of bead weaving and sometime you have to take out your stitches because of mistakes but this is actually a good reason to take out my stitches. I do want to show you how to do this. So here we go. Here's the basic necklace again just a right angle weave all the way around. I've threaded a needle with about four feet by fire line. What I'm going to do now is I'm going to start by seeing how I want my pattern to go. I'm just going to follow my curve here and I know I want to start right here at the beginning of where my black bead starts. My black bead pattern. I'm going to pull my thread through so I have a tail of about eight inches. Now I'm just going to go through the bead work which is already been secured. I'm following the same line of the original bead weaving. Because I would want to crossover in the middle here and have my thread show. So for your own personal project you'll just going to decide where you want to start. You'll have a different pattern than you might be using for this technique but for my pattern I knew I wanted to start at beginning of the black beads and then I knew I wanted to come out on the fifth bead. So having done that I'm going to thread onto my needle two of my little seed beads. I'm going to do a little three millimeter czech bead, four millimeter czech bead, one of these great little deco drops, a briolette. Then I'm going to make an mirror image of that same pattern. So another little deco style drop, four millimeter, three millimeter and two seed beads. Pull that all the way down. For this pattern I want to skip one of my beads in the middle and I want to go backup through the next one. See right where that lies. Pull that snug and I have my first a look. I'm going to repeat that process now, make two more. So now I've got my loops and what I'm gonna do now is I'm going to do what I did on the other side where i woove my thread back through my original bead work. I'm just going to do that on this side. And there we go. I will just secure my threads before I cut off the excess. As you can see we now have three lovely soft drapes using briolettes. Go to Beadaholique.com for all of your beading supplies needs!

You recently viewed

Clear recently viewed