
|
The Beadsmith Jeweller's Micro Pliers Chain Nose Flat Nose SKU: XTL-5511 $8.45 |

|
Xuron Jeweler's Super Fine Pliers Chain Nose Flat Nose SKU: XTL-5450 $25.99 |

|
Sharp Flush Cutter Pliers - For Cutting Beading Wire (1 Piece) SKU: XTL-5600 $23.99 |

|
The Beadsmith Jewelry Fine Round Nose Micro Pliers SKU: XTL-5514 $8.49 |

|
Rubber Bench Block 4 x 4 Inches - Base for Steel Block SKU: XTL-0254 $10.99 |

|
Solid Steel Bench Block - Wire Hardening and Wire Wrapping Tool SKU: XTL-6092 $15.99 |

|
Eurotool Brass Mallet For Metal Smithing - 1 Pound SKU: XTL-0248 $34.99 |

|
Domed Wooden Dapping Shaping Forms in Assorted Sizes for Metal SKU: XTL-0259 $14.99 |

|
Antiqued Silver Plated Blank Stamping Circle Pendants 25mm (2 pcs) SKU: PND-5851 $2.99 |

|
Eurotool EuroPunch 1.25mm Round Hole Punch Pliers For Sheet Metal SKU: XTL-0060 $17.99 |
Related Videos

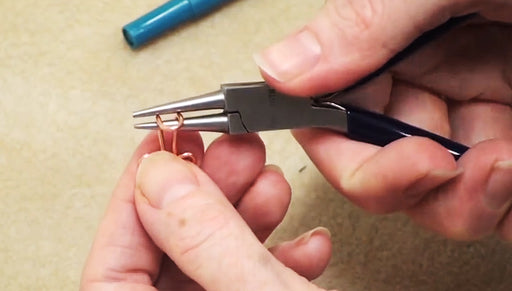
How to Make a Simple Hook and Eye Clasp
Sometimes the perfect clasp for a project is the one you make yourself. Learn how to make an elegant looking hook and eye clasp out of wire. In thi...
View full details
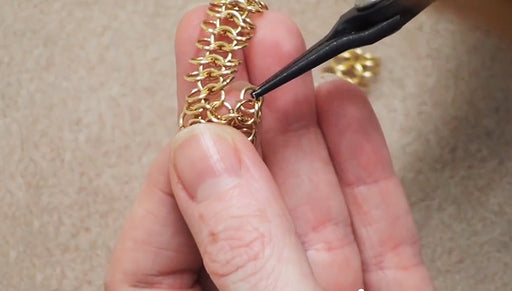
How to Make a European 4-in-1 Chain Maille Bracelet
Learn how to do the European 4-in-1 Chain Maille weave and make it into a bracelet. This video will show step by step how to do the weave, attach a...
View full details
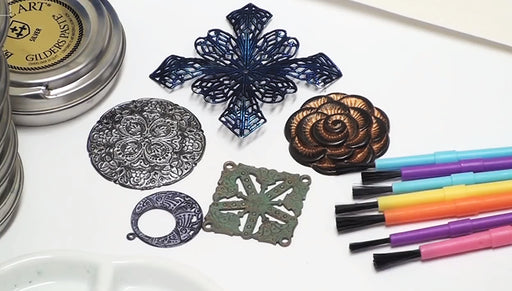
How to Apply Gilders Paste without a Paint Brush
Learn how to quickly and easily transform a piece of metal filigree using Gilders Paste, a wax based medium used to highlight objects. This video s...
View full details