|
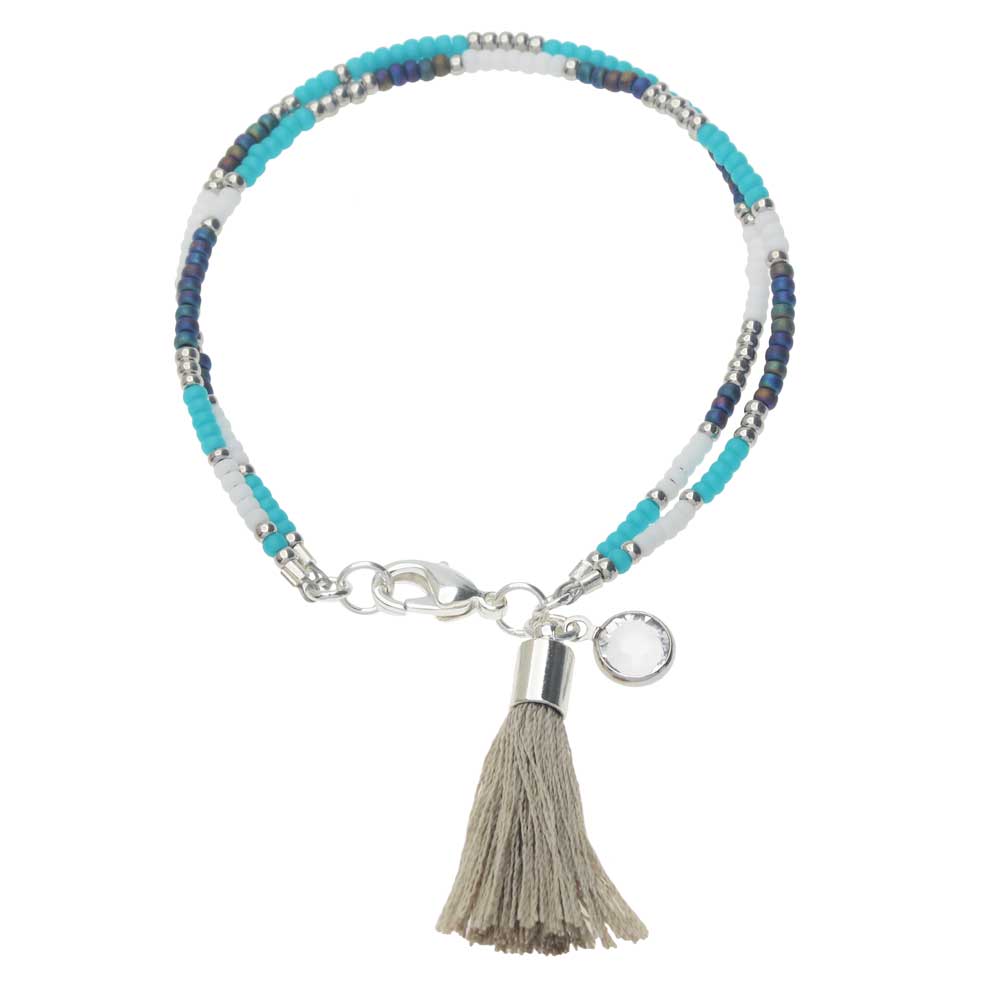
Retired - Beaded Friendship Bracelet SKU: B2363 Project Tutorial |
|
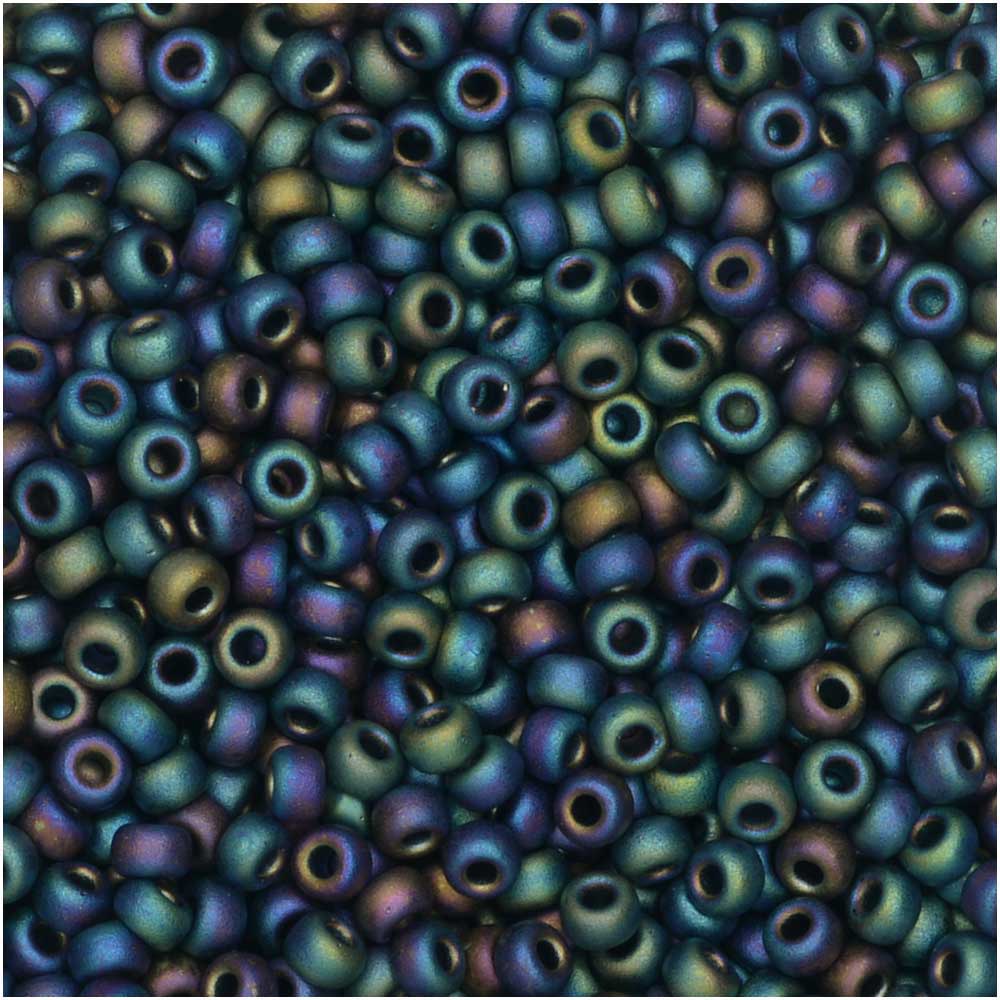
Miyuki Round Seed Beads, 11/0 Size, #401FR Matte Black AB (8.5 Gram Tube) SKU: DMRR-0401FR $2.39 |
|
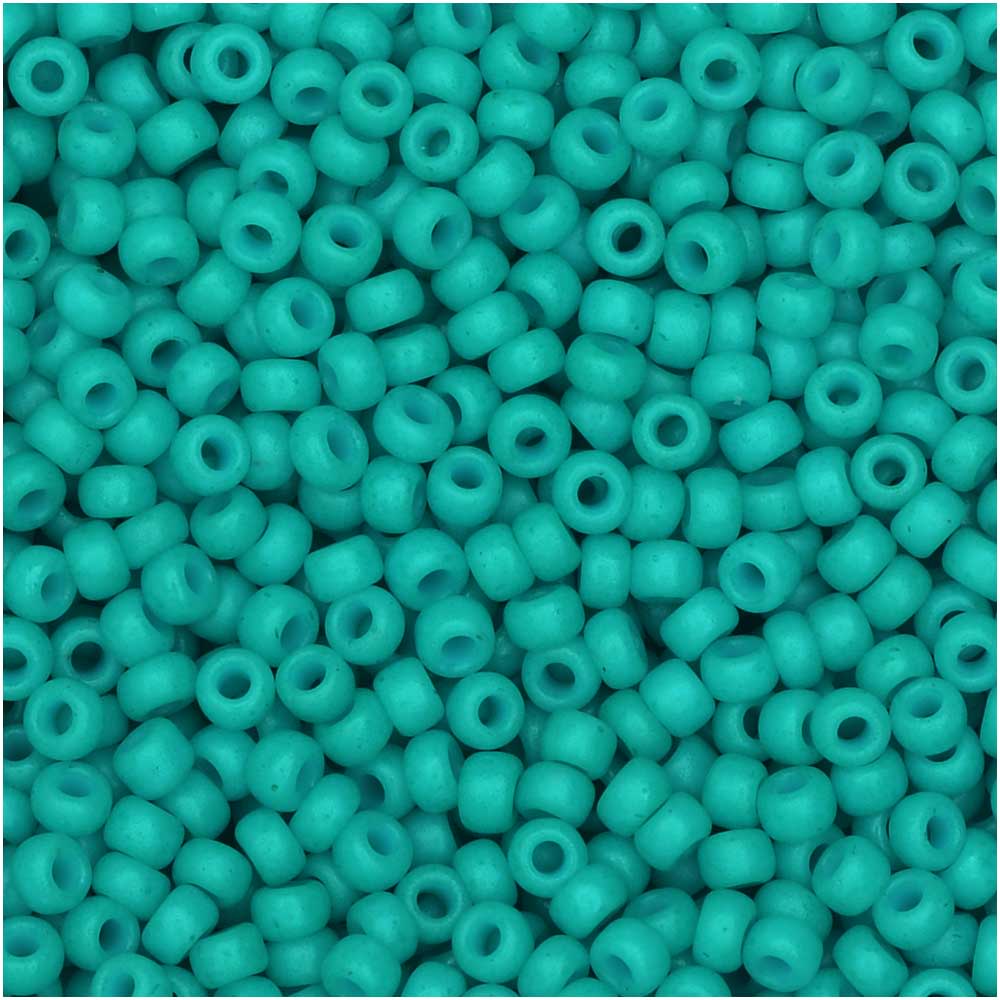
Miyuki Round Seed Beads, 11/0 Size, #2050 Special Dyed Bright Turquoise (8.5 Gram Tube) SKU: DMRR-2050 $2.39 |
|
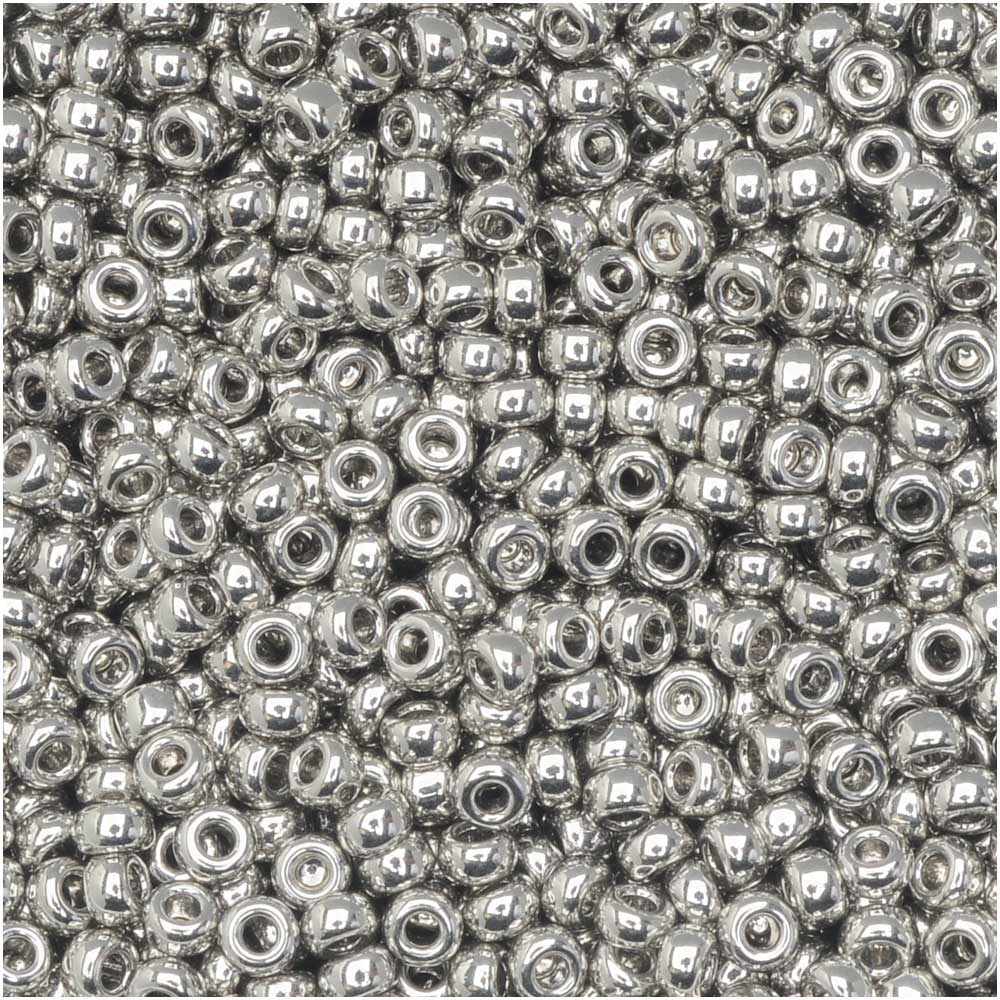
Miyuki Round Seed Beads, 11/0 Size, #194 Palladium Plated, Silver Tone (8.5 Gram Tube) SKU: DMRR-0194 $14.89 |
|
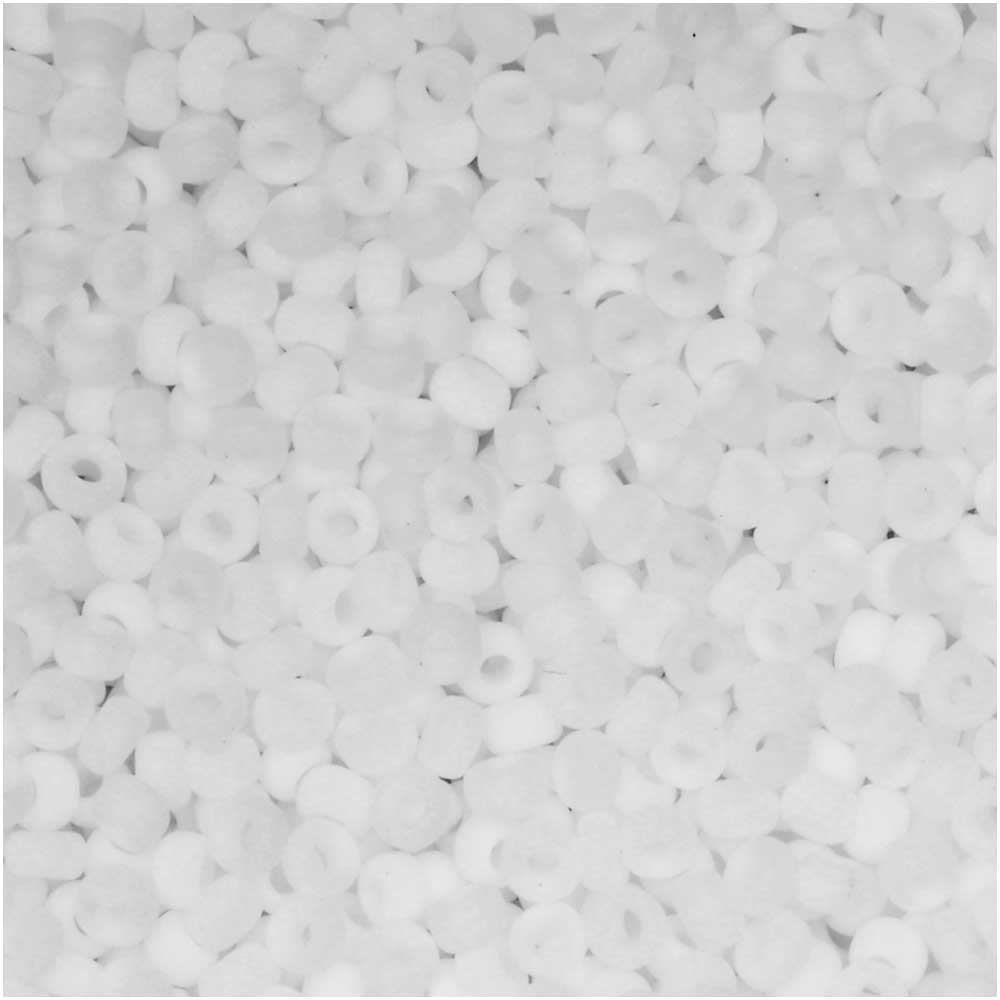
Miyuki Round Seed Beads, 11/0 Size, #402F Matte Opaque White (8.5 Gram Tube) SKU: DMRR-0402F $2.29 |
|
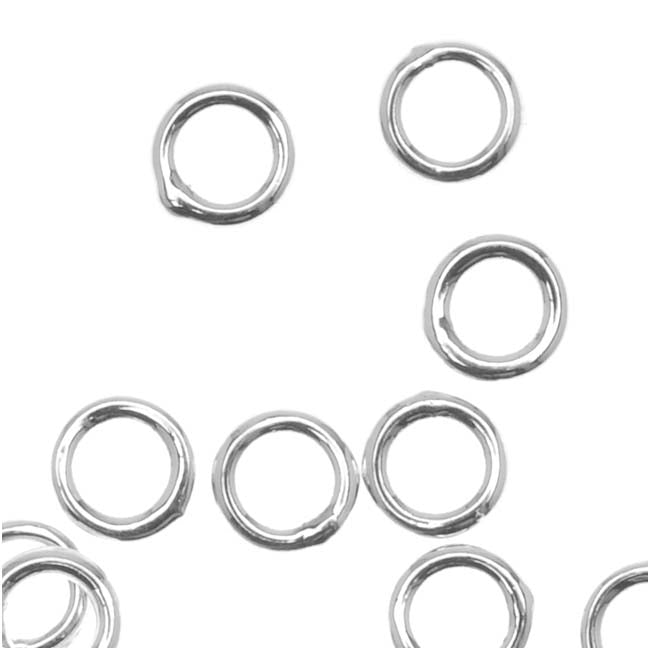
Silver Plated Closed Jump Rings 4mm 20 Gauge (20 pcs) SKU: FJR-4023 $2.39 |

|
Silver Plated Open Jump Rings 5mm 20 Gauge (100 pcs) SKU: FJR-5150 $3.39 |
|
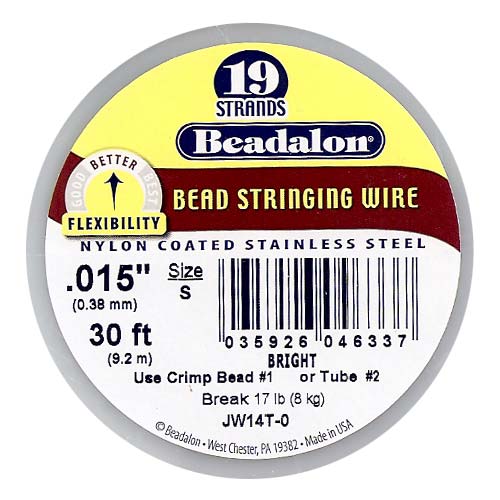
Beadalon Wire Standard Bright 19 Strand .015 Inch / 30Ft SKU: XCR-69513 $11.99 |
|
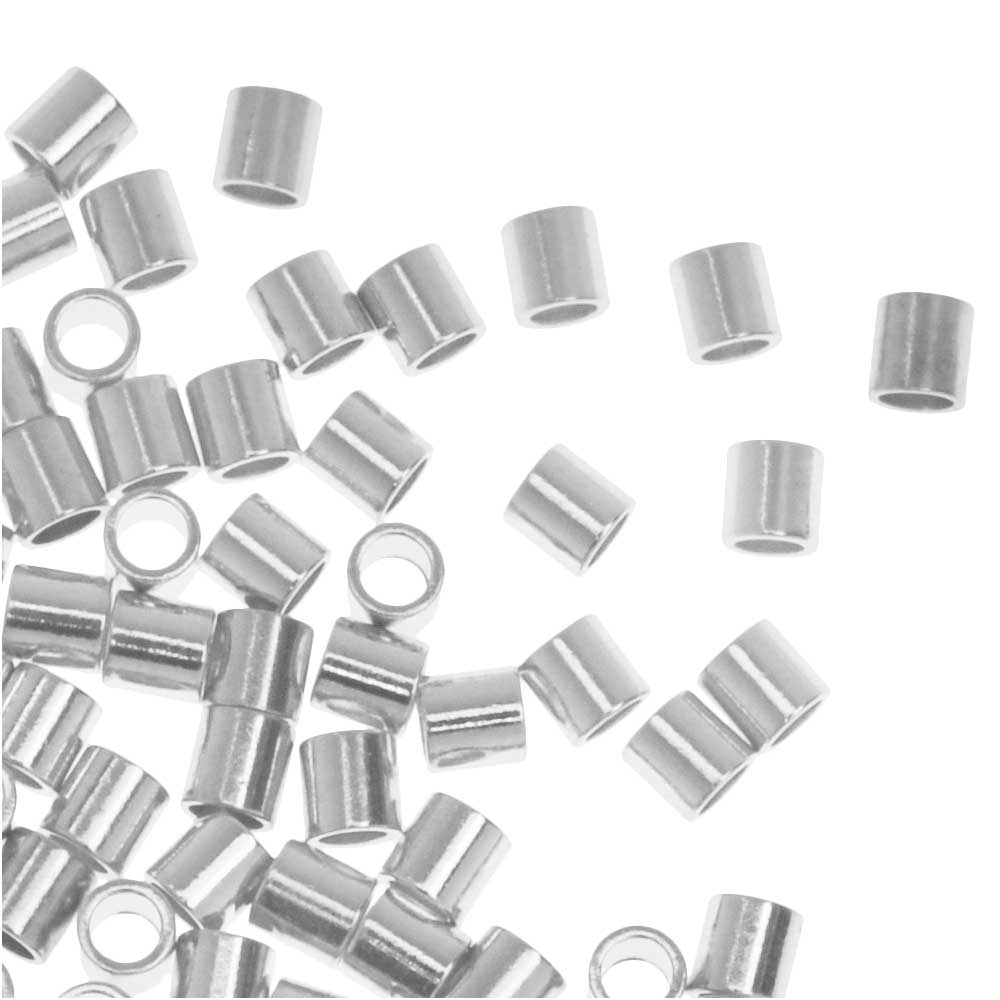
Crimp Beads, Tube 2x2mm, Silver Plated (100 Pieces) SKU: FCR-9009 $3.49 |

|
Xuron 4 In 1 Crimping Pliers - Works On 1, 2 And 3mm Crimps! SKU: XTL-5608 $27.09 |
|
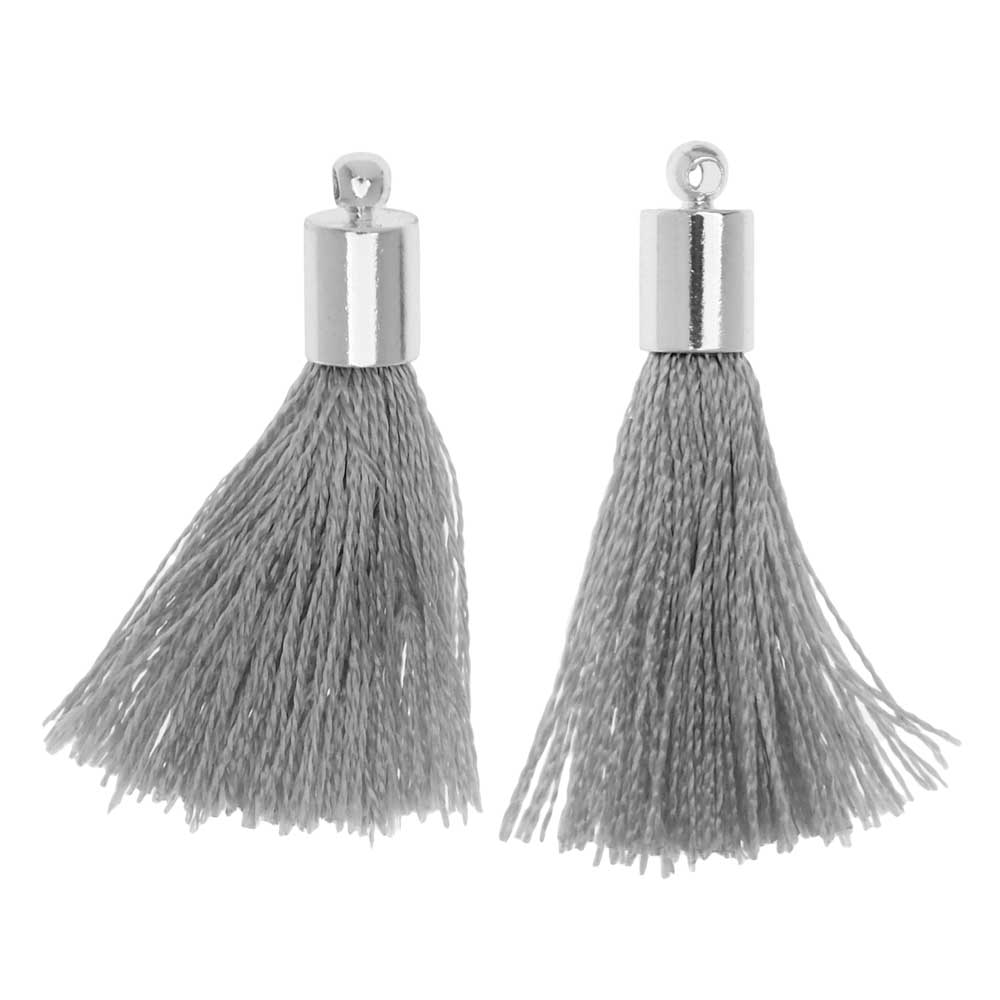
Silk Rayon Thread Pendant, Tassel with End Cap 30mm Silver and Grey (2 Pieces) SKU: PTS-139 $3.99 |
Related Videos


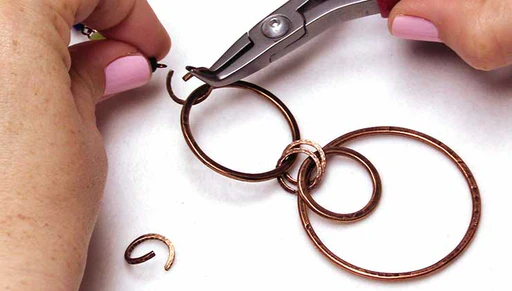
How to Wire Wrap Beads onto the Inside and Outside of a Hoop
In this video, you will see from start to finish how to create this design using 28 gauge craft wire, Czech etched glass seed beads, and Nunn Desig...
View full details
How to Make the Copper Mine Necklace featuring Nunn Design
In this video you will learn how to make a geometric long necklace design using antiqued copper components from Nunn Design and colorful gemstone b...
View full details
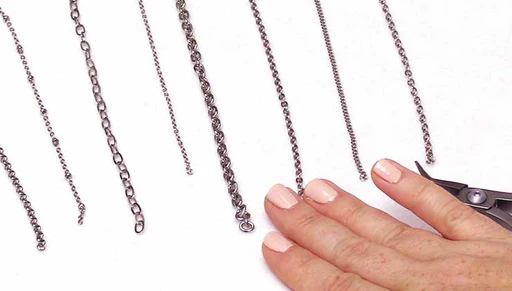
How to Size and Care for a Stainless Steel Chain Necklace for Men and Women
In this video you will learn the standard sizes for necklaces for men and women as well as how to construct a necklace using jump rings and a lobst...
View full details