
|
Wig Jig Centaur LITE Clear Acrylic Jewelry Wire Wrapping Tool SKU: XTL-6086 $25.99 |

|
Large Super Pegs For Wig Jig "Delphi/Cyclops/Centaur" Jewelry Wire Wrap (3 pcs) SKU: XTL-6084 $10.99 |

|
The Beadsmith Jewelry Fine Round Nose Micro Pliers SKU: XTL-5514 $8.49 |

|
Eurotool Nylon Jaw Pliers Chain Nose- For Scratch-Free Wire Work SKU: XTL-0074 $14.49 |

|
Beadalon Large Beading Mats - Prevent Bead Rolling 13 X 18 Inch (Set of 2) SKU: XTL-9935 $6.75 |
Related Videos

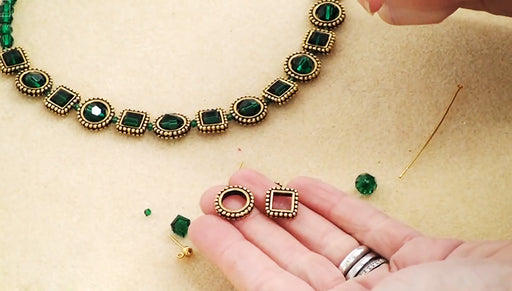
How to Use Bead Frames and Make a Pair of Earrings
In this video see how to easily use bead frames as a design element in jewelry and create a quick pair of earrings. Bead frames surround the bead a...
View full details
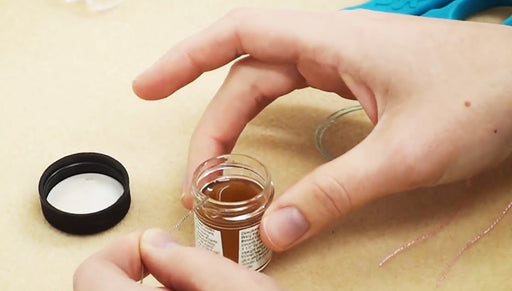
How to Use Gum Arabic Beading Glue to Create a Self Needle
In this video, learn how to use Henrietta's Gum Arabic Beading Glue to create a self needle so that you can string beads without a needle.
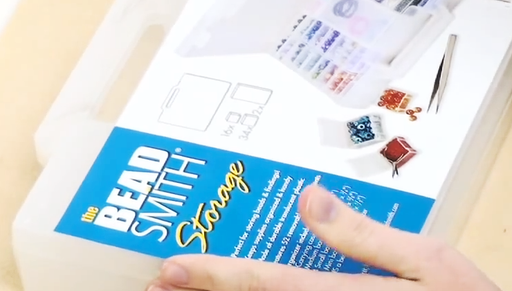
Product Spotlight: 52 Removable Compartment Storage Box
In this video, see the 52 removable compartment storage box from the Bead Smith unwrapped. It's a handy way to organize your beads and findings.