
|
Thing-A-Ma JIG Clear Acrylic Jewelry Wire Wrapping Tool SKU: XTL-6065 $8.99 |

|
Thing-A-Ma JIG Deluxe Metal Jewelry Wire Wrapping Tool SKU: XTL-6066 $21.99 |

|
Eurotool Nylon Jaw Pliers Chain Nose- For Scratch-Free Wire Work SKU: XTL-0074 $14.49 |

|
Sharp Flush Cutter Pliers - For Cutting Beading Wire (1 Piece) SKU: XTL-5600 $23.99 |

|
The Beadsmith Jewelry Fine Round Nose Micro Pliers SKU: XTL-5514 $8.49 |

|
Beadalon Large Beading Mats - Prevent Bead Rolling 13 X 18 Inch (Set of 2) SKU: XTL-9935 $6.75 |

|
The Beadsmith Jeweller's Micro Pliers Chain Nose Flat Nose SKU: XTL-5511 $8.45 |
Related Videos


How to Use Bail Making Pliers and Make a Bail
In this video see how easy it is to make a bail out of a connector or filigree piece using Wubbers Bail Making Pliers. Available in small, medium, ...
View full details
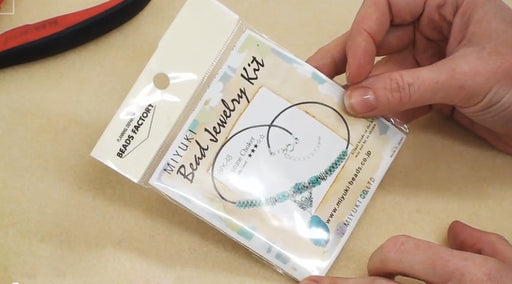
How To Read Miyuki Bead Kit Instructions
Miyuki Bead Kits offer a wonderful array of beading designs to choose from. In this video, learn how to read the instructions and diagrams that go ...
View full details

How to Use DeCoRe Epoxy Clay and Make A Ring
In this video, learn how to use 2-part DeCoRe Epoxy Clay and make a stylish ring using the clay, Austrian crystal Chatons, Austrian crystal Cosmic ...
View full details