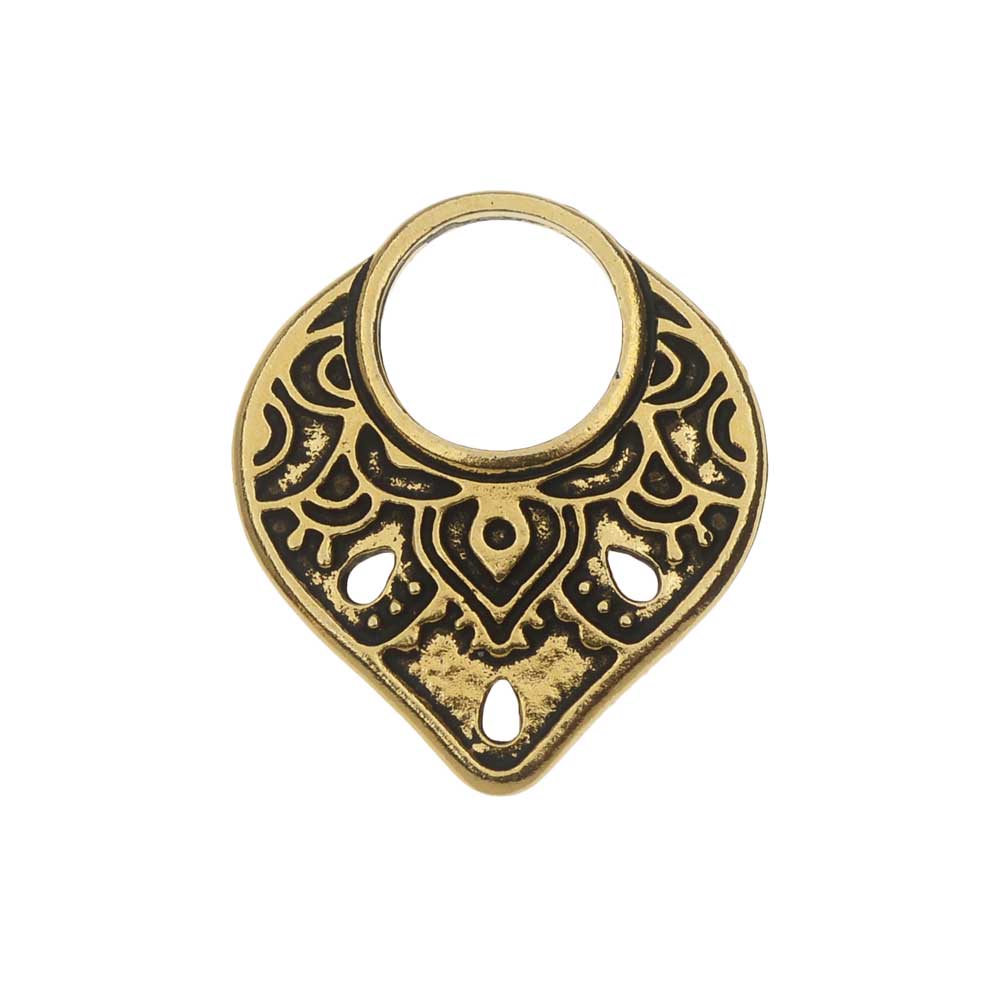
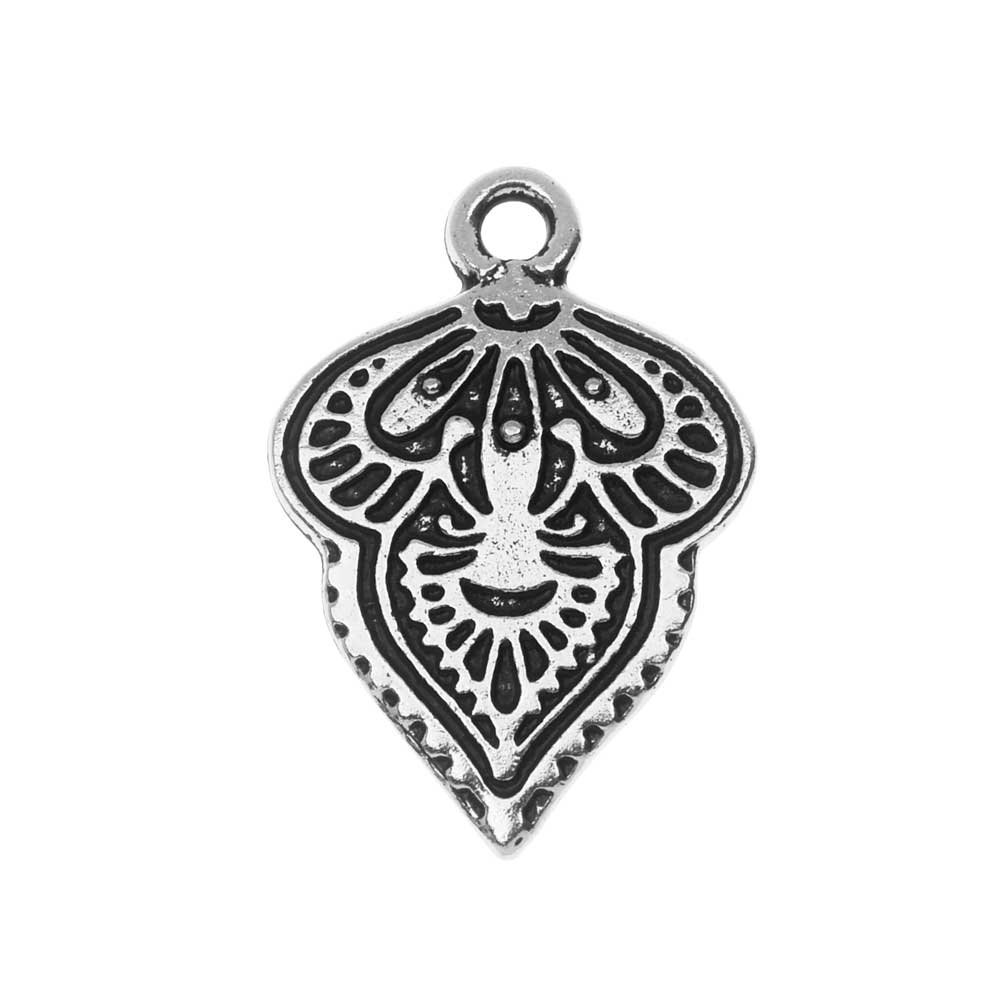
How to Make the Untaken Road Statement Earrings featuring the TierraCast Caravan Collection

SKU VID-1489
Designer: Kat Silvia
In this video you will see how to make the Untaken Road Statement Earrings using the technique of making simple wire loops. This design is inspired by the global chic essence of the TierraCast Caravan Collection.
FEATURED IN THIS VIDEO
Audio Transcript
Note: This audio transcript is auto-generated and may not be completely accurate.
Hi, this is Kat with beadaholique.com and collection so let me start by kind of showing you some of the beautiful pieces in this collection so this is really a global chic inspired style we have some beautiful pendants here I actually made a pair of earrings with some lovely vintage lucite links just to add a little bright pop of that ruby red color and then we also have these really cute little magnetic clasps now our other designer Julie designed to these and in videos you'll be able to check that out as well but really fun cool little style clasps so some fun stuff there and we also have some beautiful toggle clasps and then these ones here these are gonna have little holes at the bottom so you can make those beautiful chandelier earrings see we have that little drop and this beautiful little hamsa hand as well so you can see there's little holes at each little finger tip there and then there's one of the tops so beautiful way to make some really stunning statement earrings but today we're going to be using some different pieces so these Crescent pieces here these are the ones that we're going to use to recreate these earrings here now these are the untaken rode statement earrings and today i'm going to be doing a little bit of a gold version so what we're going to be using here today is we're going to be using this five-point little crescent shape here I have some puff beads and these have two different sides to them so they'll be able to sort of twist and become their own as you wear them I have some four millimeter china Jade gemstones here now for my purple version there I used faceted gemstones again in the four millimeter but these are perfectly round ones so just a little little tip and you know feel free to use whichever gemstone you truly like you can also mix and match as well and then I have my little Lotus earring post findings here and I have my bullet clutch with a little plastic on it because these are going to be a little bit heavier because we are using gemstones metal components so I want to make sure these are gonna wear it nice and comfortable on your ears and then for today's project I'm gonna be using one of the beadaholique finding kits this includes head pins and eye pins and I'm gonna be going over exactly what's in there in just a moment and for tools I have a flush cutter a pair of round nose pliers and a pair of chain nose pliers so if you have everything all set to go we are about to get started all right so let me start by talking about the beadaholique finding kit and I'm gonna sort of open this on camera here alright so we have our little bag inside here so I'm gonna go ahead and set that aside now I want to draw your attention to the back of the packaging here so what we're gonna happen here is we're gonna have head pins and eye pins so you can see that for the head pins we have one two and three inch the eye pins we have one 1.5 and two inch and these are all 22 gauge so there's 15 of each totaling at 90 pieces now the reason I think these finding kids are just really great and I'm just gonna use my flush cutters to kind of cut that open there we go is that you can really sort of mix and match what you need at any given point and you're gonna see why that's important for this particular design it'll save you from buying a lot of extra things that you may or may not need alright so what we're gonna do is we're gonna pull out some of those 1-inch head pins there and in this video I'm going to be making one earring you just simply repeat this entire process to make the second earring alright I'm gonna try to get all of my findings over here so let's start by making the three little dangles that are gonna go at the very bottom here so all I'm gonna do is I'm gonna take one of my 1-inch head pins slip on my gemstone and now I'm gonna take my round nose pliers and I'm just gonna make a simple wire loop so I'm gonna get my pliers really close to the bottom there just sort of bend it backwards and then bend it up and over the top and now rotate my pliers and bring that around the front just to create that nice little wire loop remove my pliers and now I'm gonna take my flush cutters and get in there and remove my extra little piece to the side so that is my first little loop there and it's okay that my loops open I'm gonna leave it like that because we're gonna be attaching it so I'm gonna repeat that twice more for two more here and then we're gonna come back for the next step all right so now what we're gonna do is we're gonna take these little dangles here and we're gonna attach them to our piece now I want to show you that this piece here does have a front and a back on the back it's gonna be a little bit more flush and on the front especially these little triple little dots are gonna be raised so we do want to have a front and a back with these also the back is a little bit concave I know that might be a little difficult to see but you'll be able to see it when you have it in your hands there so just to let you know the front that I'm working with is gonna be this raised portion there all right so now I'm just gonna take my chain nose pliers here and I'm going to open the loop just by giving it a little gentle twist and I'm going to attach it to the bottom now you can see that because I'm working on the front here I always want that loop going towards the back it'll just make for a nice sleek design that way and just close that up and just make sure that your dangle is free-flowing there you don't want it to be too tight on your earring so I'm just going to repeat that for the other two and I'm gonna add this one to the center and just close that up now I'm just sort of using my hand wouldn't you use a 22 gauge you're gonna be they're gonna be a little pliable enough but if you are using a thicker gauge you'd want to probably use another pair of pliers there and again just sort of slipping that through and now just closing that up all right and just check that they're all nice and free-flowing that is perfect so I'm going to set that down so now we're gonna move on to our next little step here where we're gonna create little opens with the same simple wire loop so with this you could use the longer ones if you like you can also pick out the shorter ones and again with 22-gauge if one of them is a little kinked you just kind of can use your fingers to help straighten that out for you all right so we are gonna need six total so I'm just gonna go ahead and pull out all of my eye pins now all right one two three four five six perfect alright and again we're just gonna take our eye pin slip on our gemstone bead and now you see how the wire is coming around and up this way so what we're gonna want to do is make the loop going the other way alright so I actually turn that around because I like to do my loops facing away from me so what I'm gonna do again same you just sort of bend it out to the side a little bit and then loop your wire up and over the top move your pliers and bring it across just like so and you can see that it's a little short of a tail so if this is too short for you to work with go ahead and use one of those bigger ones there you'll have a little bit more reach in fact let me do one of those right now just to kind of show you alright so if you wanted to use a bigger head pin here or I'm sorry excuse me a bigger eye pin you could also use the larger head pins as well so just the same thing but then when you kick it back there you'll notice that you have a lot of wire up here and this might be a little bit easier for you to grasp to sort of bring around because you can really get a good grip on it alright and then I'm gonna trim that off and there we go alright now I'm going to repeat so I have six of these little dangles alright so now we're going to do the next part of our assembly here and we're going to create those two little sections that go up towards the top so what we're gonna do is I'm just gonna take one of my eye pins here and again you can see that my loop is a little bit still open because I didn't bother to close it from when I did my simple wire loop but that's okay cuz you're gonna open it again open it again heading towards the back there I'm gonna slip it on and now I'm gonna close it up making sure it has a nice little closure there give it a little extra squeeze there we go and now I'm gonna move to the other side here and just repeat that again making sure that I'm putting my loop through to the back side there it just makes for a little bit of a cleaner design it really doesn't matter if that doesn't work out so don't fret too much all right so now you can see that these are going to be sort of our guys that are gonna help go up so we're gonna add two to the end here so we're going to attach this now to our little wire loop there and we're gonna close that up and again I'm just gonna take another one open it up same as you would a jump ring and then I'm just gonna close that one up so we have three on one side and now I'm just gonna attach these two so that we have three on the other side here so take this and attach it close and take this one make sure to open up that little loop if it's closed and attach it and close it up alright so now I just lay down our work here this is what we should have going on okay so I have three of those eye pins going up each side so those are gonna come together but first we're gonna make that mean opponent so here's where you're gonna want to use one of those two inch eye pins so what you're gonna do is you're gonna pick out your gemstone slide it all the way down and now we're gonna slide on our puff coin bead and then choose another gemstone and slide it down alright now here's where it can get a little different so we have obviously a loop that is facing perpendicular to our work we want to make a sorry parallel to our work we want to make one that is going the opposite direction so what I'm gonna do is I'm gonna rotate my eye pin now don't worry cuz you want this to kind of be free-flowing so you don't want to do it too tightly so now what I'm gonna do is I'm gonna get a loop going the other way so I'm gonna again take my pliers and now bend it back go up and over the top there and around and now I'm gonna trim my wire alright so here's where we're gonna check our work there so you see how I have one loop facing up and one that's going around to the side so they're sort of doing a little cross so that's what we want for this so now what I'm gonna do is I'm gonna take that loop at the bottom I'm gonna use my chain nose pliers you can use your round nose pliers too I'm gonna open that up and what I need to do now and this might be the trickiest part but you'll know if you get it so you need to line up your little loops here at the bottom and actually I'm gonna make sure that they're both closed really quickly there we go and the other one is closed perfect alright so in order to get these to line up let me see if I can do this long with it lying down you want to make sure that your loops here are going the right way to get it to sort of sit properly so you need to just make sure that none of your I pin are twisted around all right so now I'm gonna slip on one of the eye pins oops try to just scoot that down all right so slip on one and then slip on the other and just make sure that nothing is gonna be twisted and then get in there with those chain nose or round nose pliers and just go ahead and close that loop up right there at the bottom all right so now we'll get a chance to sort of see and test it and see if it is correct I'm just checking my work here all right so now we're going to move to the top here and we're gonna open that loop and we're gonna slip it on to our little earring finding and this is where you're gonna also want to make sure that your earring finding is facing the right way and then just simply close up that loop there we go and add your earring back and you are all finished so that is how to make the untaken road statement earrings and like I said you'll just simply repeat this to make the second earring so you can actually do it all at once if you wanted to you can kind of create all your little bits and baubles as you go up and that way you are all set to go so I hope you enjoyed this video you can find all of these supplies this beautiful tierracast Caravan collection by heading over to beadaholique.com you

You recently viewed

Clear recently viewed