
|
Wire Wrapped Gemstone Chain, White Seed Pearl, Sterling Silver, 4mm, by the Inch SKU: CHX-1018 $1.39 |

|
TierraCast Hook & Eye Clasps, Vine 20mm, Antiqued Silver Plated (1 Set) SKU: FCL-7015 $2.10 |

|
Wire Wrapped Gemstone Chain, Multi-Colored Faceted Rondelles & 8mm Pailettes, Gold, by the Inch SKU: CHX-1338 $1.49 |

|
TierraCast Hook & Eye Clasps, Vine 20mm, Antiqued Gold Plated (1 Set) SKU: FCL-7016 $2.49 |

|
22K Gold Plated Open Jump Rings Oval 21 Gauge 3x4mm (50 pcs) SKU: FJR-3921 $2.49 |

|
Artistic Wire, Copper Craft Wire 26 Gauge Thick, Stainless Steel (15 Yard Spool) SKU: WCR-2640 $4.25 |

|
The Beadsmith Jewelry Fine Round Nose Micro Pliers SKU: XTL-5514 $8.49 |

|
Sharp Flush Cutter Pliers - For Cutting Beading Wire (1 Piece) SKU: XTL-5600 $23.99 |

|
The Beadsmith Jeweller's Micro Pliers Chain Nose Flat Nose SKU: XTL-5511 $8.45 |
Related Videos


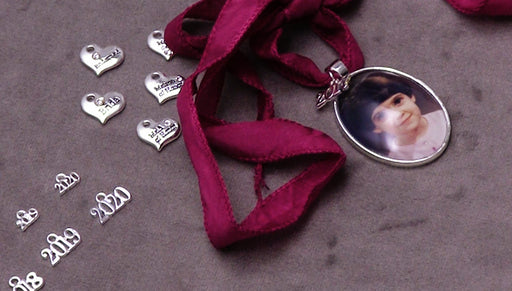
How to Make a Commemorative Photo Pendant with Graduation or Wedding Charms
In this video you'll learn how to make a keepsake pendant to celebrate an event such as a graduation, wedding or anniversary, using a meaningful ph...
View full details

How to Make the Laguna Lace Agate Earrings
In this video, you will see from start to finish how to create the Laguna Lace Agate Earrings by wire wrapping semiprecious gemstone coins with Toh...
View full details