
|
JudiKins Diamond Glaze Water Based Adhesive (2 Fl. Oz.) SKU: XTL-1020 $10.99 |

|
Mod Podge Gloss All-In-One Decoupage Sealer / Glue / Finish (8 fl. oz. ) SKU: XTL-1040 $10.29 |
Related Videos

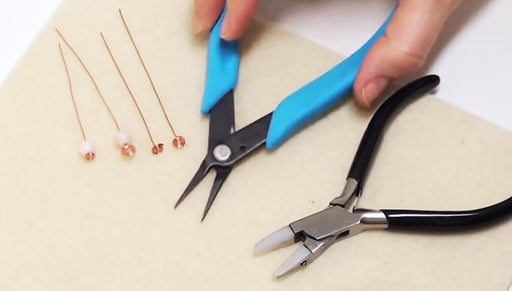
How To Make Decorative Headpins
Make your own decorative headpins using a few standard jewelry making tools and some craft wire. Make these indispensable and beautiful headpins to...
View full details
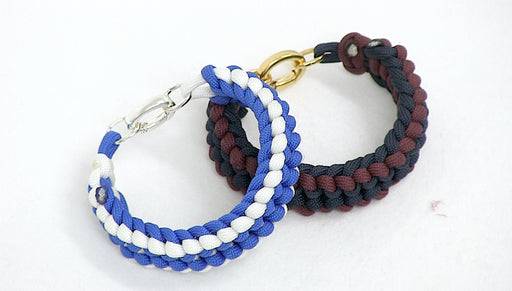
How to Make a Ladder Paracord Bracelet
n this video, see how to create a Paracord Bracelet using a Ladder knotting technique. This technique looks best when two colors are combined to br...
View full details
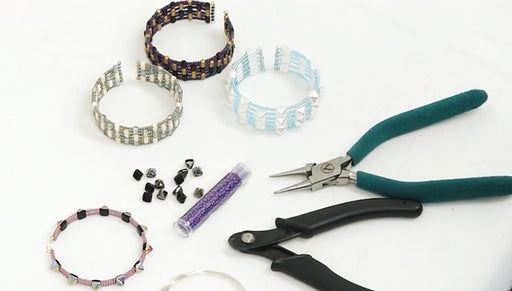
How to Create a Memory Wire Cuff
In this video see how to use create a cuff using two holed beads and memory wire. This is a different application for memory wire that is tradition...
View full details