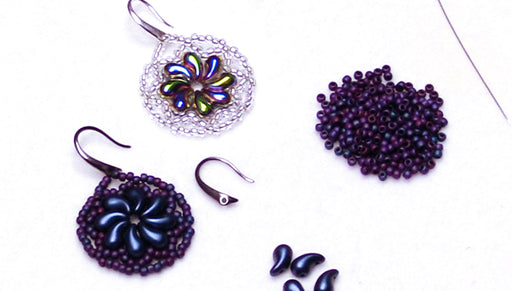
How to Make a Tassel of Beaded Coral
SKU VID-1474
Designer:
Kat Silvia
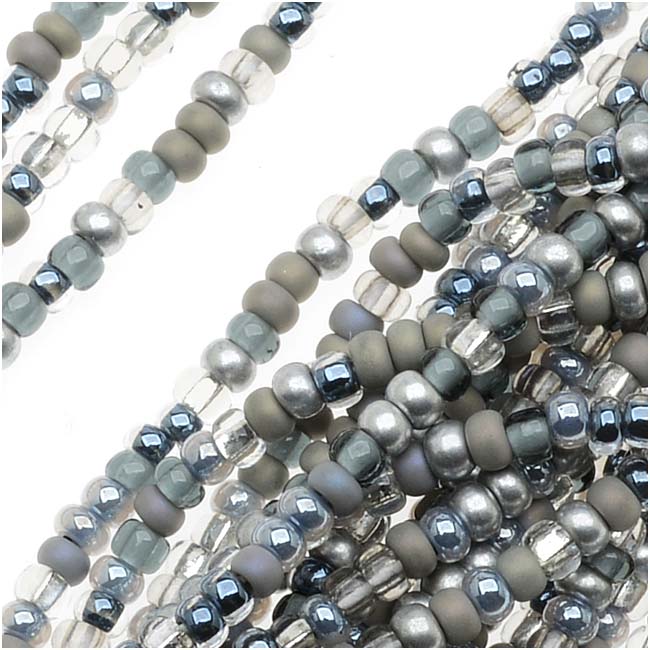
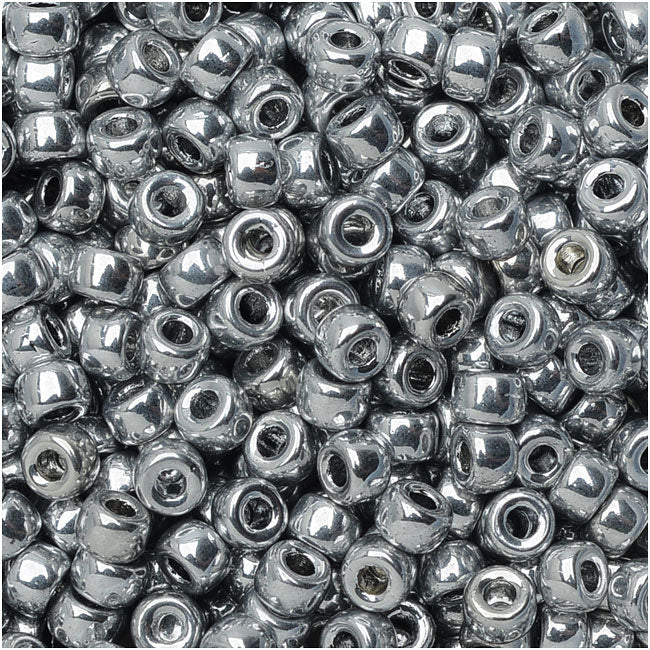
In this video you will see how you can use seed beads in a coral fashion to create a beautiful beaded tassel.