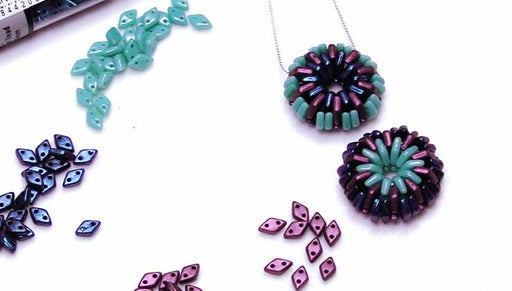
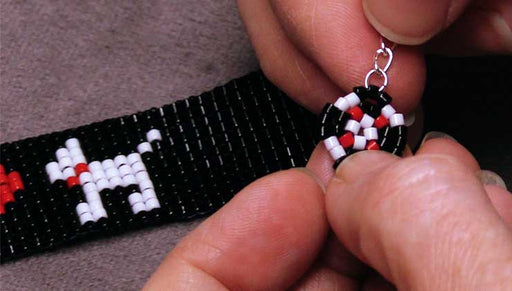
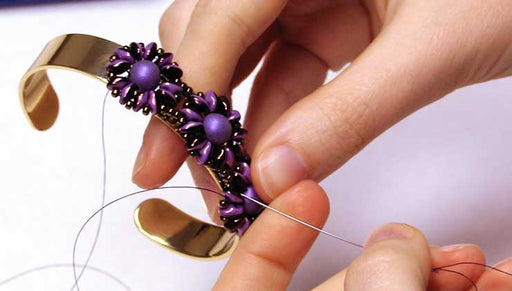
How to Bead Weave Ombre Window Earrings

SKU VID-1454
Designer: Rachel Zaimont
In this video you'll learn how to use brick stitch to create a bead woven geometric earring with an interior window. This design is set off by graduated bands of color achieved with our exclusive Miyuki Delica ombre palette in Ultra Violet, Pantone's 2018 color of the year.
Audio Transcript
Note: This audio transcript is auto-generated and may not be completely accurate.
hi this is rachel with beadaholique I want to show you how to bead weave these ombre window earrings so this is an earring design that uses brick stitch to create a nice geometric shape and it has a window in the middle for a pretty design element and these earrings also feature our Miyuki Delica ombre pellets so if you look over here I have a pink one here and these palettes feature four colors of Meucci delicas in size 11 oh and they fade from light to dark and they have different finishes you can really play with color when you're using these pellets here's the purple one so it goes from this nice soft gray all the way up to this very deep rich Silver Line violet so this design features that ombre color scheme and also has some sake crystals at the bottom for an added little dangling bit of shine so I'm gonna show you how to make the mate to this purple earring in this video and for that you will need one Miyuki Delica ombre palette and I'm using the purple palette which is called ultra violet and that is Pantone's 2018 color of the year so you'll be very on-trend color wise using this palette so you'll also need some fireline and I'm using the four pound in smoke you'll need some sort of key crystal bicones and this color is tanzanite a nice complementary color you will need some silver head pins and I'm using a 24 gauge head pin very thin you'll need some jump rings I just got one caught in my head pin there but this is a 22 gauge jump ring and that's gonna be important because we're gonna slide this jump ring through one of these size 11 o delica beads so it has to be nice and thin you'll also need some silver earring hooks and for tools you're going to need a size twelve beading needle some thread snips and a couple of pliers you'll need flat nose and round nose and also some flush cutters so let's begin to start I cut about five five and a half feet of fire line and threaded my needle that's about a wingspan with both of my arms out so I'm going to begin by making a ladder stitch base row and I have my pattern up here so I'm just gonna be following this pattern as I go through this design now if you've never done brick stitch before you can check out our video showing you just the stitch but I'll review for this video you always start with a ladder stitch base row so I'm going to start with this nice pretty light gray and I'm going to make a ladder stitch row of 11 beads so to begin I'm going to pick up two beads and slide them down almost to the end of my thread I'll leave about a four inch tail there so now I have my two beads here and I'm just going to bend my thread so that these beads are kind of sitting next to each other let me just get this you can see it clearly kind of like that and now I'm going to sew up through the first bead and I'll show you what that looks like in just a second so now you have the beginning of a little line here where the beads are sitting with their sides touching so I'm going to sew back down through the second bead I strung to reinforce this beginning stitch and at this point I'll pick up my third bead and I'm going to sew in the same direction that the thread is exiting from so I'm going to go down through this previous bead and get my new bead on there and then sew back up through the third bead so now you can see there are three beads in a row and I'm just gonna keep on using this technique until I have a base row of 11 beads now I have my ladder stitch base row done with 11 beads and I'm going to move on to the second row of the piece so following the pattern I'm going to pick up one grade ellika and one semi-matte silver line purple delica and we're going to be beginning and ending the next five rows or the next four rows excuse me on an increase so again we have another video showing you how to do brick stitch increases and decreases but I'll just review so for an increase at the beginning of a row I'm gonna pick up with my two beads and slip under the thread bridge of the first two beads here so the first thread bridge in that previous row and I'm just going to sew up again on the other side of the thread bridge through that second bead and pull and now we have the two beads increasing to begin that second row now the rest of the second row is going to continue in this pretty Silverline purple color so I'm just going to keep going to come lead the first five rows of the piece following the pattern shown increasing on the beginning and end of the row so that was the beginning of the row and I will show you how to increase on the end of the row so now I'm just finishing up the second row adding the last two beads and the second-to-last bead is going to use that last thread bridge from the first row but to increase on the end of a row we need to add another bead so I'm going to show you how to do that right now I'm gonna pick up another gray bead because that will finish out the pattern of the second row and instead of using a thread bridge I'm going to sew into the ending bead of that first base row and I'm going to sew up through the second bead in the base row and out through the third bead in in the second row if that makes sense so look at my needles doing I just came out the ending bead in the first row going up through that second row that's sorry the second bead and the third bead in on the second row it's gonna be a diagonal here and what this is gonna let me do is easily hide my threads so now I'm coming out the third bead in in the second row I'm gonna sew down into the second bead and up out the first bead for the last bead rather so that's how to add an extra bead to increase on the end of a brick stitch row so I'm going to keep on following my pattern until I have five beads completed increasing on the beginning and end of each row and I'll see you back here to start building that interior window alright so now I have my first five rows done and you can see the ombre pattern taking shape there so now I'm going to start building that window and you can see in the earring that that consists of a couple of short rows on either side of the piece so I'm going to start by doing the short rows on one side of the piece instead of moving back and forth just because I think that makes more sense in terms of your bead weaving so I'm gonna pick up my two beads to start this first short row row six and as usual I'm starting with an increase because we're still widening the piece so I just went under that first thread bridge coming up through that second bead and I'm going to continue with the same color graduation so I'm getting a little bit darker as I go and brick stitch is really wonderful for building these intricate shapes because it really lets you kind of go all all over the place and kind of make the pattern of your dreams alright so I have one more bead in the short row of five all right that was rows six and four row seven I'm gonna start the inside on a decrease because the window gets wider following the shape of the outside of the piece so to start from this end I'm gonna pick up two of these dark purple silver line beads and instead of going under the first thread bridge I'm gonna go under the second thread bridge all right so the technique is a little bit different for starting on a decrease so under the second thread bridge back up through that second bead but as you can see these these beads aren't really laying straight yet so I'm gonna add another action to this step I'm going to go back down through the first bead in this row and back up again through the second bead and when I pull now you can see that the two beads just fall into place nicely and line up so that is how to start the row on a decrease so I'm going to complete up through row ten and that I'm actually going to do the first five beads of row eleven and I'll show you why when I come back okay so half of the window is done now I did rows six seven and eight decreasing in the middle and then nine ten and the first five beads of eleven increasing in the middle so that window is going to have a nice point and now the next step is to build this side structure on the other side of the piece so I'm just going to weave down through the piece until I come out on this side and repeat this pattern and then I'll show you where to go from there and one tip is I recommend if you're gonna weave across I would not say weaving in the first row touching the window is a good idea because you're gonna see your extra thread passes along the edge of the window so I recommend weaving across the second rode down to the third row down alright so I will see you back there when we're good to go over there so now I've got rows 6 through 10 done on the other side I just flipped my piece because I like working in this direction and I started on row 11 and this row is going to involve a little bit of a trick because in this row we're going to bridge across the window in the center of the piece and create the other side so we're almost at the place where we're gonna change the rules into something a little bit special just adding my last few beads starting off row 11 here alright gonna add one more as if I'm ending the row on a decrease by sewing down into that previous bead underneath on the lower row and I'm just going to attach it the usual way and come out that last bead that I just added alright so now we're here and we want to get there so we're going to do a bridge using ladder stitch and it's gonna be very similar to how we started the piece with that initial foundation row and I'm going to use the same color because this is a solid row of that dark violet so what I'm gonna do is pick up a single bead and I'm gonna pretend that this is just a row of ladder stitch and I'm going to sew through that last bead in the row the same direction as the thread and gently turn that bead on its side and now so back up through that newly added bead and there you go it behaves just like ladder stitch I'm gonna do that again for you so through the last bead added in the same direction that the thread is going and then back down through the new bead and we need a few more to keep bridging across the side of that window so I'm just going to keep doing ladder stitch and you'll know when you get to the place when you have to join this bridge with the beginning of row 11 that I started on that original side okay looks like we need one more bead there all right back out through this bead so it looks kind of funny when you're building you have this little freestanding column of ladder stitch but now there we go that's enough beads to bridge over to that other side of the piece so I'm going to flip it this way again and so through that last bead on the initial side connecting the bridge to the beadwork that was already there and I'm going to reinforce this join by sewing back through the end of the bridge just like you would when you're doing a solid row of ladder stitch pull that nice and tight and again back up through the first bead on the other side and now this bridge is complete so I'm going to weave back and forth through my beads to get to the end of this row and it works out nicely just down up down and up gonna flip my piece to keep working and now you have another base row here of ladder stitch to keep doing your brick stitch on top oh so now you're just gonna keep brick stitching away as normal follow the pattern so we have four more rows to do and you'll just be reversing the color pattern that you did in the first half of the piece and you're going to be beginning and ending each row on a decrease now because now we're winding the piece down and it's getting narrower and narrower so I'm just gonna keep on going and finish up my bead weaving and I will see you back here to show you how to complete the earring okay I've now finished my bead weaving as you can see the piece is complete and I went ahead and woven and trimmed my first thread tail but I just wanted to come back and show you the weaving in of my second thread tail so I just went ahead and slipped my needle onto the original tail from when I started the piece and I'm just weaving back and forth through this piece just to secure this thread before I trim it off and I'm really just concentrating on weaving in the rows with the darker color since this is smoked fireline I don't want it to show up too much against that light gray bead I'm just gonna do a little square here up through one bead down through the next bead and back up through that first bead kind of creating a loop and I'll go down one more time and I'll trim my thread and that thread tail will just hide against this dark purple bead all right so now the bead woven piece is complete and the next step is adding the earring findings so I'm going to take one of my jump rings and now you're gonna see why it was important to use a very thin gauge jump ring this is 22 gauge because it's gonna fit through a delicate bead I'm just going to open that jump ring and I'm going to feed it through the delica on the point of this bead woven piece and it just fits now I'm going to take an earring hook and I'm just going to slip the loop onto the jump ring and close the jump ring up all right so that's the top of the piece and now for the bottom of the piece I have these three little dangling Swarovski crystals so I'm just gonna make those dangles take a couple of crystals place one onto a head pin I'm gonna take my round nose pliers and get them ready first I'm just gonna make a little Bend with my flat nose pliers right above the crystal grab the wire with the round nose pliers I'm just gonna make a simple wire loop let's wrap that wire around I'm gonna come in with my flush cutters and cut the extra wire off and I'll just close up that loop all right I'm gonna do that two more times okay now I've got my three little dangling crystals ready to go so I'm gonna take another jump ring and I'll open that jump ring and I'm going to feed it through the delica on the bottom point of the bead woven piece and I'm just going to place all of my little crystal dangles onto that jump ring before I close it up all right so that's how to make an ombre window earring using brick stitch and you can see the bands of color just fade really nicely from that dark rich violet to the lighter color and that's the benefit of these gorgeous ombre palettes one tip is if you want to dress up this design you can incorporate a metallic seed bead color into your design so if you want to use silver findings you would include silver seed beads because it's it's a good idea to match and if you want to do gold findings just put in a few rows of gold seed beads I think that would look really beautiful the other good thing about this earring design is that it won't droop a lot of times when you have a bead woven earring it kind of sags toward the middle but because of the structure of this piece it will really just keep its shape really nicely so you can find all of these supplies at beadaholique.com I hope you enjoyed this video and thanks for watching

You recently viewed

Clear recently viewed