Audio Transcript
Note: This audio transcript is auto-generated and may not be completely accurate.
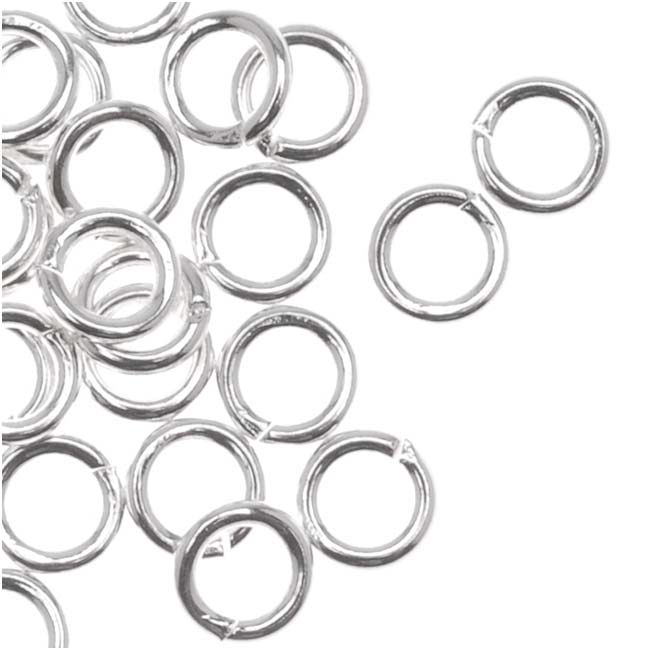
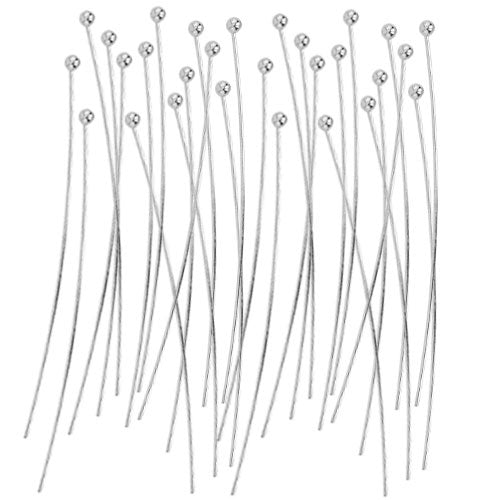
Hi, this is Julie with beadaholique.com so he is really fun he dangles he moves and you can even pose him if you want because he is wired so we're going to be using Swarovski crystals combined with Toho seed beads some wire and head pins to make this guy so let me show you your supplies that you're going to need and before I do that I just wanna note I didn't turn them into anything just yet but you could just hang a premade chain make them into a necklace could have a pair of fabulously long earrings and make two of them could just have them as an ornament or decoration a lot of things you can do with him so back to the supply so for the crystals we're using Swarovski crystal and the color is Crystal Light chrome but you can use of course whatever color you want the 13 millimeter skull bead is going to be his head we're going to be using two eight millimeter cubes and then we're going to be using six millimeter bicones and I just love their sparkle then for the pairing of Toho seed beads we're going to be using two different sizes we've got an 11 oh and an 8 Oh both in crystal-lined gray so that wonderful gray silver tone two jump rings these are four millimeter in size that's going to be when we get down to his hands and then for his fingers and toes we are using ball head pins these are two inches in size and they are 22 gauge and then we're going to be using some 22 gauge artistic wire and silver plate finish for his body and then those are the supplies now in terms of the tools you're going to need two pairs of chain nose pliers a pair of flush cutters and a wire looping plier I like wire looping pliers you'll see them use them a lot in videos especially for this application where we're going to be making a lot of simple wire loops and then the final tool is a little bead stopper so let me show you how to make this guy we're going to start with some of the 22 gauge artistic wire and we're just going to cut a length that's about six inches or so we're going to actually have more than we need if we cut six inches we're going to start by making a simple wire loop at the base so I'm taking my wire looping pliers and I'm just going to grab the end and curve it around I just want a loop okay so I've got a loop but now I want the wire to stick up straight out of it so I'm just going to take my wire and bend it back and then straighten it with my fingers so now we have that nice loop right there ready to go before I go any further though I want to make sure that my loop is closed so that end is lining up with the straight wire there we go now we're going to create his main body to do that we're going to string on one of our cube beads followed by an eight-oh seed bead bicone another a toe seed bead our second cube bead another a toe seed bead and then right now we're just going to pause and we're going to take our bead stopper and have it right here ready to go because we're going to be using it in a minute so now let's go ahead and build his arms we're going to take another length of the wire I like to cut more wire than I need to for this particular project I'm going to cut about 10 inches and we're going to create again a simple wire loop and then bend it back so that's what we've got again make sure it's nice and tightly closed we're going to string on one of his arms so let me bring this guy over so you can see what we're doing as we build him so we've built the core and now we need to build the arm right here so we're going to do four of the eight OC beads so one two three four followed by a bicone for his elbow now we need four more of the eight o seed beads and then another bicone for his shoulder so you see I've got that right there and now what we're going to do and this is why I have the bead stopper up here because I don't want these speeds to fall off I'm going to take my wire and this is actually the most difficult part of the entire project and it's not actually that difficult it just requires you just holding your wires in place as you do this so we want to go ahead and twist our end of the wire around this core wire that's the body so I'm holding this tight so you can see that my beads are right up against my simple wire loop and I'm right above that one bead that is on top of the cubit bead and I'm going to wrap it so I just do one wrap like so so now straighten out your wire again so you want this wire to be nice and straight and strong there we go and now we're going to continue with our other arm so we need another shoulder followed by four more of these eight OC beads and we need his elbow and we need four more seed beads so guys two arms now and now we're going to create another simple wire loop so hold your beads so the tension is nice and tight and then right above the last bead go ahead and put your wire looping pliers and I really do recommend wire looping pliers for this project if you have them it just makes it so much easier so we crimped with our pliers so it did half the work for us just going to pull our wire down rotate the pliers and finish pulling our wire to create that loop now we're just going to trim off the excess wire and go in and straighten up our loop so we've got the arms now let's finish the body and attach the head I don't usually say that in jewelry making so we've got the body the arms now we need three more seed beads for the neck again we're going to be using the larger size we're not going to be using the small ones until it actually comes time to do the fingers and toes so there's our neck and now we need our skull and now we're going to create a wrapped wire loop up top so just grabbing the top of the wire making sure all my beads are slid down rotate the pliers up pull the wire over and as you're still holding the loop with your pliers create a couple wraps and then we're going to trim off the excess with our cutters and take our pliers and tuck in that rough wire end and straighten out our loop he's coming along quite nicely so now let's go ahead and build his legs so to do that I actually have a little bit of my wire still leftover from what I just did with his arms I'm going to just create that loop again at the base now to make his legs a little bit longer than his arms instead of four seed beads between the bicones I'm going to do five so let's start with five seed beads again the a dough size followed by a bicone another five seed beads and another bicone now we're going to create a simple wire loop up top if you'd feel more comfortable you can definitely create wrapped wire loops for these as well I feel like this wire is strong enough that I can get away with a simple wire loop there we go I also note if you do wrapped wire loops you might have to add a few more jump rings between your connections because in this case we are opening and closing the simple wire loops to use them instead of jump rings I'll show you what I mean here in just a second so let me create a second leg and actually I still have enough wire but if you need more you have a whole spool so you can just cut more so five more of the eight OC beads a bicone five more seed beads and another bicone and then another loop and for this project I'm not concerned that my loops match up there they're faced in the same direction or anything because he's supposed to wiggle and so what I was talking about before where you could get away with either simple loops or wrap to our loops but if you did robbed wire you might need a jump ring this is what I mean here we're going to connect his legs to his body if these were all wrapped wire loops you would just need to add a jump ring to connect them because the jump ring you'd be able to open and connect all these pieces because you would not be able to open a wrapped wire loop but because these are simple wire loops we can open them just like jump rings which is what I'm going to do right here if you would stop wiggling on me there we go so we're opening that loop and we're sliding him onto the body and we're closing the loop back up or do that with the other leg there we go all right we are ready for his fingers and his toes to do that we'll be using the smaller seed beads and we're going to start with his hands and I'm going to be using these ball head pins so they have a nice ball at the end which i think is kind of fun looks like maybe a fingernail or something like that and for his hands we want of course five fingers on each hand so we're going to start by just putting on two of the eleven OC beads and then creating a simple wire loop and then trimming it and if you'll notice on the one I already created on each hand and put it down here it might be a little easier to see there our course five fingers on four of them we added two seed beads each and on one for his middle finger we added three just so that the hand because you'll notice your hand looks more like Oviatt tapers so I wanted that look on the skeleton as well so on one of the fingers we're going to add three seed beads and on the other four is just going to be two seed beads each another two so here I did three so just a little bit longer and my final one will be two so now that I've got all the fingers of one hand made I'm going to go back and just make sure that all of my simple loops are nice and closed and tight and we're going to take a jump ring to use as the palm of his hand so we're going to open it by finding the slit this is an open jump ring so it's going to be a slit in it and we want to make sure that's up top and we're going to grab it on either side with a pair of chain nose pliers and twist and then we're going to load on our fingers so we've got two fingers with two seed beads then the middle one with three seed beads and then the other two and then we're going to connect this to his arm and close it up he now has a hand so we're going to repeat that process for his other hand exact same technique alright our skeleton now has a body a head two arms two legs two hands and now he just needs two feet so to do that it's going to the same process as the hands but I'm going to make them a little bit longer so I'm going to put four seed beads on each toe so here we go same exact process I should note though we're not going to be using a jump ring down here we're just going to be connecting the toes right on to that little simple wire loop okay so since we're directly attaching the toes and the foot to the leg I'm just opening up each of my simple wire loops and attaching them to that base simple wire loop at the end of the leg so just open these just as you would open a jump ring just twist them open catch it to the loop and twist it back chef of course if you want to use this method for the hand as well you could and get away without using a jump ring or you could use a jump ring for the foot so whatever you want to do right one foot to go all right he is done let me clear all of this extra stuff aways you can see the two skeletons so a fun thing to note is if you want to make multiples of these you're going to have plenty of wire you're going to have plenty of seed beads you're going to have enough bicones and enough cube beads to do two of them you would just need to purchase some extra of the ball head pins and an extra skull to make a pair so here we go here are our guys so we have got two crystal skeletons all ready to go you can find all the supplies for these as well as other projects using the skull beads and a lot of other crystal projects as well at beadaholique.com you

You recently viewed

Clear recently viewed