How to Make a Set of Four Memory Wire Christmas Ornaments

SKU VID-1594
Designer: Julie Bean
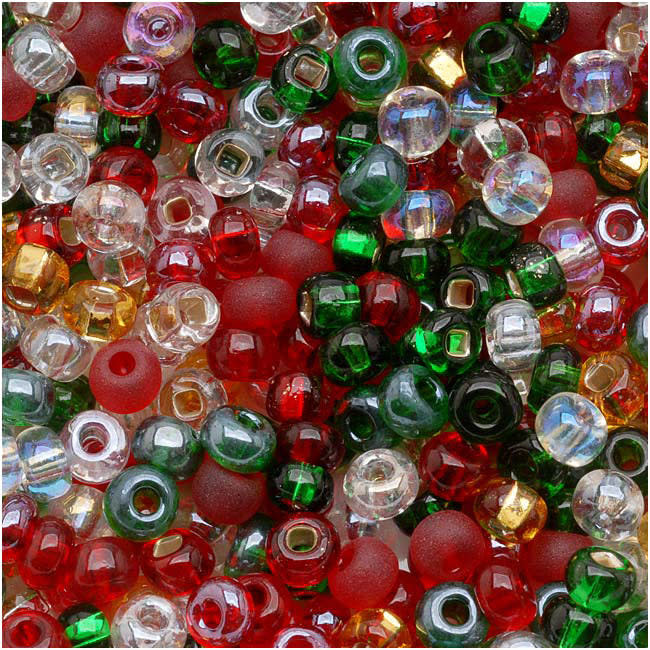
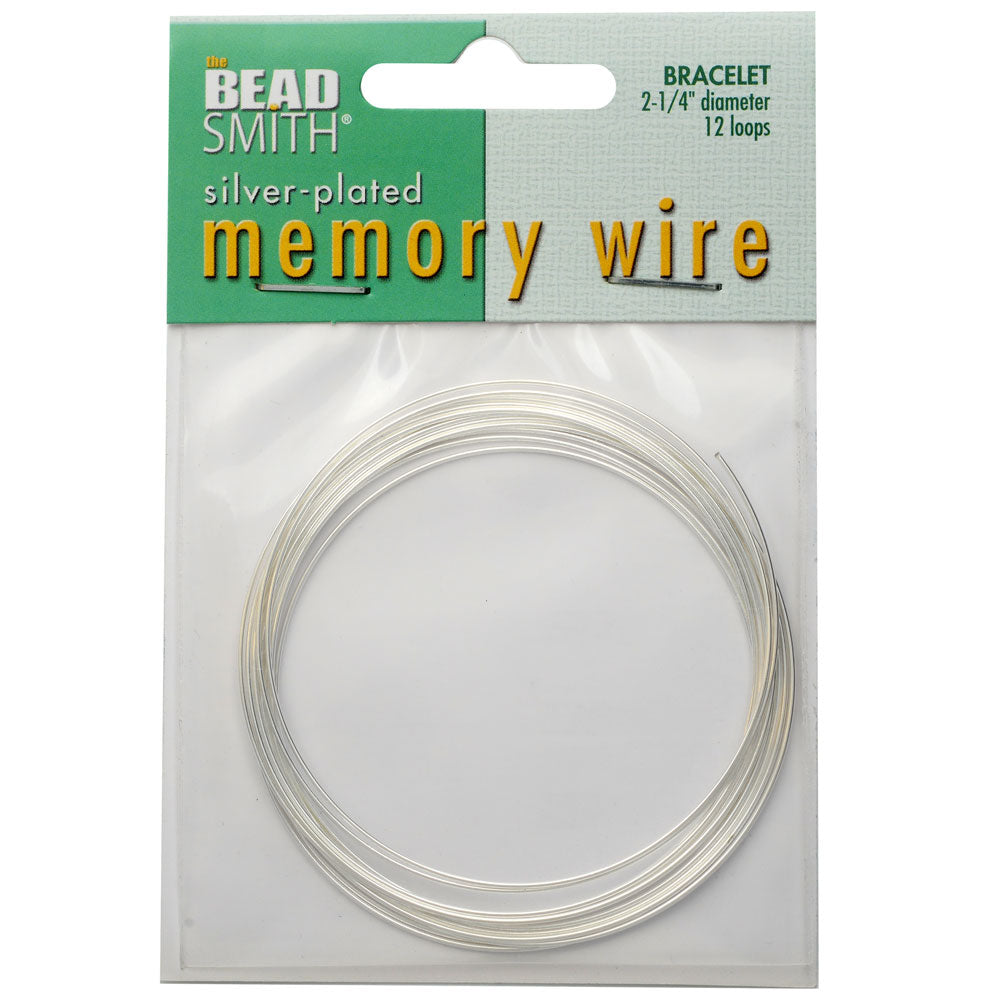
In this video tutorial, learn how to make your own DIY Christmas ornaments out of both bracelet and ring memory wire. You will learn how to cut the memory wire, add the beads, shape the memory wire where needed, add all the dangles and charms, and finish the ends. You will also learn how to make an ornament hook out of memory wire and attach it to your ornaments. This is a fun and easy project, and in the end, you will have a set of four handmade ornaments. Choose your favorite size 6/0 seed beads and charms for this project.
Audio Transcript
Note: This audio transcript is auto-generated and may not be completely accurate.
Hi, this is Julie with beadaholique.com dangling in the middle and this is made out of bracelet memory wire and then over here we have this spiral which is nice as long to go on your christmas tree and this is made out of ring memory wire so we're going to show you how to make both of them here and with supplies you're gonna need and this is actually half of my supplies because the other half has already been used on these two ornaments so you imagine what you get when you purchase this project but we've got memory wire in the bracelet size as well as the ring size we have a nice large hole bead a charm now this is another angel charm but she's facing the other direction another tassel and then an assortment of mainly czech glass beads here so different sizes and different shapes and then this wonderful seed bead mix as well and then you're gonna need a couple I pin in terms of your tools you're gonna need a pair of memory wire cutters a pair of flush cutters chain nose pliers and round nose pliers and that's going to be it quick note as to why you need two different cutters so memory wire is a steel wire and it's great because it's incredibly strong it retains its shape and that's why it works for this project but because it's so strong it is very hard to cut through not if you have a pair of memory wire cutters it's easy so you just put it into the cutter jaw snap doesn't take a lot of pressure cuts very easily and smoothly if I was to try to cut it with these pliers what would happen I know this because I have done this before accidentally you'll actually end up with a little hole in your plier most likely because it's just too tough to cut with these guys so definitely use the memory wire pliers and then have a pair of your regular jewelry pliers for your other projects and a couple other little details in this project so I want to go ahead and I want to start with the round one and I want to start with the round one because we are trying to make our supplies stretch and work for four complete ornaments I know I'll have enough of the red and crystal seed beads to complete this one as an exact duplicate this one here I might have to add in some of the little golden seed beads if you look over at my mix here I haven't used any of the gold ones yet and we'll see if I need to or not I'm not quite sure but I know I have enough of all the other beads so we are gonna start by cutting our bracelet memory wire and if you like this stuff we do have a lot of great project tutorials on how to do different pieces of memory wire jewelry over at beadaholique.com which is where you'll also find all these supplies for sale so we want one full loop which would be two right here and then we're gonna cut it so it overlaps by about an inch and a half we're gonna trim it later at the end but for now let's just give ourselves plenty of room and we can set that aside and you've got a lot left over for other projects so this is what we have and we need to create a way that the that we're gonna stop the beads from just sliding right off to do that we're gonna make a little loop at the end so here is the end we're gonna grab it with our round nose pliers and we're actually going to go ahead and bend it backwards because I want that loop to stick up because that's what I'm going to attach my little ornament hook to and I'm gonna make the ornament hook out of a ring memory wire so we got a little loop just like that and now we're going to put our beads on here you don't need a needle you're gonna use the memory wire itself as the needle and if you look at our pattern it's basically four seed beads and almost like this candy cane striping of red and crystal so crystal red crystal red a bicone and this pretty green emerald color another four seed beads and then we're gonna put a silver rondell and then another four seed beads and another bicone we're just gonna repeat that pattern all the way around so let's go ahead and pull some of these over so they're right in front of us this is a really pretty classic Christmas mix okay so let's start by doing a crystal and a red you see there's a matte red and a shiny red you can definitely use whatever you like or you can mix them up so there's my four beads and then I want to add a bag huh and then when they slide down they're gonna stop on that little loop you created so let's do another same series of four definitely they'll feel free to do whatever you like with it adding a beads in the pattern there's this is really supposed to be a good jumping-off point for you that then you can just do what you like but you'll have the basic idea of how to construct these so instead of adding another bicone we're gonna add a silver bead these are pretty they're faceted and they sparkle which will be nice when you've got the twinkling lights of your Christmas tree we're gonna do another for these seed beads and now we're ready for another bicone and we have just completed a full sequence so here's our pattern so you've got the bike on the four seed beads the silver bead the four seed beads and the bicone and now we're just gonna repeat that again so we're gonna do four more seed beads a silver bead four more seed beads a bicone and continue all the way around until we get right to about here and then we're gonna stop and we're gonna trim it and make our second little loop so I've done my sit around you see I've at that point where I have that loop already now I don't really want to end with a bicone it's just gonna be a little harder to get my pliers in there with a big bead right there so I'm gonna add just one more bead I think I'll add a red just like so and now you're gonna want to trim your memory wire and you want about let's see maybe a little over 1/4 of an inch just cut that piece off and now we're gonna make our loop on this side and you can try to match the size look at the size loop you made to begin with I try to match that size pretty closely see how we do here okay so now we've got two loops and it's okay that they overlap a little bit here because you can just pull it like so now we need to make our little dangle so we've got the angel here and to create this little dangle we're gonna take an eye pin I'm gonna put on a red bead a bicone a silver a bicone and one more red bead just like so and now we're going to make a simple wire loop on this side so it matches so to do that you're gonna just bend your wire over at about a forty-five degree angle take your round nose pliers and make a loop so we're just bending it over the top of that wire we're rotating our pliers up top and we're pulling our wire around so that it Criss crosses and it makes a nice little loop and then you're gonna trim it so that is gonna be basically the the little anchor point for our angel now she does come with a jump ring but we really don't need this jump ring on here so we're gonna find the opening to the jump ring and we want that facing up away from us and in this case we're gonna use our round nose pliers and our chain nose pliers to grip the jump ring on either side and twist it open now we're gonna take our loop open it up slip on our little angel and close it on it so we want her to also hang facing forward so just double check that she will and let's see if it's like this she's going here so I want to move I want to change the orientation of this loop a little bit so that is gonna make sure that she faces forward so I'm just going to grip it and grip both of them and twist so I want the two loops basically going in the same direction so when it hangs she's gonna face forward and we're gonna hang it now from these two loops put them together and this honestly can be a little bit the tricky part it's not hard it's just kind of finicky if that makes sense to get it onto both of them at the same time without them slipping off you only have to hook it once though and then we're going to be able to close it on up and it's going to be secure and we're 301 thank or through the other one okay do you like to twist there we go now close up before it slips off okay there she is on and this is I'm gonna do something that we don't normally do in jewelry making just to kind of make sure that that is close good because there's a little hard to getting here I'm gonna squeeze it a little bit want to make sure that loop is closed all right we've got her yay all right now we're gonna make a hook so here's my ring memory wire it actually had two pieces to it and that was one pack of memory wire and so for this we're gonna pull it out and now this is again something you don't normally do we're gonna purposely miss shape our memory wire so we're gonna stretch it out like so let me see how it starts to kind of become a larger spiral and then we're going to go ahead and grab our memory wire cutters and we're going to cut it so this is what we've got now you can make this longer or shorter again I'm gonna pull it out of its shape a little bit and now I'm going to take my round nose pliers I'm gonna create a loop and I'm gonna make a little bit bigger loop by going a little bit further along the nose of my round nose and I'm gonna make a nice loop okay and now what I'm gonna do open that up slip on my pretty ring and close it on up and we have a hook now to hang our ornament and so that first one is now done you can see our set of two now we're gonna make the second style of ornament which is this fun long dangle ornament using the ring memory wire and you can see it has a pretty focal here at the base this nice big sparkly bead and then a tassel so I want to do this part to begin with so it's ready to go for us once we finished that part so we're gonna start with an eyepin and this time I should I want to show you a quick thing if I was to just put on the pretty focal bead it would slip right off so a trick if you like these large hole beads and they are very pretty you can anchor them and really sandwich them with these bicones so that's what we're gonna do it stabilizes them because the tip of the bicones fit inside of them so that is now nice and secure it's not gonna fall off and we are gonna create another simple wire loop so here again bend your wire at about a 45 degree angle grip it where it exits the bead with your round nose pliers go up and over your pliers rotate them to the top pull around so your wire Criss crosses and then trim so that part is done and now we're gonna open up this little loop that we just made like so and slip on the jump ring portion of our tassel and then you're just gonna close up that loop so that dangle is ready to go and I know I made that look really easy and if you're not familiar with jewelry making you know that you just might need to practice that a little bit but it's not very hard and you will get the hang of it now we're ready to go ahead and do the ring memory wire so you sees this nice tight coil and we are going to want to have well depending on how you count got three complete loops and really two half loops you can make this longer if you want or shorter we're going to start by pulling the memory wire just slightly out of shape to expose these loops we're going to cut more than needed again I think that's just easier with this particular project just cut a little bit extra and then it's so easy to trim and you're really not going to waste very much at all so we're going to create a loop on the end using our round nose again so there we've got that little loop and that's gonna be basically our bead stopper now straighten it up just a little bit okay and now I want to pull this out of shape which is so funny because normally you don't want to do that with memory wire but in this case I do want it to be more of like a corkscrew and really more mimic the shape I did on the first ornament so that's looking good I know I'm gonna trim this part off so I don't mind miss shaping this piece again this is gonna work as my needle so I was looking at the example I did earlier and it looks like I did six beads and then I started to do this this cluster here so I'm gonna do that and then around here it looks like I did nine beads I probably did that so that I ended up with a fun little cluster closer to this focal bead again do whatever you want this is all about your own creativity feel free to follow my exact pattern but this is also a really great opportunity to just play with designs and patterns let's get these guys all down here so I've got them to work with and I think I'm gonna go green here we go green crystal red whoops green crystal red green crystal red these are fun because they just spiral on down and then they rest on that loop and then we're gonna pick up one of these pretty little round green beads followed by a silver bead and then a nice big red bead and then another silver bead and another green bead and this is really kind of our little focal cluster of larger beads between the seed beads and so those guys just slide down as well and now I want to do nine beads between these clusters so I'm gonna go ahead and do I just had a green bead here so maybe I'll start with our red this time and red crystal all right let's do red green crystal and let's just repeat that red green crystal red green crystal and on this one I'm not really paying much attention to whether it's a matte red or a shiny red and then we're gonna repeat this sequence here we've got a nice big green bead silver bead a red bead silver bead and a green bead and let's shake all those guys down so this is starting to definitely look like the sample and I'm going to continue doing that until I have let's see 1 2 3 4 5 6 of those nice big red beads on interspersed with the coordinating beads and then I'll do a little bit up here to get a little bit higher and then show you how to do the hook so keep doing it so 9 beads and then a little cluster these bigger beads 9 beads a little cluster the bigger beads and so forth so I finished adding all the big bead clusters with 9 beads interspersed between them and then I've done nine beads up here I do you want to make it just a little bit taller so I'm going to add just a few extra beads maybe just three but you do see we have extra beads left over which is nice so you can make it longer I'm going to scoot these guys away since I'm done with them and I want to have a a nice surface here to show you what's happening so now we're gonna finish our memory wire on this side and so to do that you'll see here with our example we just made another loop whoops they want to be friends okay so we're gonna cut the memory wire again and we're going to leave a little over a quarter of an inch trim it off take our round nose pliers and you can make this loop in whatever direction you want to make it in there we go and then just make sure it's closed okay now I actually want to take this and just bend it up a little bit more like so and now I want to stretch out this a little bit more okay and now let's go ahead and add a hook to this one so let me set this guy aside for a minute I had this in a second but I'm going to take a couple loops pull it out trim it off okay and on this one I'm gonna go like this I'm just gonna fold it outward so I need like a big s which is kind of fun and then just go ahead and trim it yeah make another loop okay a little loop there we have a nice hook you can stretch it out if you want and now we're going to add our dangle first we're just going to open up a little simple loop we have here slide it on to the memory wire loop close that loop back up go to the other side and on this one we're gonna open this loop slide this one on and I think I'm gonna actually force the memory wire up a little bit that's gonna make it easier to hang slide that on and then we're gonna close this loop I want this to definitely stay on here so again well we don't normally do in jewelry making is squish these but I do want this squished a little bit cuz I really want that to stay shut we're working a little bit a weird angle here there we go all right we have another ornament so we've made our sets of ornaments so we've got two of each style here and these are all made out of memory wire and beads and charms and tassels of fun things all the supplies are available at beadaholique.com as well as a lot of other tutorials for both Christmas projects ornaments as well as memory wire projects so I hope you enjoyed this project and have a very happy holiday season and have fun making a bunch of handmade ornaments

You recently viewed

Clear recently viewed