


Related Videos

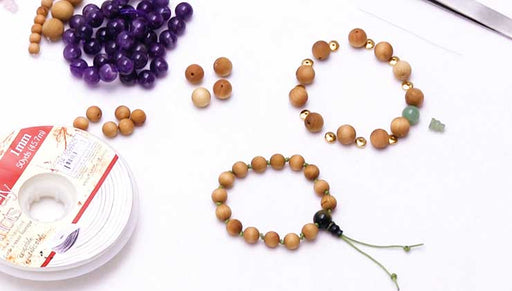
How to Make a Meditation Bracelet with Aromatic Wood Beads and a Gemstone Guru Bead
In this video you will learn how to make a mediation bracelet using aromatic cedar wood beads and a green aventurine guru bead. This simple projec...
View full details
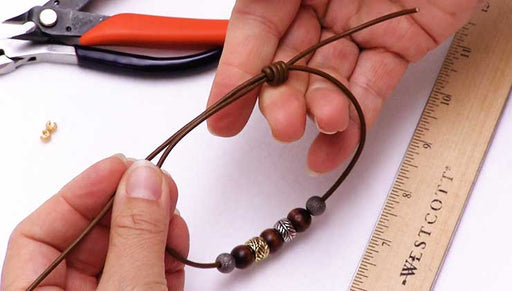
How to Make a Bracelet with Slide Knots
In this video, you will see from start to finish how to make a bracelet with slide knots using 2mm round leather cord and large hole beads. You wil...
View full details
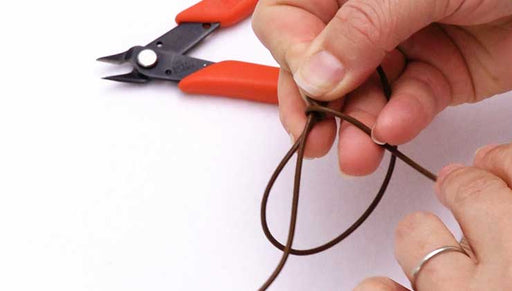
How to Tie a Slide Knot
In this video, you will see how to tie a slide knot on 2mm round leather cord. This is a great technique for making adjustable jewelry using variou...
View full detailsCustomer Reviews
Based on 4 reviews
Write a review