
|
Lucite Cabochons 3-D Large Rose Flower Opaque Pink 34mm (1 pcs) SKU: BCP-4552 $1.59 |
Related Videos


How to Braid Beaded Kumihimo with Long Magatama Beads
This video shows you how to do a classic 8-warp beaded Kumihimo braid but instead of seed beads, we are using Miyuki Long Magatama beads. The resul...
View full details
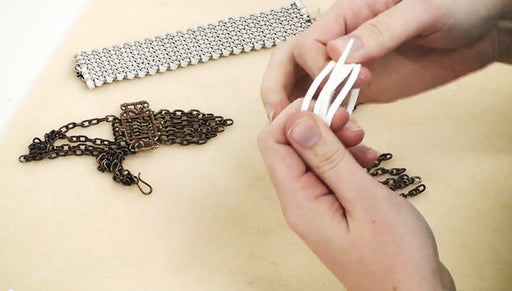
How to Weave Faux Suede Cord Through Chain
In this video, learn how to weave faux suede beading cord through the links in several lengths of chain to create a versatile woven piece that can ...
View full details