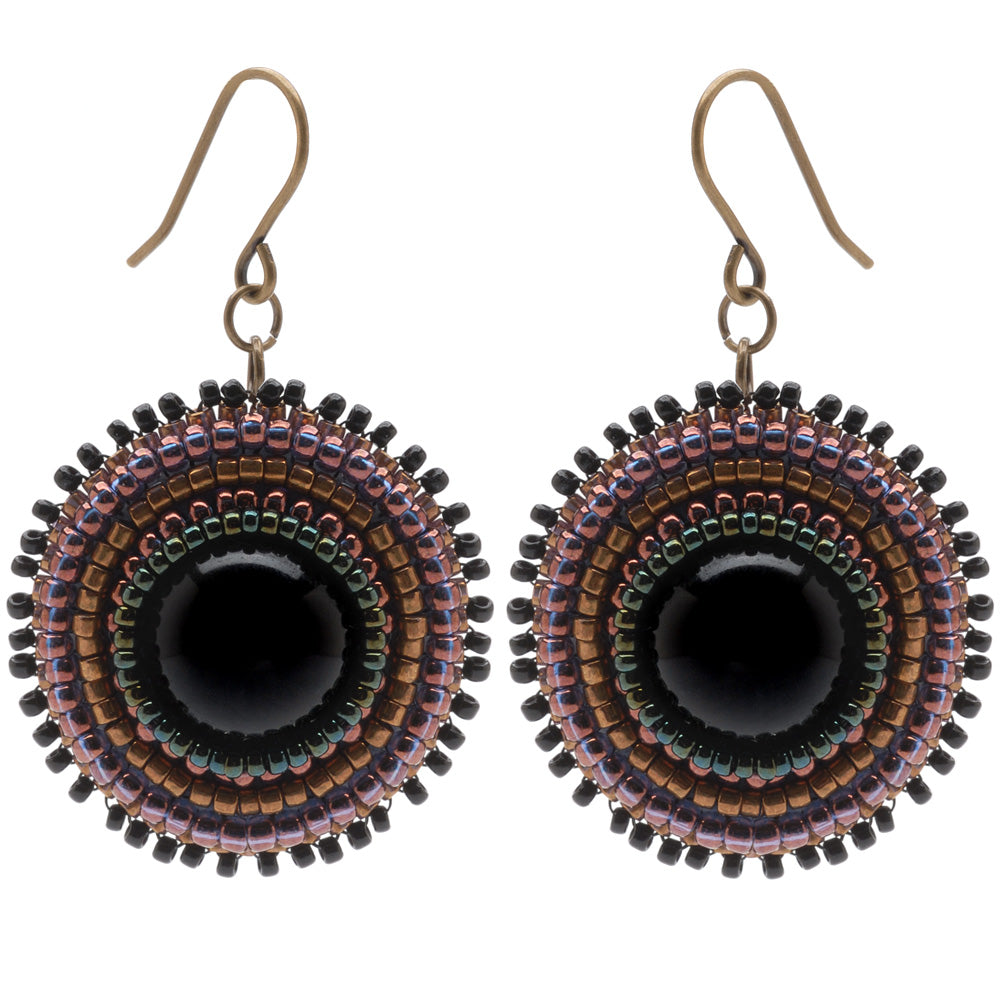
|
SKU: E657 Project Tutorial |
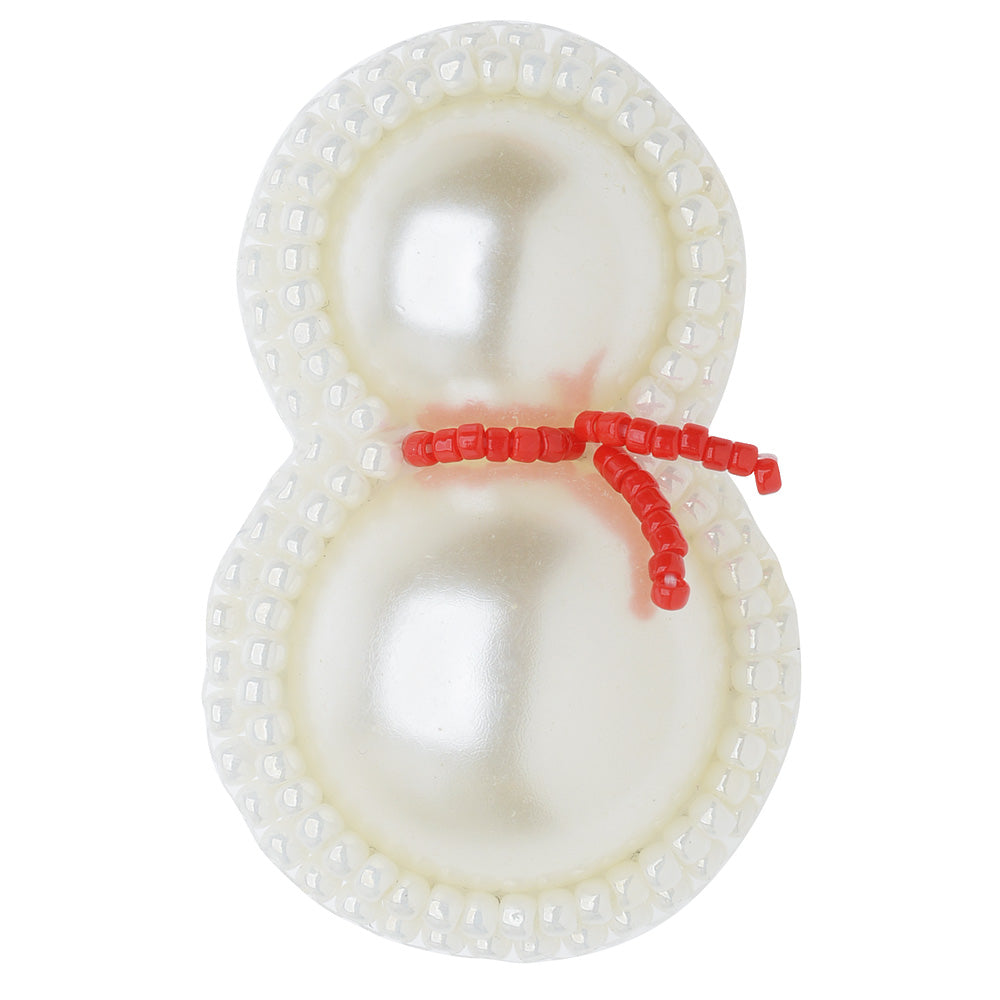
|
SKU: C2002 Project Tutorial |
|
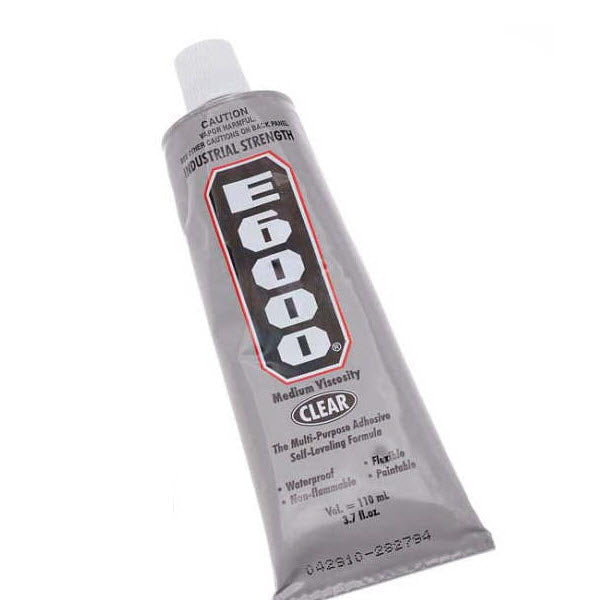
E6000 Industrial Strength Glue Adhesive (3.7 Oz) SKU: XTL-1050 $8.99 |
|
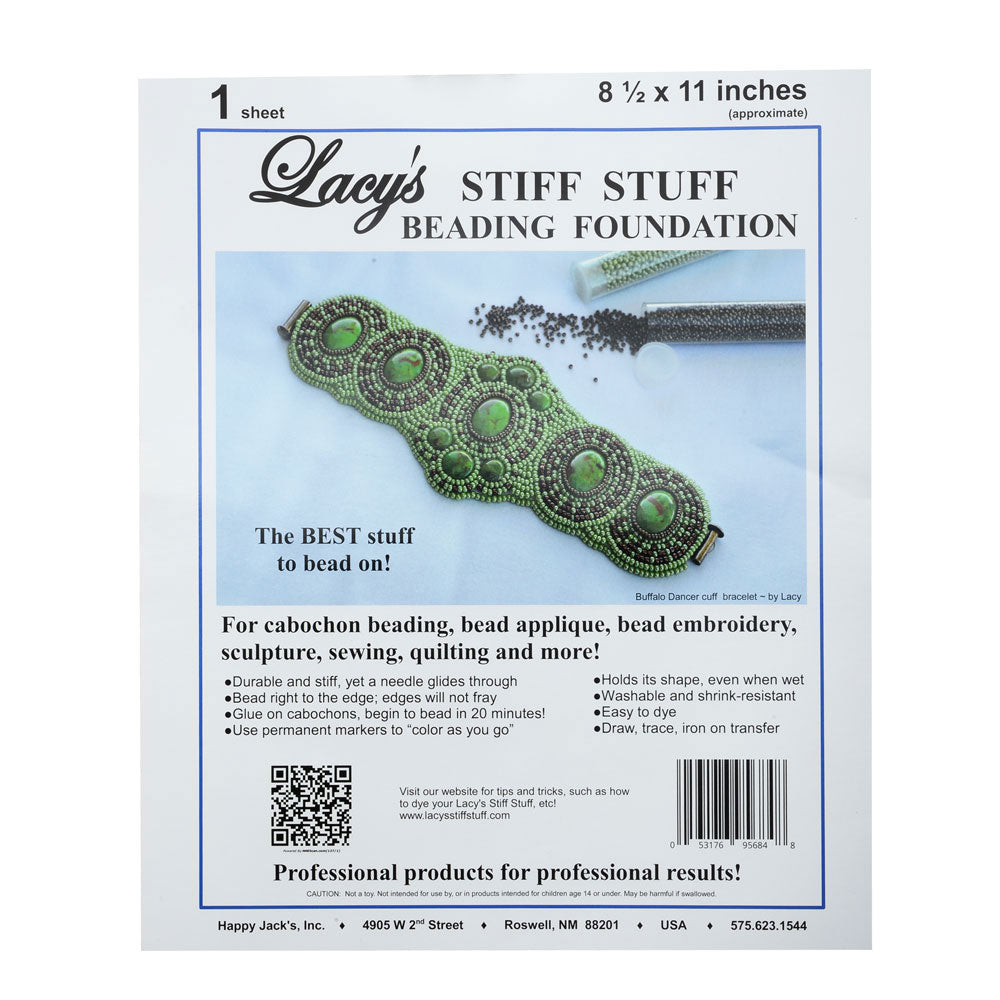
Lacy's Stiff Stuff Beading Foundation for Cabochons 11 X 8.5 Inches SKU: XCR-4211 $7.95 |

|
Lacy's Stiff Stuff Beading Foundation for Cabochons 4.25 X 5.5 Inches SKU: XCR-4210 $3.39 |
Hi, this is Julie with Beadaholique.com and today I want to show you how to glue a cabochon onto your beading foundation. I'm be using Lacy's Stiff Stuff. I've got it out the package. You can see I've already done some work on here. This is a very stiff product. It's very durable. If you wanted to before this step of gluing a cabochon on you can dye this to match your beads. It's an optional step. You can also go ahead and just take a permanent marker and color it black as well if you want. So to glue your cabochon on, first you're going to want to decide where you're going to place it. Now I know that pattern I'm going to be making is I'm just going to be doing some simple bead embroidery. Just several rounds around the exterior of the cabochon. So I'm going to be okay placing cabochon about this far from the edge. I don't think my beadwork is going to go any further then say here. So as long as I've got that much all the way around my cabochon I'll be fine. But if I was doing a more elaborate pattern what I could actually do is I could lay my cabochon down onto my foundation. I could trace it and I could actually even trace out a general feel for what I want my design to look like. Maybe I have another couple cabochons up here and have it come down to 'v'. So whatever you want sketch it out onto your foundation before you place your cabochon. So once you know what you want and like I said I'm just gonna do a really simple piece where I'm not gonna have a lot of beadwork, just several rows. Always give yourself more than what you think you need. I'm going to go ahead make a little mark where I want my cabochon to be. The nice thing about cabochons of course is they have a flat back. Now I'm going to take some E6000 and I have a little piece of scrap wire as an applicator, a toothpick works really well as well. I'm going to place some glue onto my scrap piece of wire. I'm going to it onto the back of my cabochon. Now a quick note is I want to go all the way to the edge but I don't want to go over the edge. I don't want my glue to end up spilling out either when I press this down into place because I'm going to need to do beadwork right up along the edge so if I have glue coming out I'm not going to be able to easily get my needle through my Lacy's Stiff Stuff. So I actually think I have too much glue I'm just going to go ahead remove some. Put that aside. Line up where I wanted it and press it into place. I actually like to grab it from the back as well. Press down. Make sure that none of the glue has actually spilled over to the side. Sometimes It'll even make like a little wet mark on the back. That's totally fine. Don't worry about that at all. Go ahead and set this aside and let it dry for atlas an hour. Sometimes it's not going to take that long but I really want that cabochon to stay put when I start my beading making. So I'm going to let it dry for and hour. I might even let it dry overnight depending on what I'm doing. I just wanna make sure. Then once it's dry I'm going to show you what to do. I know I'm not going to be beading on this right away but for the purpose of this tutorial I'm going to show what to do. Jjust go ahead and rough cut around my cabochon. I'll take this, put it away and use it for another project. Once this is dry I'll be ready to start my beading. Go to Beadaholique.com for all of your beading supply needs!
Related Videos

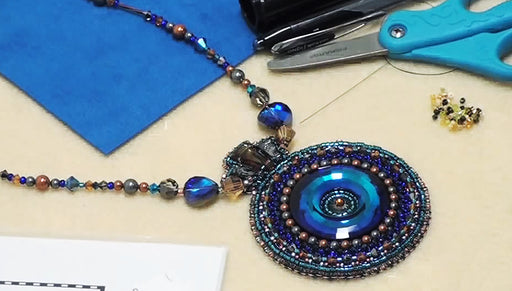
Introduction to Lacy's Stiff Stuff for Bead Embroidery
In this video learn exactly what Lacy's Stiff Stuff Beading Foundation is and how to use it. You can cut, dye, draw on it and more. A must have for...
View full details
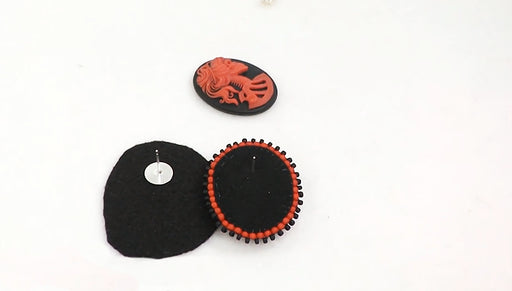
How to Hide an Earring Post in Bead Embroidery
In this video, you will learn a quick tip about how to make your bead embroidered earrings without exposing the back of the post. This creates a se...
View full details
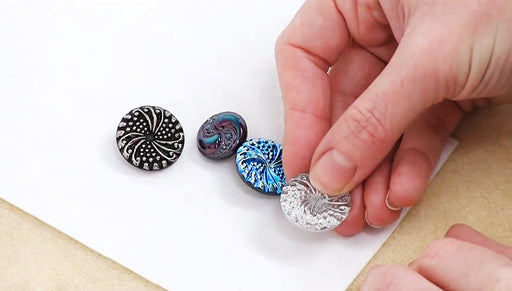
How to Use Glass Shank Buttons in Bead Embroidery
In this video see how you can incorporate buttons with glass shanks into your bead embroidery. Two different techniques are shown which allow you t...
View full details