
|
Earring Post, Rope Circle with Loop 12x15mm, Gold Plated (2 Pairs) SKU: FEA-5132 $4.19 |

|
Beadable Open Wire Frame for Earrings or Pendants, Trapezoid 26x27.5mm, Gold Tone (4 Pieces) SKU: PNT-227 $2.79 |

|
Toho Seed Beads, Round 11/0 Semi Glazed, Rainbow Clover (8 Gram Tube) SKU: JSK-0415 $2.89 |

|
Toho Round Seed Beads 11/0 #PF557 'Galvanized Starlight' 8g SKU: JSK-0277 $3.95 |

|
Earring Backs, Large Clutch 10mm, Gold Plated (10 Pairs) SKU: FEA-09000 $3.49 |

|
NYMO Nylon Beading Thread Size D for Delica Beads Golden Yellow 64YD (58 Meters) SKU: XCR-8916 $2.45 |

|
The Beadsmith English Beading Needles Size 12 (4 pcs) SKU: XTL-3006 $3.99 |

|
Tulip Premium Scissors, Gold Handle 5 Inch (1 Pair) SKU: XTL-0373 $49.99 |
Related Videos


How to Do Circular Brick Stitch On a Hoop Earring
In this video you will learn how to start circular brick stitch on a hoop earring, how to add beads and how to tie off the finished piece as well a...
View full details
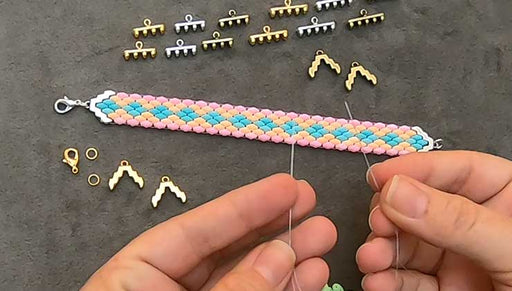
How to Make a SuperDuo Bracelet with Cymbal Bead Endings
In this video you will see how to start and finish a bead woven bracelet using the Cymbal Bead Endings for SuperDuo 2-hole beads.
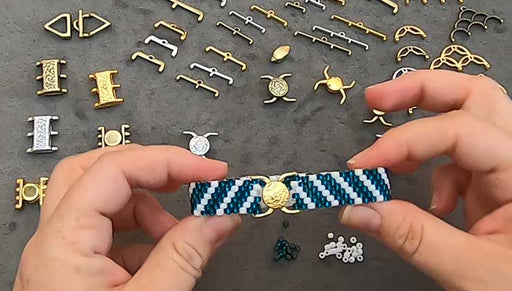
How to Use a Cymbal Magnetic Clasp to Finish Bead Weaving
In this video you will learn how to finish your peyote stitch bracelet with a cymbal magnetic clasp. This technique translates easily to other sty...
View full details