|
The Beadsmith 5 Inch Big Eye Beading Needles (Set of 4) - Easy Needle To Thread SKU: XTL-3164 $3.99 |

|
Miyuki Delica Seed Beads, 10/0 Size, Gun Metal Gray, DBM0001 (7.2 Grams) SKU: DBM-0001 $4.30 |

|
Fiskars 5 Scissors for Beading Cord SKU: XTL-5700 $5.99 |

|
Beadalon Large Beading Mats - Prevent Bead Rolling 13 X 18 Inch (Set of 2) SKU: XTL-9935 $6.75 |
Hi, this is Julie with Beadaholique.com and today I want to show you how to chain stitch crochet with beads It's actually fairy very easy to do and it's a fun way of incorporating beads into your crochet work or incorporating your crochet work into beading what you're going to need is you're going to need some type of string, for this particular video I'm using pearl cotton size eight. It's very soft it's very thin which is nice and flexible I'm going to be using size 10/0 miyuki delica beads. They've got a nice big hole in size they're pretty easy to put onto my pearl cotton I've got a size nine crochet hook see the tip is quite small but that's what we want I have a bigeye needle which is going to help me get my bead onto my pearl cotton and I have a pair of scissors so I've preloaded my beads onto my pearl cotton and the way you do that is very easy. I can just take a few off here and show you take your big eye needle open it up put your string through the needle and then you just going to go ahead and pick up some beads slide them down and pull them on to your thread so that is how you get the beads on there. I've preloaded them just keep sliding them down because you need to make sure that you start with enough beads to complete your project because you're not going to be able to go back and add them later so the way that we're going to start this is by making a slipknot you want to leave about an eight-inch tail and to make a slip knot you just go-ahead loop the thread or whatever you're using a round, a couple fingers push it through and pull and then what you have is a slip knot which is adjustable I'm going to show you how to do that again. Pull out your slipknot just pull loop it around basically making a hole your putting your thread through it but you're not pulling the tail all the way through and now you have an adjustable knot so that's how you're always going to start chain stitch crochet is with that slipknot and then you're going to insert your needle through it and pull now if you have not done crochet before the way you're going to line up your thread, you take your thread put it between your pinky and the finger next to it loop it around cross over your fingers on the inside part of your hand and then around your index finger and likes so so that it comes back out and you're holding it up between your middle finger and your thumb I'll show you that again so loop it around between our pinky and the finger next to it loop it around cross over your other two fingers on the inside part of your hand make sure it comes out so you're going around your index finger and then you're grabbing it between your middle finger and your thumb so that's how you're going to start so this is keeping the tension, this finger right here is going to keep the tension of the thread the way we're going to do a chain stitch. It's all involved in a chain stitch is take your needle loop it so that you grab the thread pull it through your loop and that was just one chain stitch do that again. Go under and loop around the thread grab it with that little hook pull through your loop keep repeating that and right now your chain stitching and that's all there is to it. It's so easy and here you can make your loop bigger or smaller you've got a lot of flexibility in there. You see how this finger's keeping the tension and then if you end up with it too loose, go ahead wrap it around your hands again so you have a better grip on it make a loop and pull through loop over and pull through so that's all there is to chain stitching if you want to pull-out chain stitch all you got to is pull put my needle back into the loop that's keeping it from pulling out now. I'm going to add beads the way that I find that is easiest to take five or six beads and pull them down so that they are up against the crochet hook loop it around our fingers so now our bead are caught between our index finger and our crochet work put one at a time. Do one that's up against our hook do the same process for that chain stitch and now trap the bead now we're going to not add a bead and do a single chain stitch and now we're gonna add a bead scoot a bead and we're gonna just pretend it's not even there, make sure it's trapped do a chain stitch and we're going to not add a bead and do regular chain stitch add a bead scoot it down go over pull through do one without a bead add a bead I'm going to do a few of these so you can what I'm doing, making sure that I add the single chain stitch between each bead and that's just gonna make your actual length a lot more flexible see I want to be able to make sure that it can move this is what we got when you need more beads all you do id grab another five or six or however many you are comfortable with scoot them down reloop your fingers and then continue as normal you do that for as long as you want. I'm going to do a couple more because I know it can be a little bit hard when you're first learning this if I need to have a little more thread I'm just pulling so that I was pulling it so it's coming nice and loose off of that spool then time to add another bead I'm just going to add one more bead, do another chain stitch and I'll show you how you would end this do one more so let's say you've made an earring, that you want this to be the length of an earring or you've done a long strand and you're ready to tie it off what you're going to do you make a loop a little bit bigger and hold it, pinch it go ahead and cut your thread take your tail put it through the loop pull that creates a knot and now you're crochet work is not going anywhere from either end and that is how you chain stitch crochet and add beads. Go to www.beadaholique.com to purchase beading supplies and to get design ideas!
Related Videos


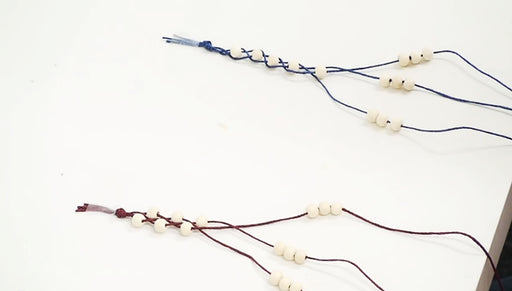
Two Ways to Add Beads to a Traditional 3-Strand Braid
In this video, learn two different ways to add beads into a simple 3 strand braid.


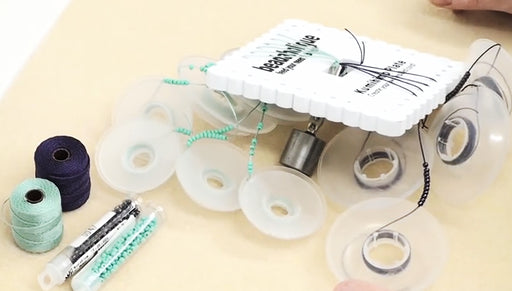
How to Add Beads to a Flat Kumihimo Braid
Learn how to incorporate beads into your 10-warp flat kumihimo braid. This technique shows how to create a beaded edge along both sides of the brai...
View full details

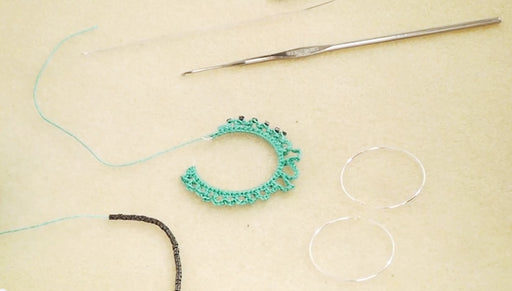
How to Crochet Around an Earring and Add a Beaded Edge
In this video see how to crochet around a hoop earring and then add a beaded edge. Also shown is how to tie off your thread and incorporate it into...
View full detailsCustomer Reviews
You recently viewed
Clear recently viewedThank you for the simple & efficient video, Julie! I needed a quick refresher, & your video is perfect for everyone, from the beginner to the forgetful. I will look for other things you teach because this was so helpful (& your voice & delivery so pleasant).
Regards,
Tiffany
