


Related Videos


How to do a Russian Spiral Stitch in Bead Weaving
In this video, you will learn a basic Russian Spiral Stitch using bugle beads and seed beads. Change up your bugle bead size for a tapered look, a...
View full details

How to do a Modified Right Angle Weave with Two Hole Beads
In this video, you will learn how to bead weave right angle weave with two hole beads. This is a modification of a right angle weave, but still us...
View full details
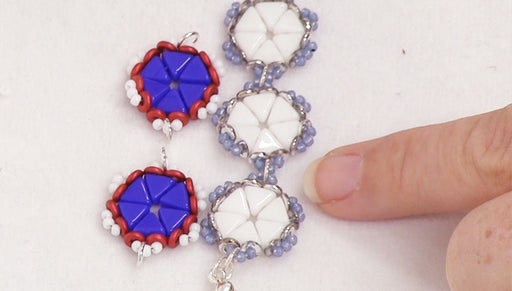
How to Bead Weave a basic flower using the Kheops Par Puca Beads
In this video, you will see just one of the many ways you can bead weave with the Kheops Par Puca Triangle Beads. Using Toho 11/0 seed beads and C...
View full details