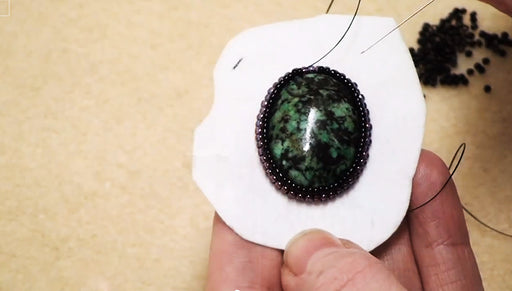
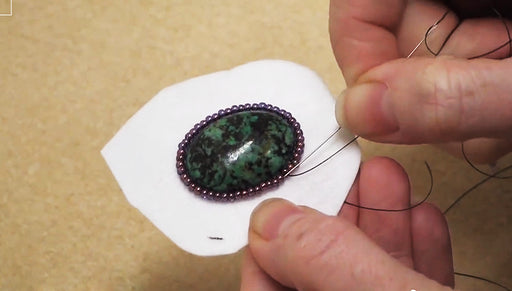
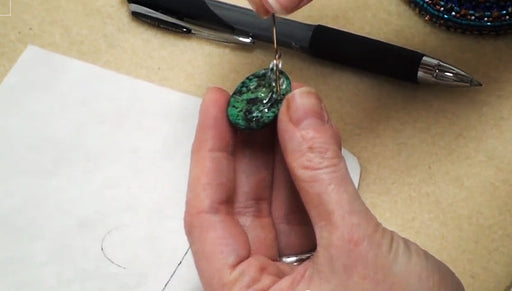
Bead Embroidery: How to Trim the Foundation and Attach the Backing

SKU VID-0108
Designer: Julie Bean
In this video learn how to trim your Lacy's Stiff Stuff backing in bead embroidery and attach a backing such as ultra-suede which will hide your threads and give your piece a professional finished appearance.
Audio Transcript
Note: This audio transcript is auto-generated and may not be completely accurate.
Hi, this is Julie with Beadaholique.com and it only show you how to trim your foundation in Bead Embroidery and add a backing. So after you've done all your stitches, you can see here I've got my cabochon, I have a bezel row and then I have three rows of just a simple backstitch. I've got my stitching on the back. Everything is tied off. Now what I need to do is trim this so it'll look more like a finished piece. We of course don't want all this white around here. This is on Lacy's Stiff Stuff. So what you need is a pair of scissors and you'll need some white glue. I've used Crafter's Pick glue. It works really well. I've also have some ultra suede for my backing. So what you're gonna wanna do is you're gonna wanna very very carefully trim around the edge around your beading. Now you can always trim more later. You're going to want to start out not making too deep of a cut because you don't want to cut any of your stitches. simonSo I'm going to actually make my first cut and what I'm going to do is pretty quickly I'm going to turn this over and see how close I am to my stitching. I have a good amount of room. I'm okay. So I'm just going to carefully trim around the edge using the beads themselves as a guideline. I'm going to keep turning it over. Because what I want to be cautious of is I want to see if I'm coming up to a spot or maybe or maybe I have a thread that went a little bit further out than the others. Do a little. Turn it over. A little more. Turn it over. Just keep going back and forth. You've spent all that time and energy and you've made such a lovely piece you don't want to now end up cutting the threads and having your beads come off. So now I'm going to turn it over. I'm okay. I didn't get anywhere where I was too close to my stitching. But I also want this to be as close to the edge as possible just because this is going to the overall shape of my design. I'm going to do a decorative edge around it but if this shape has a crooked corner to it than that crooked corner is going to be accented by my beadwork in the next steps. So I do want to try to get this as perfect as possible. I'm going to go back in and just trim off a little bit that seems to be poking out. I'm happy with that now. So now what I need to do is adhere this piece to my suede backing. So I'm going to take some white glue. If you've seen my other videos you know I like to use my fingers. You don't have to use your fingers. You can go ahead and use a tooth pick or a piece of wire as an applicator. I'm just going to put some glue onto the back. I'm not going to go all the way to the edge because I'm going to need to stitch that edge but I am going to cover my stitching. White glue doesn't dry right away. It takes a little bit of time. So I have time here. I don't have to rush. When I stitch my final edge around it's actually going to be stitching these two pieces together. So this glue is kind of just a placeholder for right now. It does help to secure it but I'll actually be sewing them together. So I'm just going to flip it over and on the edge I'm just going to press that down. Press that into place. I'm not touching anything with my gluey finger if you happen to use your fingers as well. I'm going to let that dry and I'm going to come back and trim it. We've let out beaded cabochon glue onto the Ultra Suede backing and now it's dry. It's time to cut it out. So we're going to just rough cut first. You're going to be using this piece for other projects so try to cut fairly close to it so you're not wasting too much. Put that aside. Now we're just going to follow the line of the white foundation. The white Lacy's Stiff Stuff. So we're not cutting into that foundation anymore. There you go. And You can see it's sandwiched. You can see the white layer and you can see the Ultra Suede. That's what it looks like on the back. It's now covering all of our stitching so it looks very finished. Now all we have left to finish this particular piece is we're going to go back and we're going to add a decorative edge. Go to Beadaholique.com for all of your beading supply needs!

You recently viewed

Clear recently viewed