
|
Toho Round Seed Beads 8/0 #81 'Metallic Hematite' 8 Gram Tube SKU: JSH-0039 $2.25 |

|
Toho Round Seed Beads 8/0 #761 - Matte Opaque White (8 Grams) SKU: JSH-0347 $2.99 |

|
Super-Lon, S-Lon, Cord - Size #18 Twisted Nylon - Gray (77 Yards) SKU: XCR-4613 $5.49 |

|
Super-Lon, S-Lon, Cord - Size 18 Twisted Nylon - White / 77 Yard Spool SKU: XCR-4248 $5.99 |

|
The Beadsmith Lightweight Kumihimo Round Disc Disk For Japanese Braiding and Cording 35mm Hole SKU: XTL-6095 $5.99 |

|
Gator Weight For Kumihimo Braiding - 1.6 Ounces (1 pcs) SKU: XTL-6063 $12.99 |

|
The Beadsmith No Tangle Flexible Plastic Thread Bobbins For Kumihimo Or Macrame 3 1/2 Inch (4 Pack) SKU: XTL-6105 $13.75 |
Related Videos


How to Make the Honeycomb Double Wrapped Loom Bracelet Kits by Beadaholique
In this video you will see how to make the Honeycomb Double Wrapped Loom Bracelets from start to finish. These kits use the Wrapit Professional Se...
View full details
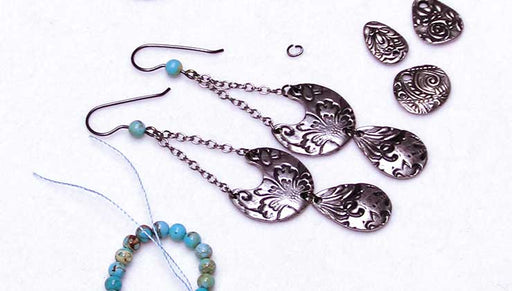
How to Make the TierraCast Vida Mas Dulce Earrings
In this video learn how to combine elements from the TierraCast Dulce Mas Vida collection with pieces from their Dulce Vida line to create an elega...
View full details
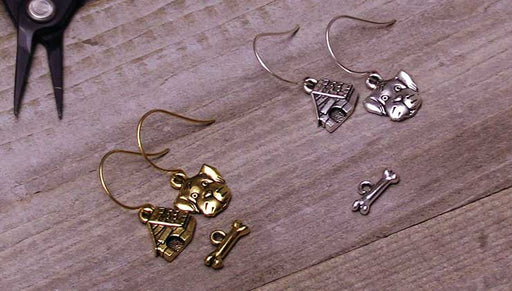
Quick & Easy DIY Jewelry: In The Doghouse Charm Earrings
Cute little doggie and doghouse TierraCast charms are the focals of these sweet earrings. Sometimes all you need is a striking charm to make a wond...
View full details