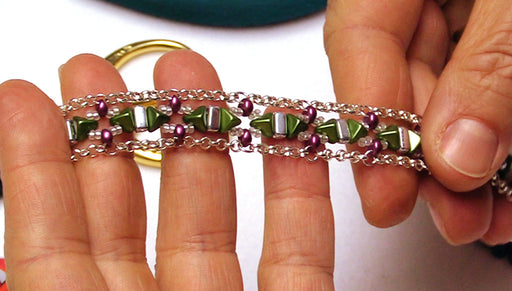
How to Make the Pollen Prism Necklace

SKU VID-1641
Designer: Alexandra Smith
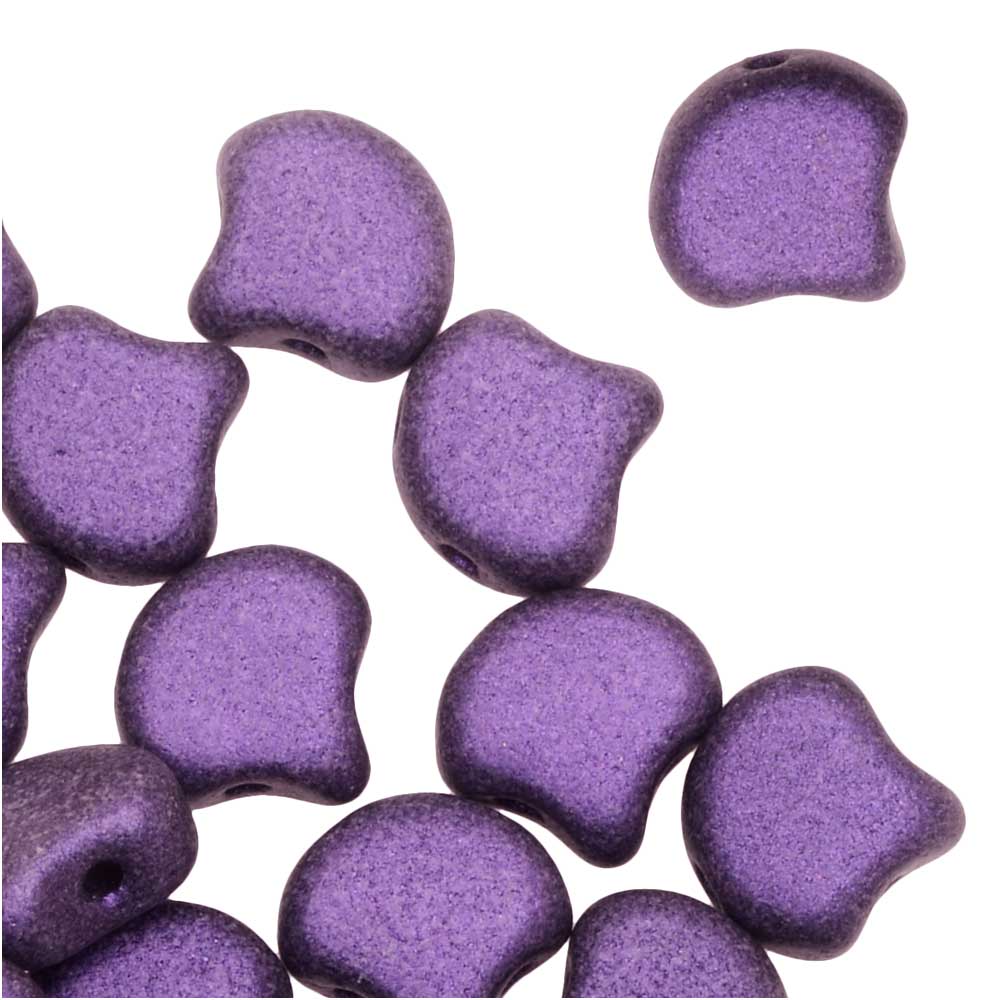
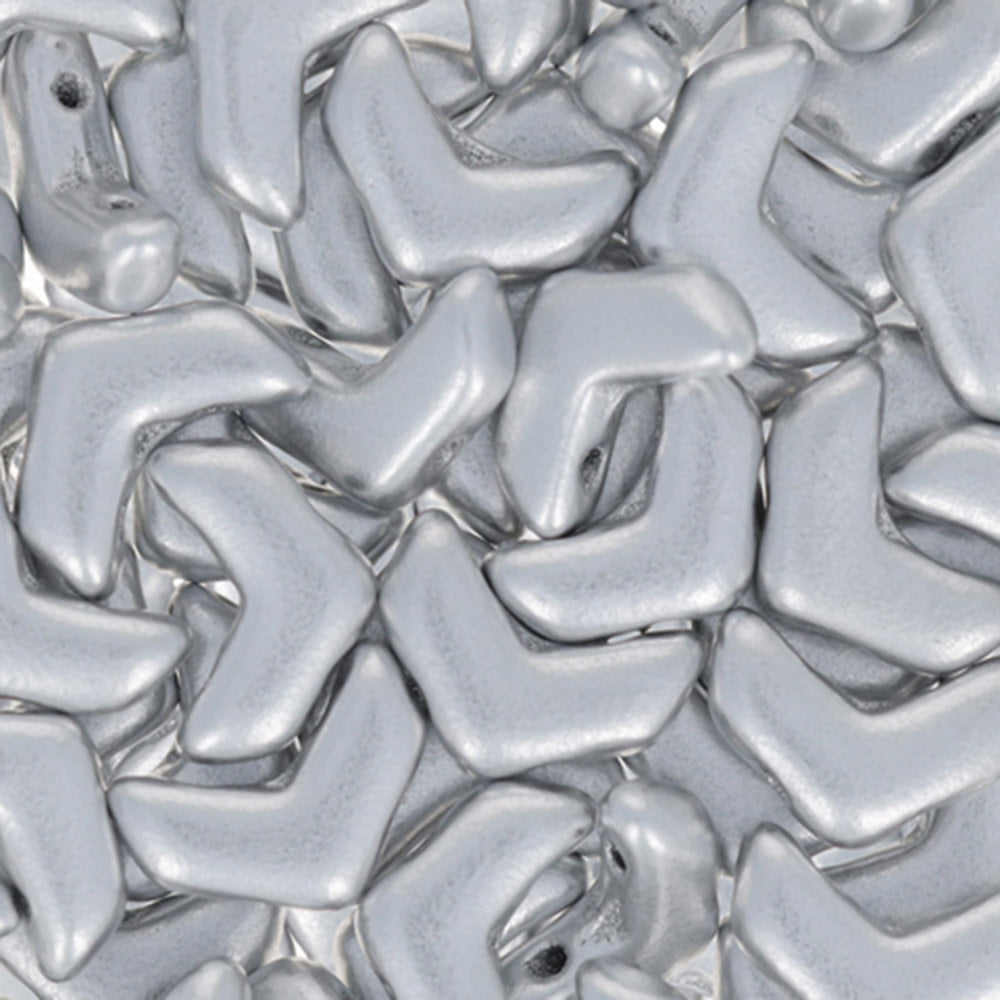
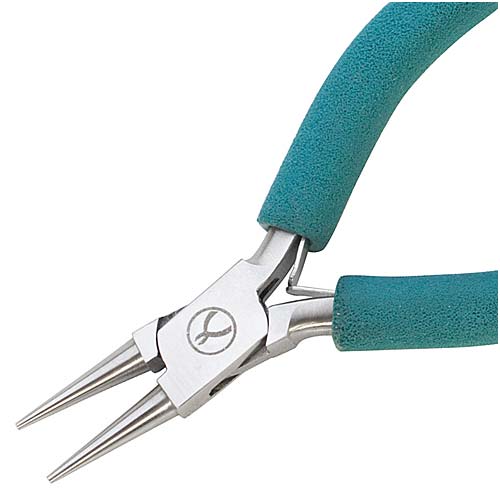
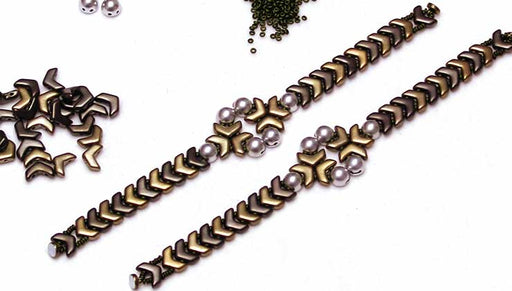
In this video, you will learn from start to finish how create this necklace using Czech glass 2-hole Ginko beads, Chevron beads, and Miyuki 11/0 round seed beads. First, you will see how to weave the beaded sections using Fireline thread. Then you will see how to connect your beaded sections using 5mm jump rings, as well as how finish the necklace by attaching rolo chain and a toggle clasp.
Audio Transcript
Note: This audio transcript is auto-generated and may not be completely accurate.
hi this is Alexandra at beadaholique to make the pollen prism necklace so this focal piece is bead woven and it's made up of a three separate units connected with jump rings and the beads that are used are to hold Czech glass beads there's gingko beads here Chevron beads and also some my yuki round eleven o beautiful mat 24 karat plated beads which I just love these were the inspiration of the name Pollan they remind me of pollen grains so we're also once we have this focal put together we're going to put it on to chain and add a clasp the tools that I'll be using are some round nose and chain nose pliers some cutters flush cutters to separate the chain where we want it and some smoke fire line so to begin I have two feet of fire line cut and I have my size 12 needle strung on and I'm first going to add a stopper bead leaving myself a four to six inch tail so I'll tie that on and get started here first I'm going to string on a seed bead then I'm going to take one of my Chevron beads and string up through the nose side of the bead you'll see it's drilled from front to back in this direction bring that down and add on my first ginko bead and here I'm stringing through the wider base of that bead so that it's it flushing the space of that the Chevron and over the top of this bead I'm going to add on five seed beads to let me string those on pull them down and come over the top through the second hole of that ginko bead and down through the second hole of the Chevron bead so that those seed beads lay right over that little top section of the gingko now I'm adding on another seed bead and I'm going to repeat that process bringing on another Chevron beam coming through the pointed nose side of it adding on a gingko bead coming through the wider base of it and bringing on five more seed beads here again I'm going to come over the top and through the second hole of each of my Czech glass beads checking my tension tightening that up and adding on another seed bead now I'm ready to bring on my third Chevron beat coming through the nose side my third ginkgo bead coming through the wider base and five more seed beads so once I have all my beads on I'm going to assemble the unit into the shape that I want it oh but I've got a string through the second hole of my beads let me do that coming through that completes this weave and now I'm ready to set my beads down on the table and situate them into the configuration that I'll be tying the knot off so all that's left to do here is to remove that stopper bead and tie the two sides together so I'm just going to get a grip on that little red bead and pull it off and then tie my two strings together making sure that the knot lands right between the seed bead and the Chevron there we go now I'm ready to tie in my thread and get the knots secured so I'm gonna weave back through one seed bead and the two holes of the Czech glass coming up and I'm going to tie a knot by just looping my thread through through the loop make a little knot there double up on that and so we've in my thread I'm gonna double it back through these seed beads over the top and send it down through the two holes of these Czech glass beads and I should be ready to clip that side so I'll get my little scissors take that end off and I'm gonna do the same thing on the tail portion I'm gonna string on my needle and just repeat the process of getting to a secure place where I can make a knot coming through the loop once and twice make sure that thread Lance where I want it to there we go and send my needle through some beads to tie in my thread so this is one of the three beaded units that you'll be putting together to construct the necklace just clip that tail like so so once my woven units are ready to put together what I first need to do is attach these little bottom jump rings with the seed beads which I neglected to do on my first unit so let me get that on there for you I'm going to take one of these five millimeter 21 gauge jump rings she's a nice thin gauge for this sort of a project I'm going to string on three of my seed beads gently carefully there we go using my plier for grip and I'm going to slide it on to this third bead which has two on either side and that centers it off of one of the tips of my design I'm going to take my other plier and close that up securely there we go so now my woven units are completed and ready to attach I'm going to use these same jump rings in between each section and I'm going to do the same same thing where I find that Center bead and I'm going to gently guide my jump ring through that be sometimes it takes a little patience to get through these tiny holes there we go there's one and then wanting to pay attention to the orientation of my piece so that I know that that jump ring with the dangles on it is at the bottom taking up my second piece that went on a lot more easily and I'll close that up and do the same thing for this section find the opening of my jump ring and slide slide the piece on here again I want my pliers so that I have some leverage there we go I'm gonna close that up and my focal piece is complete so now I'm just ready to attach my chain my class and for this I have a 12 inch section of three millimeter Rolo chain again it's this beautiful matte gold that goes well with the jump ring or sorry with the seed beads I'm gonna find the center link and clip that right at the six inch mark I'm using my flush cutters then I'm ready to take a couple more jump rings and add on my beautiful tierracast toggle I liked how the shape of this toggle sort of mirrors the shape of the beaded units just gonna slide that bar side on there close it up and get the ring side on and close it up and I'll do the same thing down here for the focal I'm going to again slide into that Center seed bead on one point of the design and latch on one side of the chain and repeat that on the opposite side there we are so I really enjoyed finding a way to put these beads together in a fun geometric way that incorporated some seed beads there's the pollen prism necklace I hope you enjoyed this video these tools and supplies are all available at beadaholique.com please also subscribe to our YouTube channel for all the latest updates thanks for watching

You recently viewed

Clear recently viewed