
|
Griffin Silk Beading Cord & Needle Size 4 Amethyst Purple SKU: XCR-9409 $2.69 |

|
TierraCast Pewter Button, Czech Square Design 10mm, Antiqued Silver Plated (1 Piece) SKU: PND-025 $2.69 |

|
Genuine Leather Cord, Round 1.5mm, By the Yard, Black SKU: CHY-1502 $2.25 |

|
Wrapit Beading Loom Craft Kit, Includes Beads, Nylon Cord & Instructions, Makes up to Five Bracelets SKU: XTL-6130 $24.99 |

|
Wrapit Professional Series Duo, Bracelet Beading Loom with 2 Tracks SKU: XTL-6136 $24.99 |

|
G S Hypo Cement Precise Applicator Essential! SKU: XTL-1001 $9.35 |

|
The Beadsmith Tools, Thread Snips 4.25 Inches Long (1 Piece) SKU: XTL-5614 $2.85 |
Related Videos

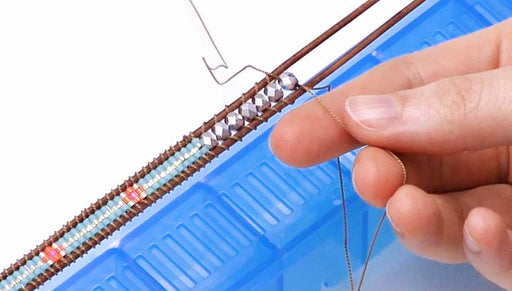
How to Add Additional Thread to a Bracelet on the Wrapit Loom
In this video you will learn how to add new Griffin Silk thread in the middle of a wrapped bracelet project on the Wrapit Loom. This is helpful whe...
View full details
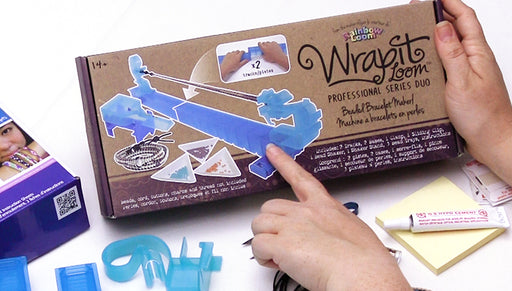
How to Use the Wrapit Loom Professional Series Duo
In this video you will see how to use the Wrapit Loom Professional Series Duo to make wrapped bracelets. This loom features an extension that allo...
View full details
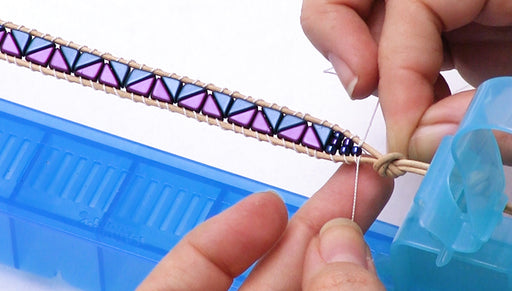
How to Make a Wrapit Loom Bracelet with Leather Cord and Two Hole Beads
In this video, you will learn how to make a leather bracelet with 2-hole Czech Glass Tango Beads and Toho seed beads using the Wrapit Loom by Rainb...
View full details