How to Make the Gray Balance Bracelet with Chevron 2-Hole Beads
SKU VID-1639
Designer:
Kat Silvia
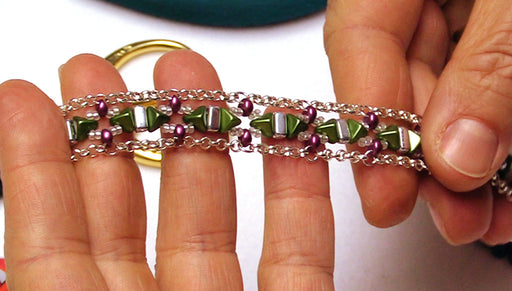
In this video you will learn how to weave this simple bracelet design using Czech glass 2-hole Chevron beads and 2-hole Cabochon beads. Toho Demi-Round seed beads provide the perfect buffer in-between each bead to give it space to show off their beautiful shapes.