
|
Kumihimo Thread Bobbin, Flexible Plastic 2 1/2 Inch (8 Pieces) SKU: XTL-6108 $5.45 |

|
Antiqued Brass Large Capsule Bead Caps 8x8mm (10 pcs) SKU: BMB-6000 $3.39 |

|
The Beadsmith Satin Rattail Braiding Cord 2mm Honey Butter Mix 4 Colors - 3 Yds Each SKU: XCR-3041 $7.99 |

|
TierraCast Brass Oxide Finish Pewter Daisy Spacer Beads 3mm (50 Pieces) SKU: BMB-5702 $3.79 |

|
E6000 Industrial Strength Glue Adhesive (1 Oz) SKU: XTL-1051 $6.99 |

|
Fiskars 5 Precision Tip Scissors - Super Sharp SKU: XTL-5700 $7.45 |

|
Vintaj Natural Brass Jump Rings 5.25mm Open 18 Gauge (20 Pieces) SKU: FJR-5352 $2.59 |

|
The Beadsmith Kumihimo Braiding Kit For Beginners - Easy To Learn! SKU: XTL-6107 $37.99 |
Related Videos

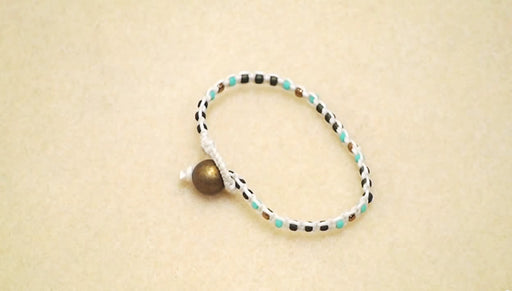
How to Make a Knotted Waxed Linen Wrap Bracelet (beads on the inside)
In this Beadaholique video, Andrea show us how to make a knotted waxed linen wrap bracelet with beads on the inside. Looking like an interesting tr...
View full details

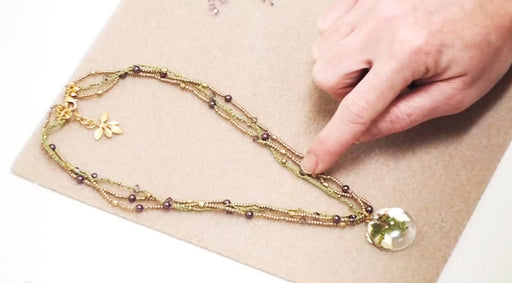
How to Make a Knotted Waxed Linen Wrap Bracelet (beads on the outside)
Learn how to make a knotted waxed linen wrap bracelet with beads on the outside. The warm brown of the waxed linen blends beautifully with the colo...
View full details
How to Crochet for Jewelry (without hooks)
Learn how to crochet stringing material and add beads into your stitch, all without the use of hooks or other tools.