Note: Components and tools listed within this INSTRUCTIONS box and the printer-friendly PDF, if available,
may have been discontinued since this project was published. Refer to the PURCHASE COMPONENTS and TOOLS AND
OTHER SUPPLIES sections for current availability.
In addition to the materials listed, you will also need a toothpick, a face mask and some disposable gloves to complete this project.
- Secure your ring in an upright position. Take a dab of Crafter's Pick glue on a toothpick and line the inside of the ring bezel.
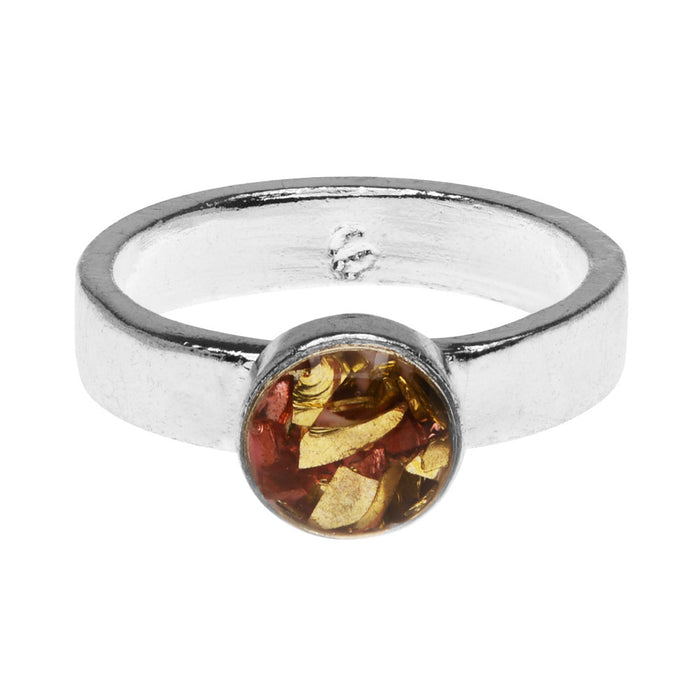
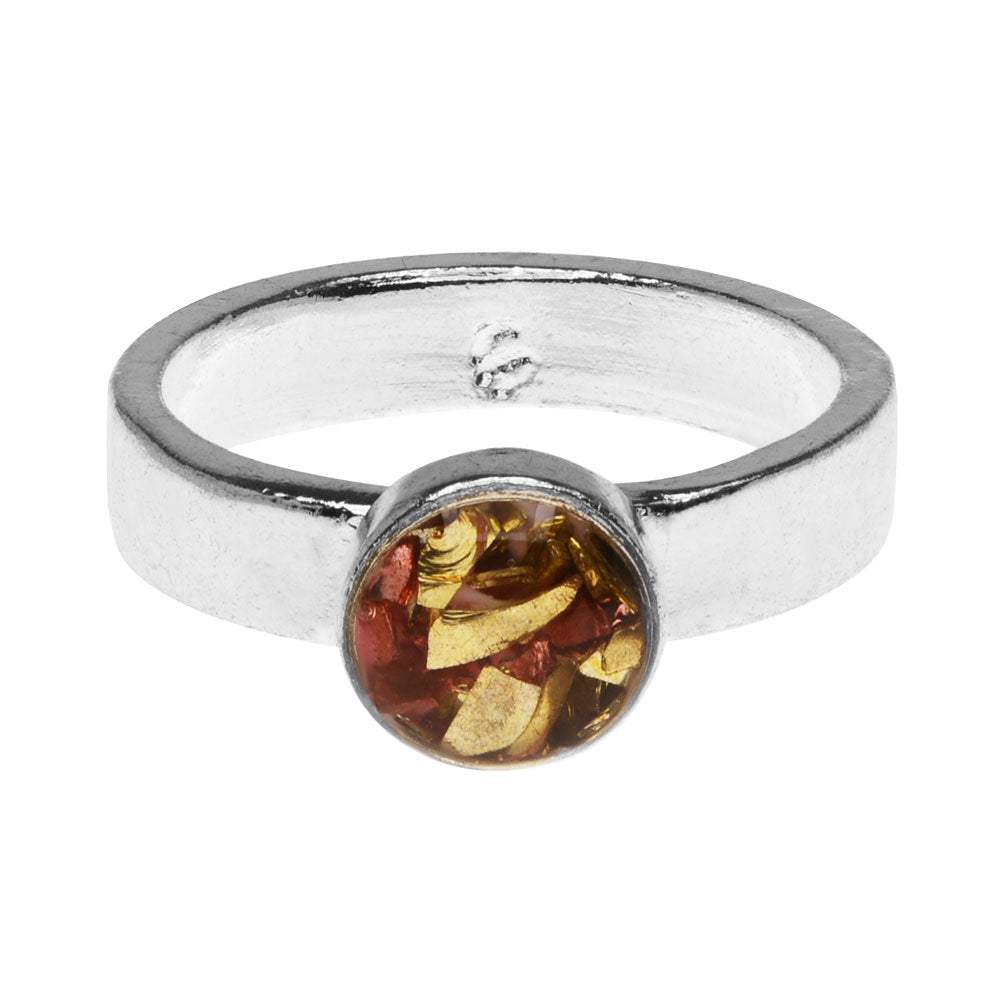
- Using tweezers, place a pinch of shard glass glitter into the bezel and tap it down. Keep sprinkling glitter until it fills the bezel almost to the top. Set aside until the glue dries clear.
- Watch our video on how to use Ice Resin. Put on your disposable gloves and face mask. Based on the instructions in the video, measure your resin and stir with a popsicle stick until all striations are gone. When it is fully mixed, use the stick to drip the resin into the bezel a few drops at a time, until the resin makes a low dome over the top of the bezel. Remove any air bubbles with a heat source such as a small torch.
- Allow the resin to cure in a dust-free area for three days. Enjoy your ring!
WHAT YOU'LL NEED: (scroll down for purchase options)
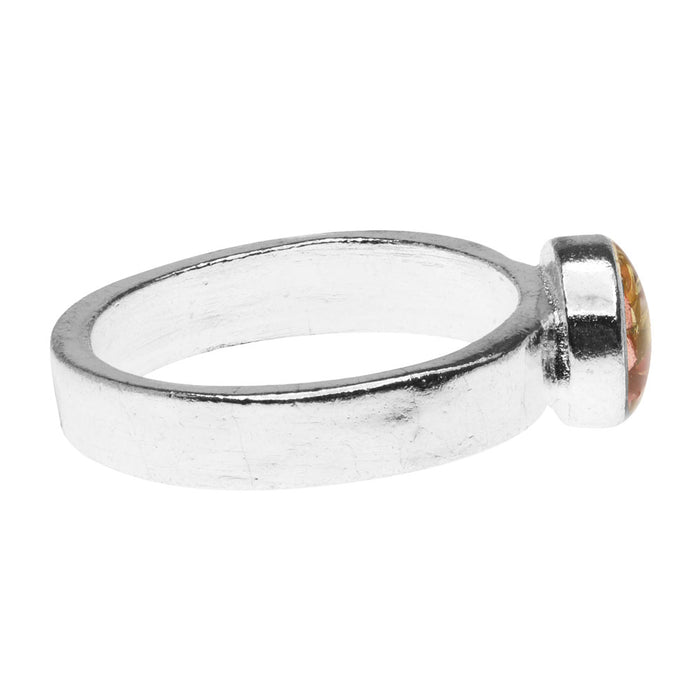
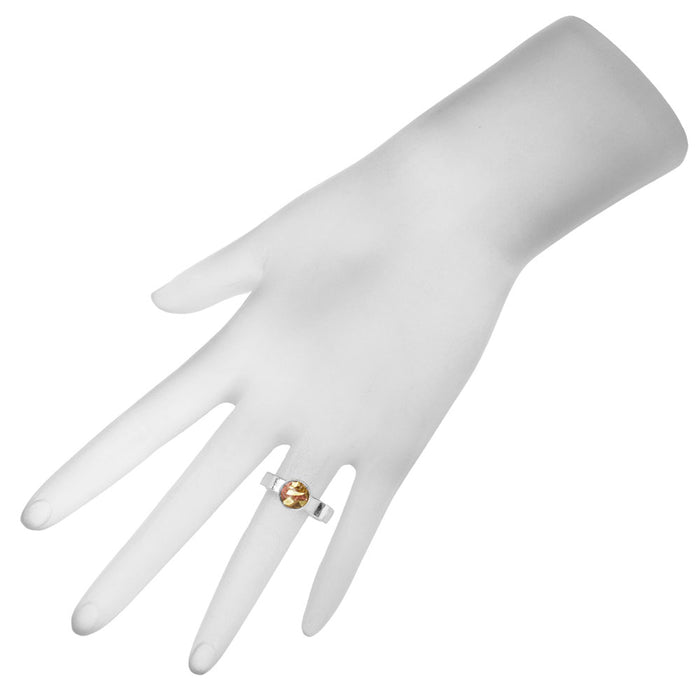
- FRG-203 - Nunn Design Ring, Hammered with Circle Bezel Size 6, 1 Piece, Bright Silver
Project uses 1 piece. You will need 1 package.
- XTL-1193 - Art Glitter, Shard Glass Glitter, 28 Gram Container, Rich Gold
Project uses 1 piece. You will need 1 package.
- XTL-1026 - Crafter's Pick The Ultimate Permanent Glue Cement Adhesive 4 OZ
Project uses 1 piece. You will need 1 package.
- TRC-10 - ICE Resin Jewelers Grade Clear Casting Epoxy Resin 8 oz Kit
Project uses 1 piece. You will need 1 package.
RECOMMENDED TOOLS:- XTL-4000 - Beadsmith Bead And Pearl Knotting Tweezers


 Earn Reward Points with your purchase of project components or tools.
