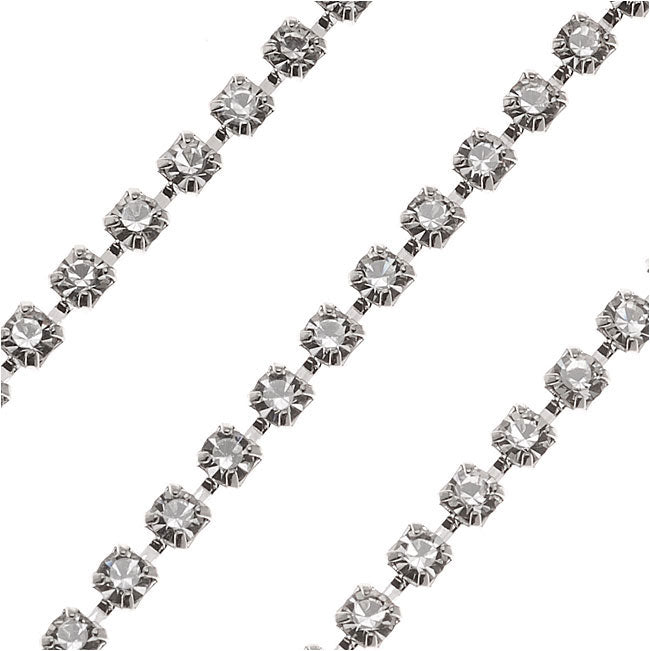
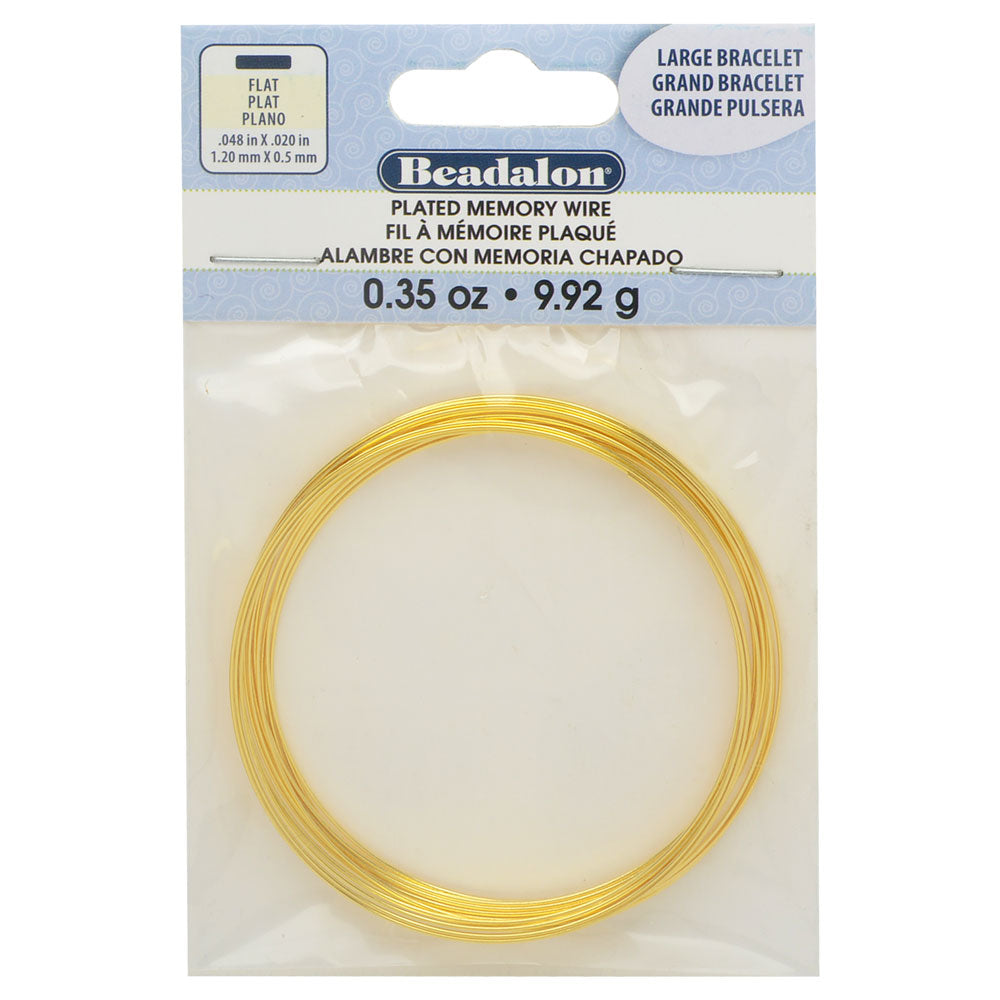
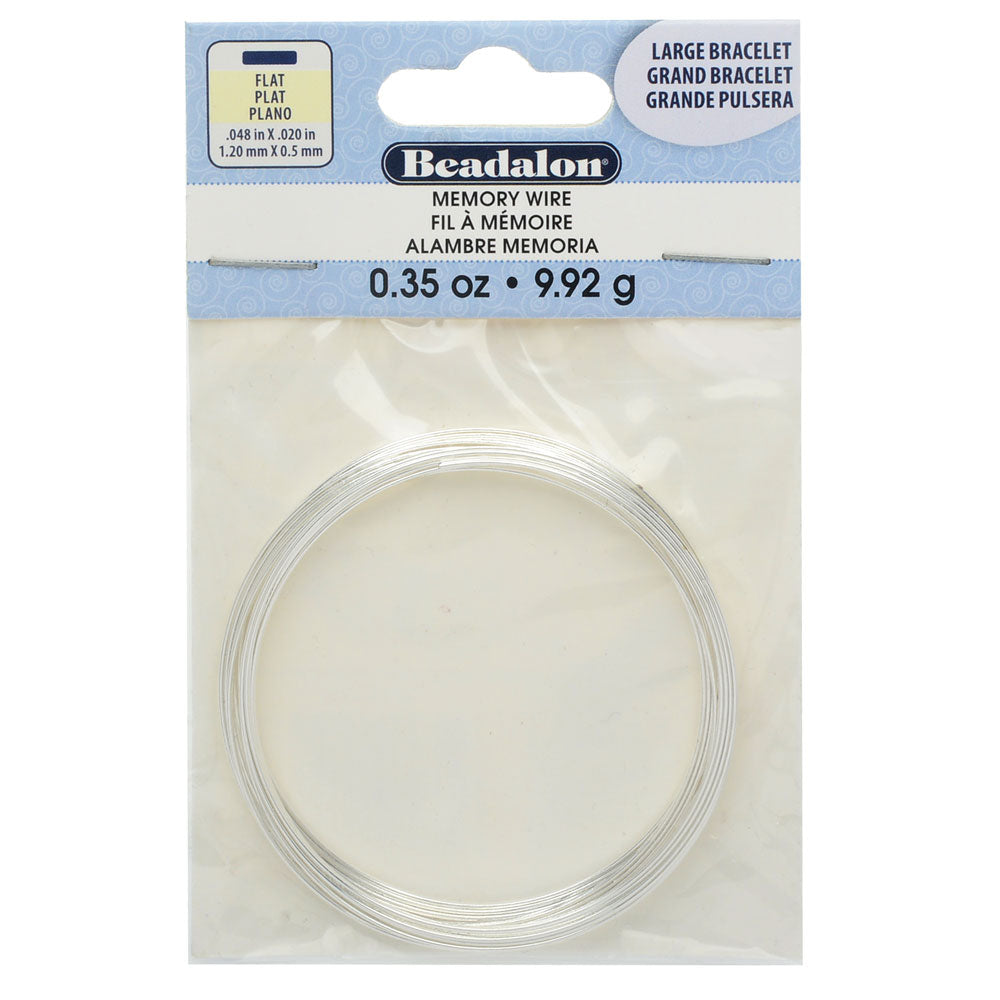
Audio Transcript
Note: This audio transcript is auto-generated and may not be completely accurate.
Hi this is Megan with Beadaholique.com and I am going to show you how to wrap rhinestone cup chain onto flat memory wire and here's a bracelet that I made using this technique and this one uses the silver color of the flat memory wire I'm going to use this color here this link and I just have the large bracelet nephews memory wire before you know that it retains its shape so it's it's a really kinda fun easy way to make a bracelet doesn't need classed the flap version is great for wire wrapping because it's going to hold that object that you up on to it still because I have a nice flat base for to set up so it wont spin around, it's gonna hold it in place so just like any time you use memory wire, use memory wire cutters to cut it. Don't use your regular flush cutters. You'll wreck them. It's pretty hard. I'm just gonna show you with a smaller piece of the memory wire to start with you're going to need a thinner craft wire to wrap with and I'm going to use a 26 gauge It's a really good thin gauge sits between nicely it doesn't add a lot of bulk onto the back and it's easier to handle. It's easier on your fingers so to begin I'm going to wrap near the edge I'm just going to wrap around a few times in a tight coil and the amount of wire that you'll need to work with is going to vary of course with how long of a bracelet you're going to make how many times around you're going to have the coil go and how much cup chain you're going to use. You can always just wrap-around tightly a coil at the beginning and end and add a new piece. Though I'd rather work with an easier to manage length. I'm only working with a couple feet here now we're going to place the cup chain right next to your wire wraps and try not to have it overlap too much. It wont sit flat because the wire wraps we'll kind of hold it up so just hold it in place and pull your wire between the first rhinestone link in the second. It's going to sit in the little bridge between. You're going to wrap around that bridge part twice. Make sure that it's pulled nice and tight pull your cup chain out along the memory wire and move to the next bridge between the next two rhinestones and wrap twice see it's wrapped twice between each one and each time it's going to take a diagonal jog over You want to keep this nice and tight as you work so that it has a secure hold on the cup chain. Just move along go to the next bridge wrap twice pull it tight you're just going to continue that way through as much of the memory wire cup chain as you want to make it as wide of a bracelet as you want and if you run out of your craft wire all you need to do is when you get towards the end make your wrap in the middle there over a little bit closer to the edge go ahead take your wraps very close and then you're gonna trim the excess and add a new piece. I'll go ahead and show you that trim the excess there and make sure that your pieces at the ends lay flat. Just go back with a pair of chain nose pliers and make them lay flat. Then you're going to go ahead and start your new piece of wire and lay it in down right next to the other one there and you should be able to get that one around twice as well. What the 26 gauge will fit just between there You go back and trim that also and that way you don't have to work with more wire then you're comfortable with at a time it's not hard to add more so you can see here that this is relatively simple when you have one thickness of wire on a bracelet like this one here where I have several three or four times around. A tip I will give you is it can get challenging once you get to your second and third loops of the memory wire and I actually just had a buddy pull it out like this and hold it away from me while I wrapped and then rotate it with me you can do it pretty quickly. It didn't take that long and it was extremely helpful to have the extra set of hands. So if you wanna just go around once it's gonna be really easy to do it by yourself. If you want to go around a couple times you might wanna enlist some assistance and then to finished this you just want to come to the end of your cup chain. I'm going to end mine here. I wanna come around wrap the wire a few times as you did at the beginning. Just make sure it's in a really snug coil and trim that off and since you're trimming onto the back side that it's going to be against your skin you just wanna go through with some pliers and push them down and make sure that the edges aren't sharp and then what you'll do to finish off the flat memory wire it's a same way that we often finish off round memory wire all I did was take round nose pliers and grab the tip and twist to make it rounded as you can see the cup chain is really securely held in place. It's not gonna wobble. It's not going to spin around and this is the advantage of the flat memory wire. It's really handy. Go to www.beadaholique.com to purchase beading supplies and to get design ideas!

You recently viewed

Clear recently viewed