Store Closing, Limited Stock
SKU VID-0180
Designer:
Julie Bean
In this video, see how to use the very handy Crystal Applicator tool to apply snap fasteners and decorative buttons to your designs. This tool is very easy to use and you get professional results in mere minutes. A great tool for jewelry design, fashion, and home decor.
FEATURED IN THIS VIDEO
Audio Transcript
Note: This audio transcript is auto-generated and may not be completely accurate.
Hi this Julie with Beadaholique.com and today I'm going to show you how to use the crystal applicator tool. This is a really fun tool. You're going to find a lot of uses for it in your jewelry projects. So what this does is this allows you to very easily and quickly apply snaps buttons and various other items which were in the past very difficult, time consuming and expensive to apply. We did a quick little project here that I'm wearing. This is just a cuff bracelet. I've done a little pico edge which we have a bead embroidery video for and I placed two Swarovski snap fasteners on the edge. I want to show you just how easy this is to remove and take off. So I have to bottom part here and there is a front and back. I have the with a pretty crystal in the front and the back. I'm going to show you how easy these was to do. This tool it's pretty light weight. I'm not the strongest gal in the world and I can easily hold it. It's actually very easy to close. This little dial right here is going to adjust the height which is going to show you where you can close it. When you get this should already be set and be okay you can be easily close your tool if need be though you can just adjust it. Move this down so you can close the handle a little bit more. So what I've gotten in front of me here is I've got a couple different snap fasteners. These here are the snap fastener and there's going to be four parts to them and then I also got a couple little decorative buttons and then there's only two parts to them because they're just a little decorative flourish little button and they don't need their backside. But today I want to show you how to apply a snap and I here some ultra suede here. So you have two dies sets. One for the top part of your snap and one for the bottom part of your set. The way you apply these is they got this little screw here. It's very easy to screw. Screw right or clockwise, it's going to tighten it. Screwing left counter clockwise is going to loosen it. I actually often think of the christmas tree base when I'm trying to screw in a christmas tree trunk so that might be a one way of thinking of this. So I'm going to apply the ones with the dails are always going to go on the top of the tool. So loosen the screw as far back as you can. You don't need to remove the screw. Make sure that when you look in there it's not protruding out from the interior circumfence. I'm just going to put this right on top of this rod. I'm going to fasten it. I'm going to keep turning until I can turn no more. You don't need to turn it so that it gets to be too tight but just turn until you can't anymore. For the bottom one all I have to do is drop it in. Now you're gonna wanna tests before you put anything in there and make sure that it closes all the way and it does. So we're good there. This is a little cushion area. What you're going to do there is you take the top part of your snap fastener which is decorative part and lay it face down in that little cushion area so the prong faced up. Now what you're going to do is you're going to take the bottom part and you can have it, if you look at it in a profile view the area that sticks out a little bit more that's raised is gonna go looking down at the prongs. So the flat side but first the top and you just going to, I'm just going to take out this little button so you can see how you're going to put these. You see that little notch there you're going to put the hole right over that notch. Sometimes it takes two hands I've noticed to be able to do this. Just make sure it's secure. It snapped into place. I'm just going to put that little top part back on. I'm going to take my piece of ultra suede or whatever material you are using. I'm going to rest the material on the base part. Then I'm going to just almost close. I'm just going to hold this here because what I want to make sure thatI have it lined up exactly where I want it because you only get one shot at this. You can't remove these. So you can just lightly press it down so it catches but you're not actually compressing it all the way so I can still change my mind at this point. Move it around. When I'm happy with that I'm just going to press my handles all the way down until you hear the snap. It means it's secure. Release and pull off. That is on there and that is secure. So that's the top part of the snap. Now I want to show you how to apply the bottom half. So now I'm gonna turn to the left or counter-clockwise unscrewed the top die. Remove the bottom die. Repeat the same process. I'm going to make sure that my screw you can see that going in there, I don't want that. I want it go all the way to the left. Place that on top of my of this rod right here. Fasten it. Drop into place the bottom. I'm going to take what looks like a little round disc with prongs so I want the prongs to face up again and then I'm going to take my snap part. I'm just going to put it, see there's a little hole I'm just going to put this snap into that little hole just like back and it catches perfectly. Again I make sure that this closes all the way and it does. Now you want to be careful when you're doing a fabric you want to figure out where the snaps are lined up. It's very important because you do it get one shot at this. Press this down here real quick. So want you're going to do is you want to fold your fabric. If you have two pieces like this is a little bit easier but if your trying to find something that match you want to know where it's going to line up. So I can see that I want this to go into my tool just like that. Going to put this back on here put that back on there. I'm going to eye ball it. Make sure it looks good before I do an actual punching here. I'm not applying a lot of pressure to use this tool. So then what I can do is now I've got my snap. That's all there is to using the Crystal Applicator tool. This is a great way to expand design possibilities for both jewelry, clothing and home depot. Go to Beadaholique.com for all of your beading supply needs!
Hi this Julie with Beadaholique.com and today I'm going to show you how to use the crystal applicator tool. This is a really fun tool. You're going to find a lot of uses for it in your jewelry projects. So what this does is this allows you to very easily and quickly apply snaps buttons and various other items which were in the past very difficult, time consuming and expensive to apply. We did a quick little project here that I'm wearing. This is just a cuff bracelet. I've done a little pico edge which we have a bead embroidery video for and I placed two Swarovski snap fasteners on the edge. I want to show you just how easy this is to remove and take off. So I have to bottom part here and there is a front and back. I have the with a pretty crystal in the front and the back. I'm going to show you how easy these was to do. This tool it's pretty light weight. I'm not the strongest gal in the world and I can easily hold it. It's actually very easy to close. This little dial right here is going to adjust the height which is going to show you where you can close it. When you get this should already be set and be okay you can be easily close your tool if need be though you can just adjust it. Move this down so you can close the handle a little bit more. So what I've gotten in front of me here is I've got a couple different snap fasteners. These here are the snap fastener and there's going to be four parts to them and then I also got a couple little decorative buttons and then there's only two parts to them because they're just a little decorative flourish little button and they don't need their backside. But today I want to show you how to apply a snap and I here some ultra suede here. So you have two dies sets. One for the top part of your snap and one for the bottom part of your set. The way you apply these is they got this little screw here. It's very easy to screw. Screw right or clockwise, it's going to tighten it. Screwing left counter clockwise is going to loosen it. I actually often think of the christmas tree base when I'm trying to screw in a christmas tree trunk so that might be a one way of thinking of this. So I'm going to apply the ones with the dails are always going to go on the top of the tool. So loosen the screw as far back as you can. You don't need to remove the screw. Make sure that when you look in there it's not protruding out from the interior circumfence. I'm just going to put this right on top of this rod. I'm going to fasten it. I'm going to keep turning until I can turn no more. You don't need to turn it so that it gets to be too tight but just turn until you can't anymore. For the bottom one all I have to do is drop it in. Now you're gonna wanna tests before you put anything in there and make sure that it closes all the way and it does. So we're good there. This is a little cushion area. What you're going to do there is you take the top part of your snap fastener which is decorative part and lay it face down in that little cushion area so the prong faced up. Now what you're going to do is you're going to take the bottom part and you can have it, if you look at it in a profile view the area that sticks out a little bit more that's raised is gonna go looking down at the prongs. So the flat side but first the top and you just going to, I'm just going to take out this little button so you can see how you're going to put these. You see that little notch there you're going to put the hole right over that notch. Sometimes it takes two hands I've noticed to be able to do this. Just make sure it's secure. It snapped into place. I'm just going to put that little top part back on. I'm going to take my piece of ultra suede or whatever material you are using. I'm going to rest the material on the base part. Then I'm going to just almost close. I'm just going to hold this here because what I want to make sure thatI have it lined up exactly where I want it because you only get one shot at this. You can't remove these. So you can just lightly press it down so it catches but you're not actually compressing it all the way so I can still change my mind at this point. Move it around. When I'm happy with that I'm just going to press my handles all the way down until you hear the snap. It means it's secure. Release and pull off. That is on there and that is secure. So that's the top part of the snap. Now I want to show you how to apply the bottom half. So now I'm gonna turn to the left or counter-clockwise unscrewed the top die. Remove the bottom die. Repeat the same process. I'm going to make sure that my screw you can see that going in there, I don't want that. I want it go all the way to the left. Place that on top of my of this rod right here. Fasten it. Drop into place the bottom. I'm going to take what looks like a little round disc with prongs so I want the prongs to face up again and then I'm going to take my snap part. I'm just going to put it, see there's a little hole I'm just going to put this snap into that little hole just like back and it catches perfectly. Again I make sure that this closes all the way and it does. Now you want to be careful when you're doing a fabric you want to figure out where the snaps are lined up. It's very important because you do it get one shot at this. Press this down here real quick. So want you're going to do is you want to fold your fabric. If you have two pieces like this is a little bit easier but if your trying to find something that match you want to know where it's going to line up. So I can see that I want this to go into my tool just like that. Going to put this back on here put that back on there. I'm going to eye ball it. Make sure it looks good before I do an actual punching here. I'm not applying a lot of pressure to use this tool. So then what I can do is now I've got my snap. That's all there is to using the Crystal Applicator tool. This is a great way to expand design possibilities for both jewelry, clothing and home depot. Go to Beadaholique.com for all of your beading supply needs!
Related Videos


How to Use a Disc Cutter to Cut Sheet Metal
Store Closing, Limited Stock
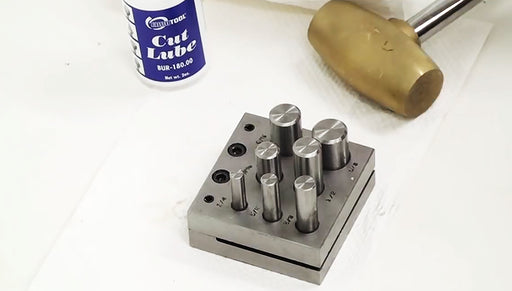
Using a 1lb brass hammer, see how to easily cut up to 14 gauge sheet metal using a disc cutter. With many sizes of circles to choose from, you can ...
View full details

How to Use StazOn Ink and Rubber Stamps in Jewelry
Store Closing, Limited Stock
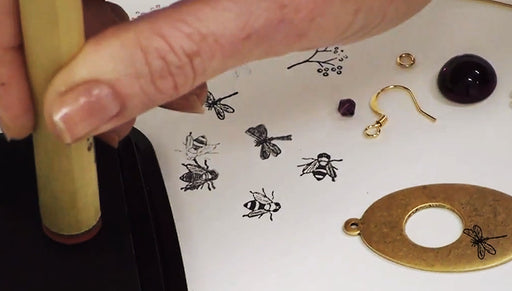
In this video, see how to use StazOn Ink and rubber stamps to dress up a simple stamping blank and make a pair of earrings. Create a wide variety o...
View full details

How to Use a Smartphone Cell Charm Audio Jack Adapter Plug
Store Closing, Limited Stock
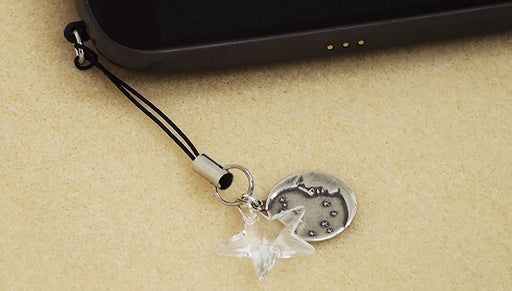
This video demonstrates how to use a smartphone audio jack adapter plug to hang your favorite cell phone charm straps from your smartphone.


