
|
Nunn Design Glue Adhesive 2 oz. - For Patera Findings (1 pcs) SKU: XTL-1031 $17.49 |

|
Fiskars 5 Precision Tip Scissors - Super Sharp SKU: XTL-5700 $7.45 |

|
Beadalon Large Beading Mats - Prevent Bead Rolling 13 X 18 Inch (Set of 2) SKU: XTL-9935 $6.75 |
Related Videos

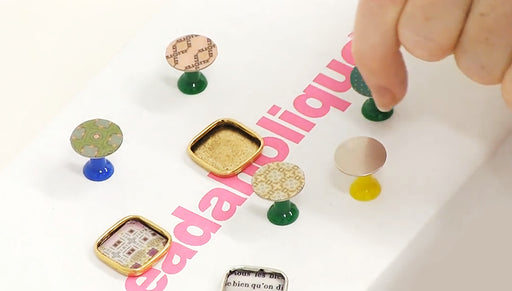
How to Apply Resin to Objects with Uneven Backs and Stamping Blanks
Special Value
This video was created to fulfill some of the requests we have been getting asking how to apply resin to objects which have uneven backs (such as b...
View full details
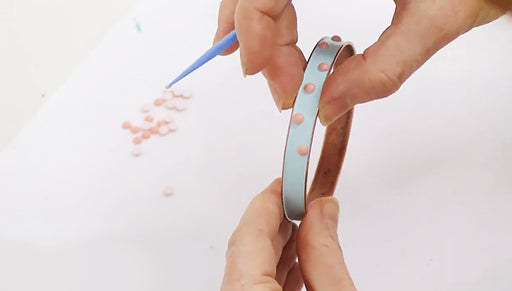
How to Embellish and Paint a Channel Bangle Bracelet
Special Value
In this video tutorial see how to paint and embellish a channel bangle bracelet and transform it into a unique piece of jewelry.
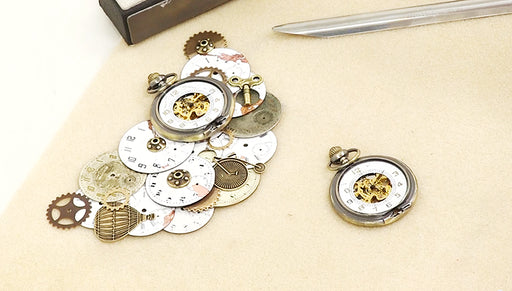
How to Distress and Expose A Pocket Watch
Special Value
n this video, learn how to partially disassemble a pocket watch to expose the clockwork and then distress the piece to give it an old, beat up look.