
|
ICE Resin Jewelers Grade Clear Casting Epoxy Resin 8 oz Kit SKU: TRC-10 $37.29 |

|
CASTIN CRAFT Casting Epoxy Resin Transparent Green Pigment Dye 1 Oz SKU: TRC-89 $10.99 |

|
CASTIN CRAFT Casting Epoxy Resin Opaque Red Pigment Dye 1 Oz SKU: TRC-85 $10.99 |

|
Casting Epoxy Resin Mixing Cup Set With Brushes and Sticks SKU: TRC-01 $13.99 |

|
Casting Epoxy Resin Mold Release And Conditioner 4 oz. SKU: TRC-04 $18.99 |

|
Tsukineko StazOn Acid Free Jet Black Color Solvent Ink Pad For Rubber Stamps, 1 Ink Pad SKU: TSM-100 $14.99 |
Related Videos


How To Use Easy Cast Clear Casting Epoxy Resin To Make Pendants
Beadaholique's Julie demonstrates how to use Easycast Clear Casting Epoxy to make pendants. Measure equal amounts of resin and hardener then mix. A...
View full details
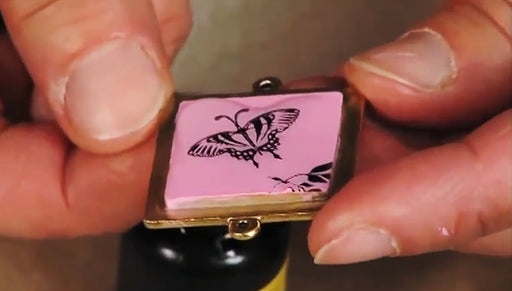
How to Use Rubber Stamps to Make Jewelry
Jewelry Designer Mary Lynn Maloney uses stamping, paints and uv resin over Patera tags to create another great jewelry project.
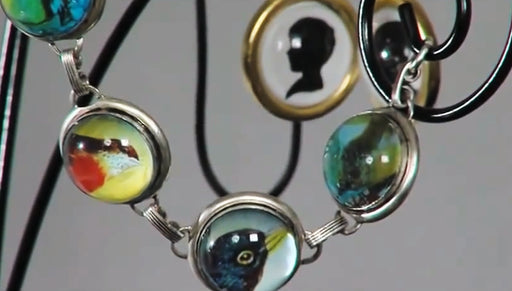
How to Use Glass Domes in Jewelry
Jewelry designer Mary Lynn Maloney makes a fabulous pendant and a cute pair of earrings using the Patera cast findings, collage sheets and glass ca...
View full details