|
JudiKins Diamond Glaze Water Based Adhesive (2 Fl. Oz.) SKU: XTL-1020 $10.99 |

|
The Beadsmith Solid Brass Flat Cuff Bracelet Base 6.35mm (0.25 Inch) Wide - 1 Piece SKU: JB-2590 $3.75 |

|
Solid Brass Flat Cuff Bracelet Base 19mm (0.75 Inch) Wide (1 Piece) SKU: JB-2571 $5.99 |
Hi, this is Kat with beadaholique.com for a permanent finish on a brass finding so here I have a couple of examples now I have one here and this is what I'm going to be showing you today and this is the gold glitter on that brass cuff and on this one I just want to kind of explain to you how I did it I used painters tape and then I mixed the green glitter with the diamond glaze and painted it on remove to the tape and then just kind of went back through the lines just to add a little bit of gold sparkle and that's how I sort of accomplished this type of look and this is really just sort of a free-form and I just had that blue painters tape wherever you see that gold so that's kind of how I did that but on this one I just want to show you that by mixing the diamond glaze and the glitter together and creating sort of a paint which I'll show you how to do you're actually making it so it's nice and shiny it is a little bit grainy but it's not going to chip off you know like I'm scratching it with my nail and nothing's coming off so you really get that nice permanent glaze to finish so in order to do this you're going to need some diamond glaze and this is a water base adhesive I also have some art glitter here and I have it in the bright gold the ultrafine opaque I have two little sort of cups here that I'll use to be mixing and I have just a little stick to mix with I'm going to use some gloves you don't have to I do recommend it though just to make sure that it doesn't get all over your hands and then I just have a little paintbrush here and I'm going to be washing that in between coats so you'll see that you can do that as well so let's get started okay so first I'm gonna take one of my cups here and I'm gonna open my diamond glaze and I'm just going to pour a little bit in there probably just enough to kind of fill up that bottom of that cup right there and make sure to close that up nice and tight and now I'm gonna take my art glitter and you can take your stick just kind of scoop a little now with this you can create various different ratios if you want it to be a little bit more glittery and more thick you just add more glitter so you create a little bit more of a paste if you want it to be a little bit finer you would just add diamond glaze so when you start to mix it up you'll just sort of see the kind of ratio that you want so just mix it up and what you're basically creating is you're just creating a paint and that looks nice and good I like that ratio so now go ahead and take your brass and go ahead and you know dip your paintbrush and what you're gonna do is just start on one end and just start painting and this is going to be very much like a clear nail polish however we do get that question a lot can't you just use glitter nail polish technically you can but understand that with glitter nail polish or a colored nail polish even after about seven days what starts to happen it starts to chip and peel with this you're getting that super fine application that you can move around you have a little bit more time to use this and it won't chip because this is a permanent adhesive also you don't have to deal with the smell because there's no smell with this one which is lovely so you just kind of paint it all the way around now I'm painting a really thin layer I just want to give it a little sparkle but what you can do is you can just wait a little while and you can do another coat of the sparkles of that glitter or what you can also do I'll show you how to do this in a minute is we're gonna come back in about 20 minutes and I'm gonna show you how to put a glaze on top of it to make it that nice permanent finish so I'll be right back to show you that in about 20 minutes so I've let this dry for about 20 minutes or so and you can see that it just has that nice little sparkle to it now I have this one that I just did and then this one I did earlier now this one I did two coats of that glitter and made it a little bit thicker so you can just kind of see the variation that you can get using this exact same technique for my purposes here I'm going to go ahead and do a clear coat of glaze on top of this so to do that you just again take some diamond glaze and add it to a fresh cup and you don't need as much this time and you just take your paintbrush and dip it in there and again just like a clear top coat of nail polish you're just gonna paint it nice and even across the top and what this is gonna do is like the name says give it a nice glaze finish and you just want to make sure this goes on nice and even and it will dry clear so if it starts to look a little blue to you don't worry it will be clear as you can see on my paintbrush it's a little milky but that is okay and you just want to get a nice even coat and what you can also do when this has dried is you can go on the back side and sort of use the glaze on the inner side of the bangle or the cuff here to secure that brass and that will kind of prevent it from that natural tarnishing that will happen when you wear it so what you're going to do is you're going to kind of seal in and you're going to glaze that too so I recommend it you don't have to because you don't have glitter on that side but that will kind of help with that so now you can see I have that nice Sheen and that'll dry completely flat which is just really nice so you can either prop it up or I'm just gonna lay my down oops there we go it'll be fine so that is how you use the diamond glaze and glitter to create these beautiful cuffs and I hope you enjoyed this video you will find all of these supplies and more videos at beadaholique.com you
Related Videos


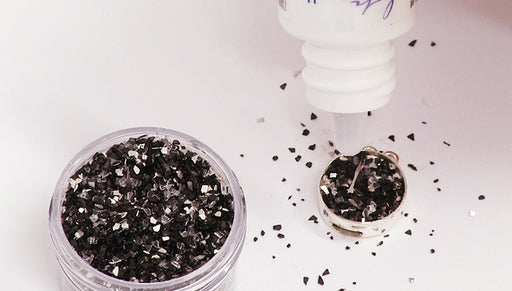
How to Customize Bezel Clasps with Lisa Pavelka Magic-Glos UV Resin
Bezel clasps allow you to customize your clasp to match your beading. In this video see how to use Lisa Pavelka Magic-Glos UV Resin along with glit...
View full details

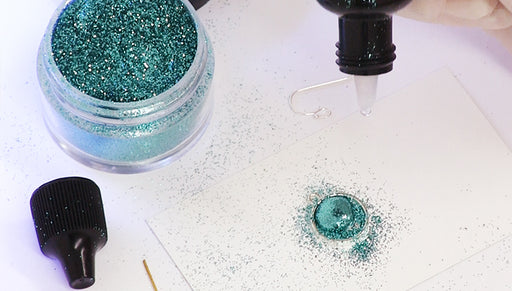
How to Add Glitter to UV Resin and Make a Pair of Earrings
In this video learn how to add glitter to UV resin and make a pair of sparkly earrings. UV resin cures in just 15 minutes in a UV light (or sunshin...
View full details

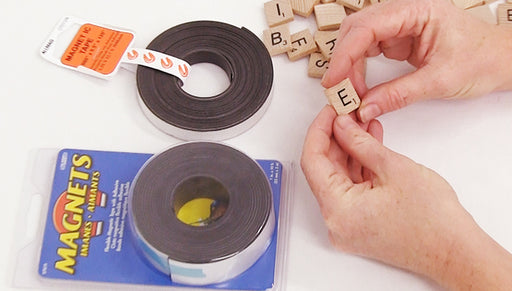
How to Make Scrabble Tile Magnets using Magnetic Tape
Scrabble tile magnets are great because you can spell out all sorts of words and phrases with them. This video shows you how to quickly and easily ...
View full detailsCustomer Reviews
You recently viewed
Clear recently viewedLove this site, so many great ideas!
