
|
Antiqued Brass Ornate Bead Cap Decorative Washer 1.5x12mm (20 pcs) SKU: BMB-7057 $4.29 |

|
Antiqued Brass Filigree Petal Flat Top Bead Caps 7mm (50 pcs) SKU: BMB-7054 $6.79 |

|
Silver Plated Large Ornate Filigree Bead Caps 11mm (20 pcs) SKU: BMB-7072 $3.99 |

|
Beadaholique Dapping Set for Metalworking, 8 Punches with Wooden Block SKU: XTL-0294 $44.99 |

|
ImpressArt Brass Hammer For Metal Stamping - 1 Pound - 1 Piece SKU: XTL-0277 $20.00 |
Related Videos


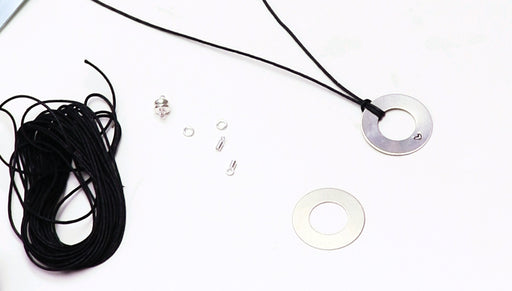
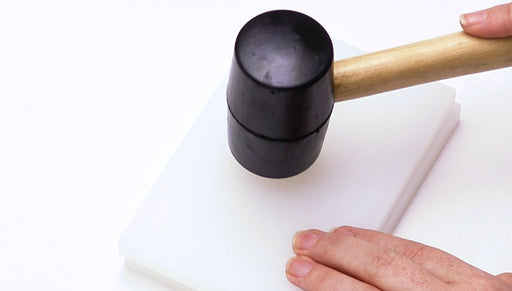
How to Make a Personalized Necklace with a Circular Stamping Blank and Waxed Cotton Cord
In this video you will learn how to make a simple necklace using a circular stamping blank and waxed cotton cord. Personalize this design with a m...
View full details
How to Use the Bead Smith Wire Whacker Tool
In this video you will see how to use the Bead Smith Wire Whacker Tool to work harden your flat wire pieces. These two boards help harden the wire...
View full details